Let the light in, but keep it stylish – the perfect kitchen window ideas treatments light can transform a dull cooking space into a sun‑kissed haven. Whether you’re battling glare over the stove, craving privacy while the morning sun streams in, or simply want a design upgrade that feels fresh, the right window treatment is a game‑changer. In my decade of designing kitchens from sleek urban lofts to cozy farmhouse retreats, I’ve learned that the balance between illumination and aesthetics is both an art and a science. Below is a step‑by‑step guide packed with real‑world product picks, cost breakdowns, and hands‑on tips so you can pick, install, and enjoy the ideal treatment for your kitchen windows.
In This Article
Understanding Light in the Kitchen
Why Light Matters More Than You Think
Natural light boosts mood, improves food prep visibility, and can make a modest kitchen feel larger. Studies from the Lighting Research Center show a 30% increase in perceived space when daylight accounts for at least 20% of a room’s illumination. However, unchecked glare can cause colour distortion on countertops and make cooking uncomfortable. The goal is to filter—and sometimes amplify—light without sacrificing style.
Assessing Your Window Orientation
Start by noting the compass direction each window faces:
- North‑facing: Soft, cool light all day – ideal for sheer curtains.
- South‑facing: Strong, warm light – consider blackout shades for midday glare.
- East‑facing: Bright morning sun – perfect for light‑filtering roller shades.
- West‑facing: Intense evening sun – layered treatments (shade + valance) work best.
Measure the window width and height to the nearest quarter‑inch. A typical 36″ × 48″ kitchen window will need a treatment that covers at least 2‑3 inches beyond the frame to avoid light leaks.
Balancing Privacy and Light
Privacy needs vary: a ground‑floor kitchen may require opaque options, while an upper‑level space can get away with sheer panels. The key is to pick a treatment that lets in the desired lux (lumens per square meter) while obscuring sightlines. Aim for a Light Transmission (LT) rating of 30‑50% for general kitchens; go lower (10‑20%) for privacy‑heavy zones.

Top Treatment Types for Light‑Flooded Windows
1. Cellular (Honeycomb) Shades
Cellular shades trap air in a honeycomb structure, offering excellent insulation and light control. The Hunter Douglas Duette® Architella in a light‑filtering “C” fabric (LT 45%) runs about $120 for a 36″ × 48″ panel, plus $45 for motorized brackets if you want remote control. They reduce heat gain by up to 15%—a nice bonus for summer cooking.
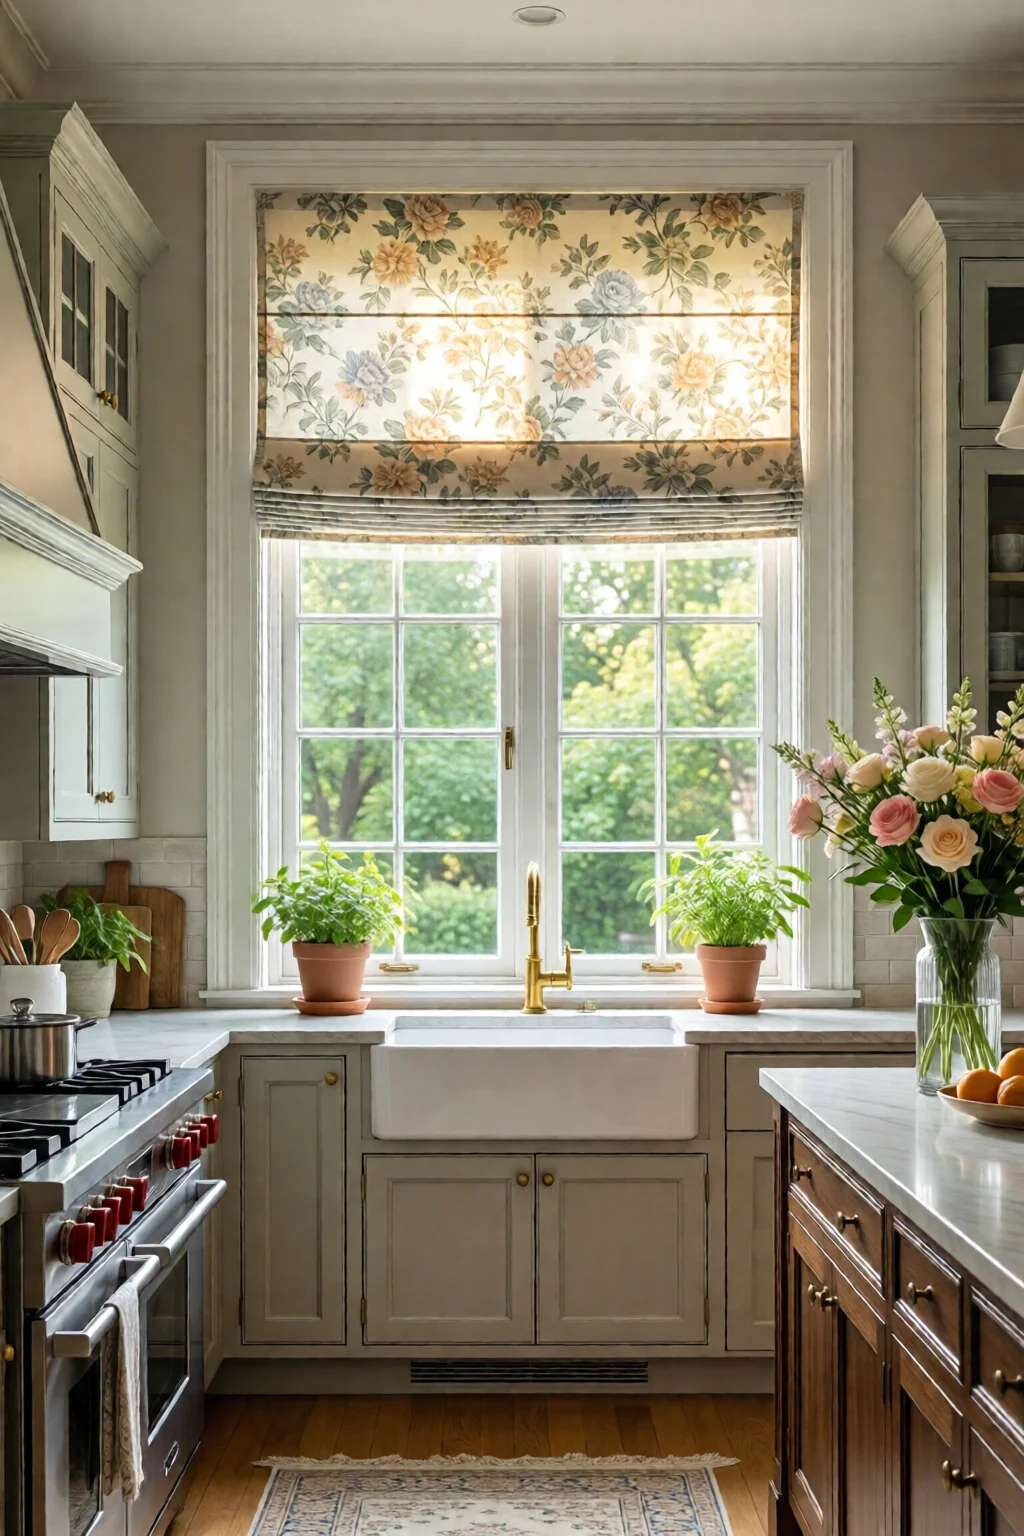
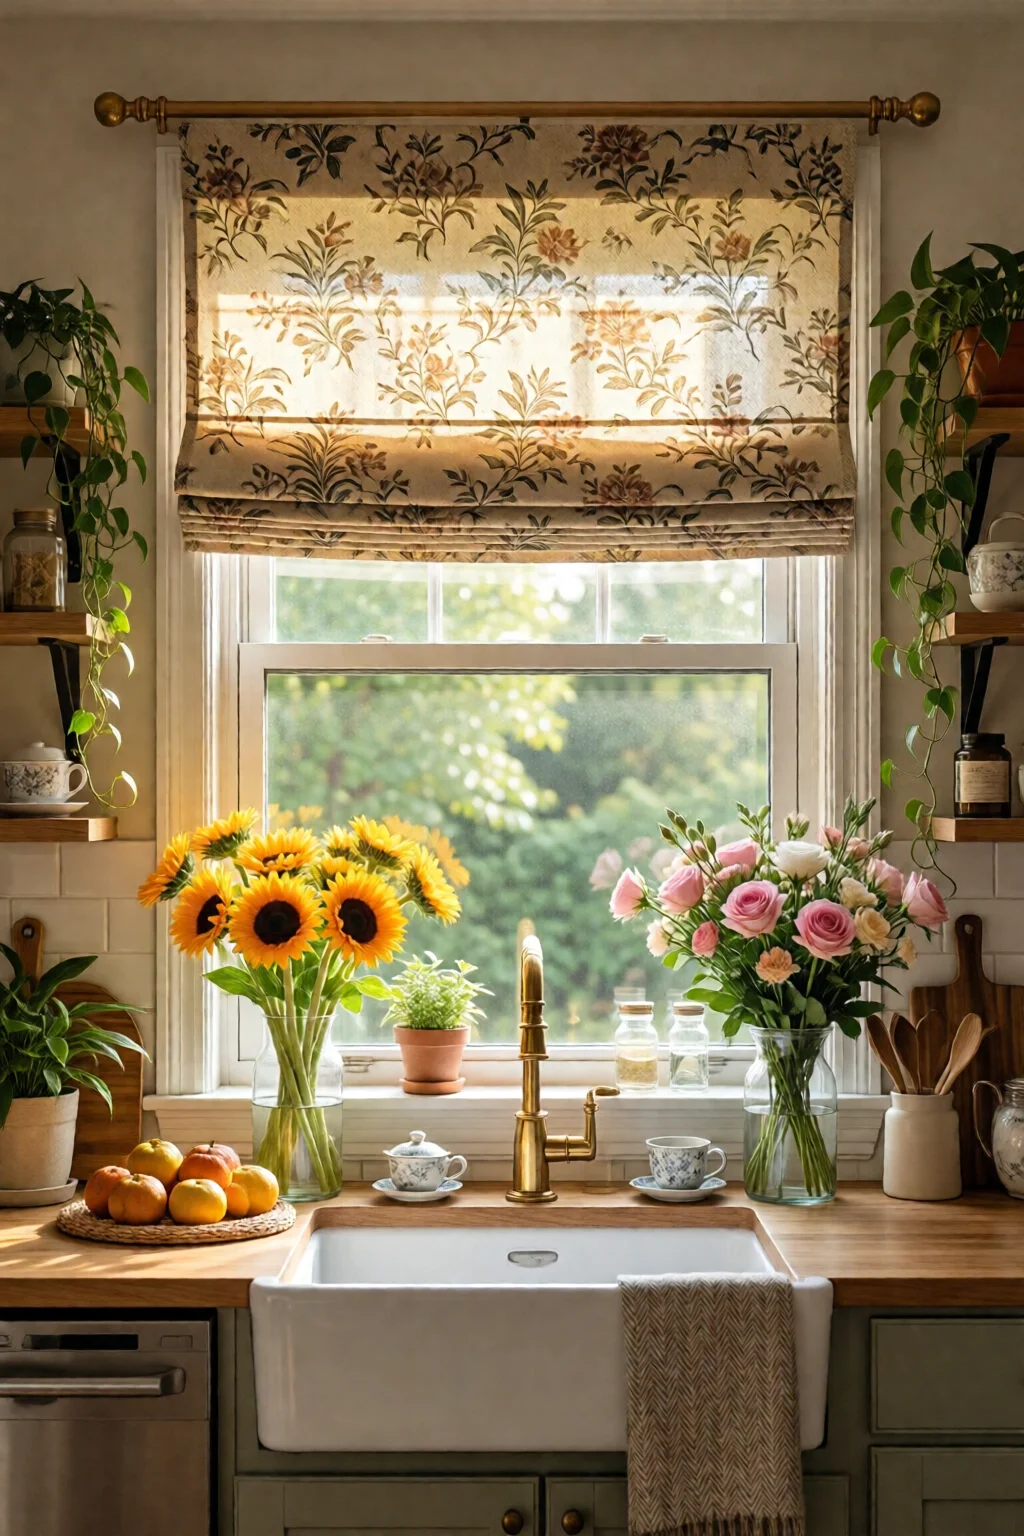
2. Roman Shades
For a softer, textile feel, Roman shades are a go‑to. West Elm offers a “Linen Light” Roman at $229 per panel (24″ × 72″) with a 55% LT rating. Pair with a subtle blackout lining for the evening. The fabric folds elegantly when raised, adding a touch of luxury without compromising light.
3. Café Curtains
Half‑height curtains—known as café curtains—protect lower cabinets while preserving upper‑level light. A classic choice is the IKEA VARDAGEN café curtain (63 × 84 cm) at $19.99 each. Two panels cost under $40 and can be paired with a sheer overlay for a layered look.
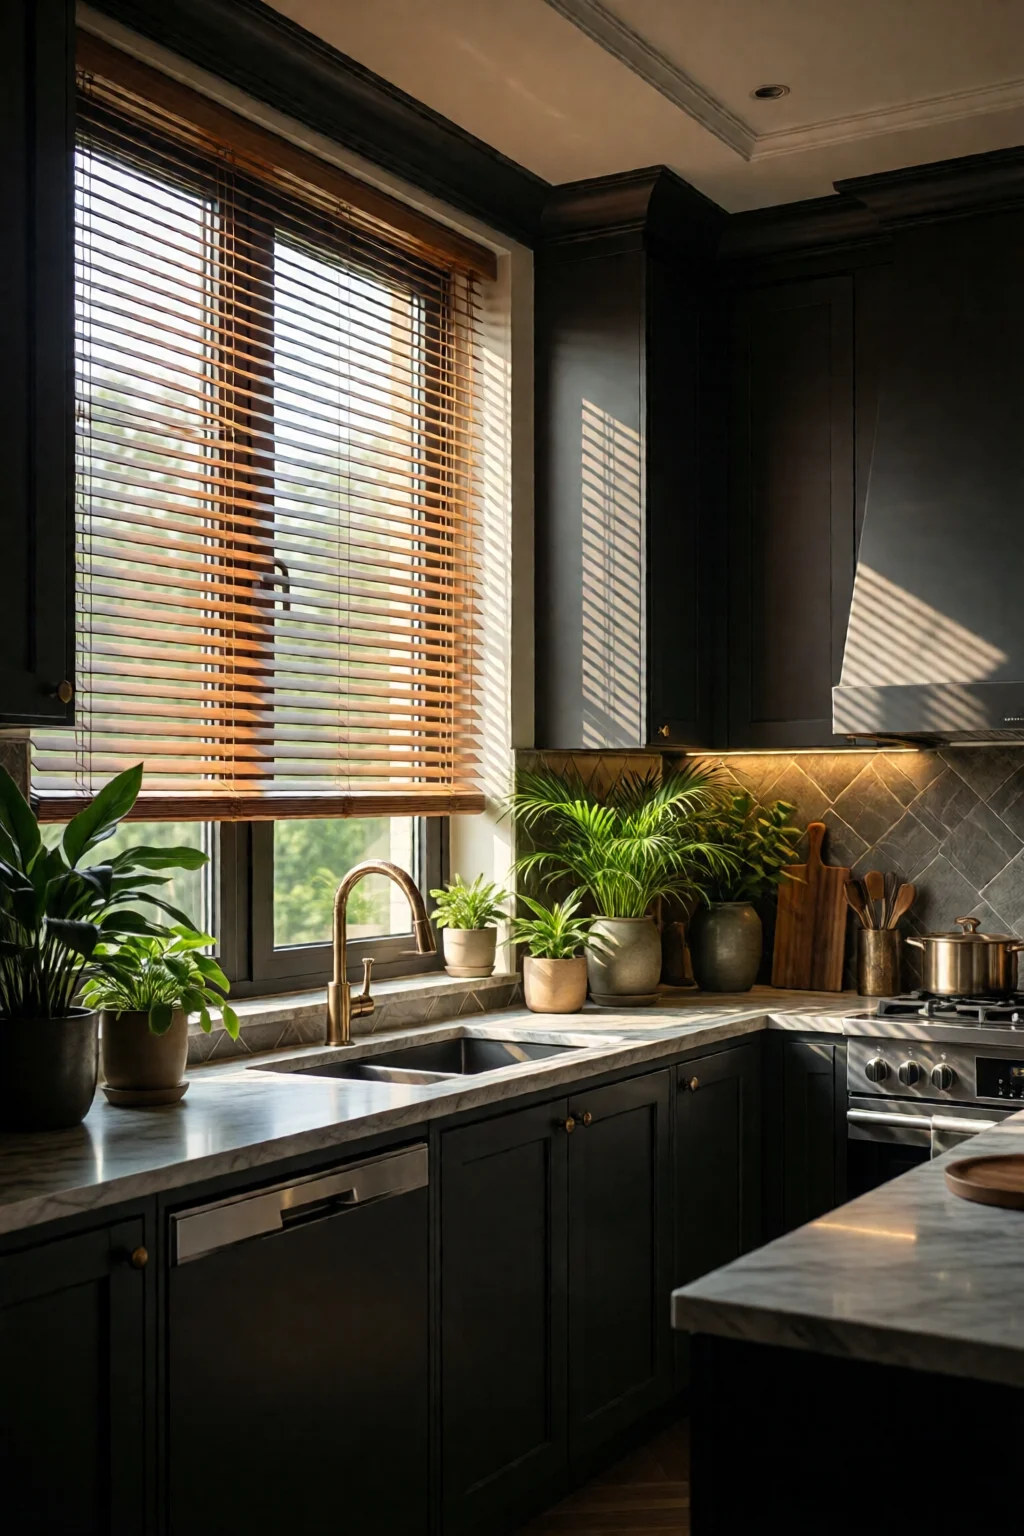
4. Plantation Shutters
Shutters give precise control with adjustable louvers. Bali offers “Premium Plantation Shutters” for $85 per square foot, installed. For a 36″ × 48″ window, expect a $260 material cost plus $150‑$200 installation. They block up to 90% of direct sunlight while still allowing diffused light to filter through the slats.
5. Roller Shades with Light‑Filtering Fabric
Rollers are sleek and budget‑friendly. Levolor “Light Filter” roller (LT 40%) runs $65 for a 36″ × 48″ panel; motorized versions start at $199. Add a decorative valance (e.g., Pier 1 “Nara” at $42) for a finished look.
6. Sheer Panels + Valance Combo
For airy kitchens, combine sheer panels (LT 75%) with a solid valance to hide the hardware. Pier 1 “Lace Curtain Panel” (84 × 84 in) is $79, while a coordinating “Silk Valance” is $35. The sheer diffuses harsh sunlight, and the valance adds visual interest.
Choosing the Right Fabric & Color
Neutral tones—off‑white, soft gray, muted taupe—reflect light, making the space feel brighter. If your kitchen has bold cabinets (e.g., navy or forest green), a patterned fabric like Pottery Barn “Georgian Stripe” ($99 per panel) can tie the color story together while still providing a 45% LT.

Styling by Window Shape & Size
Standard Rectangular Windows
Most kitchens have 24″‑48″ widths. For a 48″ wide window, a single wide roller or a pair of Roman panels (24″ each) works best. Overlap the panels by 2‑3″ to avoid gaps. If you have a 36″ × 36″ square window above a sink, consider a “café curtain” style: a 12‑inch high blackout panel at the bottom, topped with a sheer panel for daylight.
Arched or Bay Windows
These features deserve a custom approach. I often recommend Custom Made cellular shades—priced around $30 per square foot for fabric and labor. For a 5‑ft‑wide bay window (average height 48″), the cost lands near $720, but the result is a seamless, built‑in look that frames the arch beautifully.
Sliding or Bifold Windows
Large panes can be tricky. A vertical “panel track” system from Kirsch (e.g., “Vantage” line, $199 per panel) allows you to slide sheer panels across the entire width, preserving the view while diffusing light. Pair with a bottom blackout panel for privacy when needed.
Skylights & Clerestory Windows
For overhead light, motorized “solar‑shade” blinds from Lutron (e.g., “Sivoia QS” series, $399 per panel) automatically adjust based on sun intensity. Installation costs average $150 per panel, but the hands‑free operation is worth it for busy kitchens.
Combining Treatments for Layered Control
Layering offers the most flexibility: a light‑filtering cellular shade beneath a decorative valance, or a café curtain topped with a sheer panel. This approach lets you raise the bottom for cooking, pull down the top for privacy, and keep the valance as a design anchor.
DIY Installations & Budget Options
Step‑by‑Step: Installing a Roller Shade
- Gather tools: drill, 1/8‑in. wood screws, level, tape measure.
- Mark the mounting brackets ½‑inch above the window frame; ensure they’re level.
- Pre‑drill holes, then attach brackets with screws.
- Slide the roller into the brackets, secure the bottom bar, and test the pull cord.
- If you opt for a motor, attach the power kit (included) and pair with the remote.
Typical install time: 30‑45 minutes. Cost: $65 for the shade + $15 for hardware = $80 total.
Budget-Friendly Alternatives
- DIY Fabric Shades: Cut a 1‑yard piece of blackout fabric (e.g., Hanes at $9 per yard), hem the edges, and attach a tension rod. One window can be dressed for under $25.
- Reclaimed Wood Valance: Use reclaimed pallet wood, paint or stain, and mount with L‑brackets. Materials cost $30‑$45.
- Magnetic Curtain Rods: For metal frames, magnetic rods (e.g., Umbra at $22) hold lightweight curtains without drilling.
When to Hire a Pro
Complex installations—custom cellular shades, motorized systems, or large bay windows—are best left to professionals. Expect $150‑$300 for labor, which can be offset by the warranty and precise fit. For standard rectangular windows, DIY is usually safe and saves $100‑$200.
Maintenance & Longevity
Cellular shades clean with a vacuum brush or mild soap solution; expect a 5‑10 year lifespan. Roman and café curtains need occasional hand‑washing or dry‑cleaning—budget $30‑$50 per cleaning. Motorized rollers require battery replacement every 2‑3 years (approx. $10).
Cost Comparison Table
| Treatment | Average Cost (Material) | Installation (DIY/Pro) | Light Transmission (LT) | Best For |
|---|---|---|---|---|
| Hunter Douglas Duette Cellular | $120‑$150 | DIY $0 / Pro $150‑$250 | 30‑45% | Insulation & glare control |
| West Elm Linen Roman | $229 | DIY $20 (brackets) / Pro $180‑$250 | 55% | Soft aesthetic, moderate light |
| IKEA VARDAGEN Café Curtain | $20 each | DIY $0 | 70‑80% (sheer overlay) | Half‑height privacy |
| Bali Plantation Shutters | $85/sq ft | Pro $150‑$200 | 5‑15% (closed) | Precise control, classic look |
| Levolor Light‑Filter Roller | $65 | DIY $0 / Pro $120‑$180 | 40% | Modern minimalism |
Pro Tips from Our Experience
1. Pair Light‑Filtering with a Small Decorative Window Film
In a recent remodel, I added a 3M Sun Control Window Film (30% UV reduction, $0.85 per ft²) to a south‑facing window before installing cellular shades. The film cut glare by 35% while preserving the soft diffusion of the shade. It’s a cheap hack—$45 for a 48″ × 48″ pane—that extends the life of your fabrics.
2. Use a “Sample Swatch” Before Buying Full‑Size
Many retailers—like Pier 1 and Pottery Barn—offer fabric swatches for $5‑$10. I always order a swatch to see how the colour shifts under kitchen LED lighting versus daylight. This saves the $200‑$300 mistake of purchasing the wrong hue.
3. Coordinate Hardware Finish with Kitchen Fixtures
Match the shade brackets or valance brackets to your cabinet pulls. In a recent farmhouse kitchen, brushed nickel brackets ($12 per set) blended seamlessly with the sink faucet, creating a cohesive look without additional décor.
4. Add a Bottom “Heat Guard” for Stove Proximity
Install a heat‑resistant silicone strip (e.g., Thermal Shield, $9 per 12‑in) along the bottom edge of a shade near the stove. It protects the fabric from splatter and extends the shade’s life by up to 20%.
5. Consider Motorization for High‑Traffic Kitchens
Hands are often full when cooking. A motorized shade controlled via a wall switch or voice assistant (Amazon Alexa integration, $199 kit from Lutron) allows quick adjustment without fiddling with cords. I’ve seen families reduce shade adjustment time from 30 seconds to a 2‑second voice command.
Frequently Asked Questions
Can I use the same treatment for both light control and privacy?
Yes. Light‑filtering cellular shades, Roman shades with a blackout backing, or layered café curtains provide enough diffusion for privacy while still letting daylight in. Choose a fabric with an LT rating of 30‑45% for the best balance.
How do I measure my kitchen window for a custom shade?
Measure the width inside the frame at the top, middle, and bottom; use the narrowest measurement. For height, measure from the top of the frame to the sill. Subtract ¼‑½ inch from each dimension for an inside‑mount fit, or add 1‑2 inches for an outside‑mount to ensure full coverage.
Are motorized treatments worth the extra cost?
In high‑traffic kitchens, motorized shades save time and reduce wear on cords. A $199 motor kit plus $150‑$200 installation can be justified if you frequently adjust the treatment while cooking or cleaning. For occasional use, a manual pull system remains cost‑effective.
What’s the best treatment for a bay window over a sink?
Custom cellular shades or a combination of café curtains with a sheer top panel work well. They accommodate the angled glass and provide easy cleaning access. Expect a price range of $300‑$700 depending on fabric and custom labor.
How often should I clean kitchen window treatments?
Dust cellular shades and roller blinds monthly with a soft brush or vacuum attachment. Fabrics like Roman or café curtains should be spot‑cleaned as needed and professionally cleaned every 6‑12 months to prevent grease buildup.
Conclusion – Your Action Plan
Choosing the right kitchen window ideas treatments light is less about picking a single product and more about matching your window’s orientation, size, and daily use patterns to a blend of function and style. Here’s a quick checklist to get you moving:
- Map your windows. Note direction, dimensions, and privacy needs.
- Select a primary treatment. Cellular shade for insulation, Roman for softness, or shutters for precise control.
- Decide on layering. Add a sheer panel, valance, or café curtain for depth.
- Measure accurately. Use inside‑mount for a clean look or outside‑mount for full coverage.
- Budget wisely. DIY installations can save $100‑$200; reserve professional help for custom or motorized options.
- Order a swatch. Verify colour under kitchen lighting before committing.
- Install or schedule a pro. Follow the step‑by‑step guide for rollers, or hire a specialist for complex bays.
- Maintain regularly. Dust monthly, clean fabrics yearly, and replace motor batteries as needed.
With these steps, you’ll turn any kitchen window into a source of natural light, privacy, and design flair—all while staying within budget. Happy decorating!