In a 2023 Home Improvement Survey, a striking 68% of homeowners named floating shelves as their go‑to DIY project for instantly boosting visual space and storage. That’s why mastering DIY floating shelves ideas and tutorial can feel like unlocking a secret weapon for any room.
In This Article
- 1. Classic Bracket‑Free Shelf Using a Hidden Steel Rod
- 2. Industrial Pipe Shelves with Adjustable Height
- 3. Minimalist Glass Shelves with Invisible Brackets
- 4. Reclaimed Wood Shelves with Rustic Charm
- 5. IKEA Lack Shelf Hack for Budget‑Friendly Floating Look
- 6. DIY Corner Floating Shelf for Maximizing Tight Spaces
- 7. Wall‑Mounted Shelf with Integrated LED Strip Lighting
- Comparison Table: Top DIY Floating Shelf Ideas
- Putting It All Together: Choosing the Right Shelf for Your Space
- Maintenance Tips to Keep Your Shelves Floating Forever
- Final Verdict
Whether you’re a first‑time maker or a seasoned handyperson, this list gives you concrete plans, material breakdowns, and step‑by‑step guidance so you can finish a polished set of shelves in a single weekend—often for under $50. Let’s dive into the top ideas, compare the essentials, and answer the questions that keep you up at night.
1. Classic Bracket‑Free Shelf Using a Hidden Steel Rod
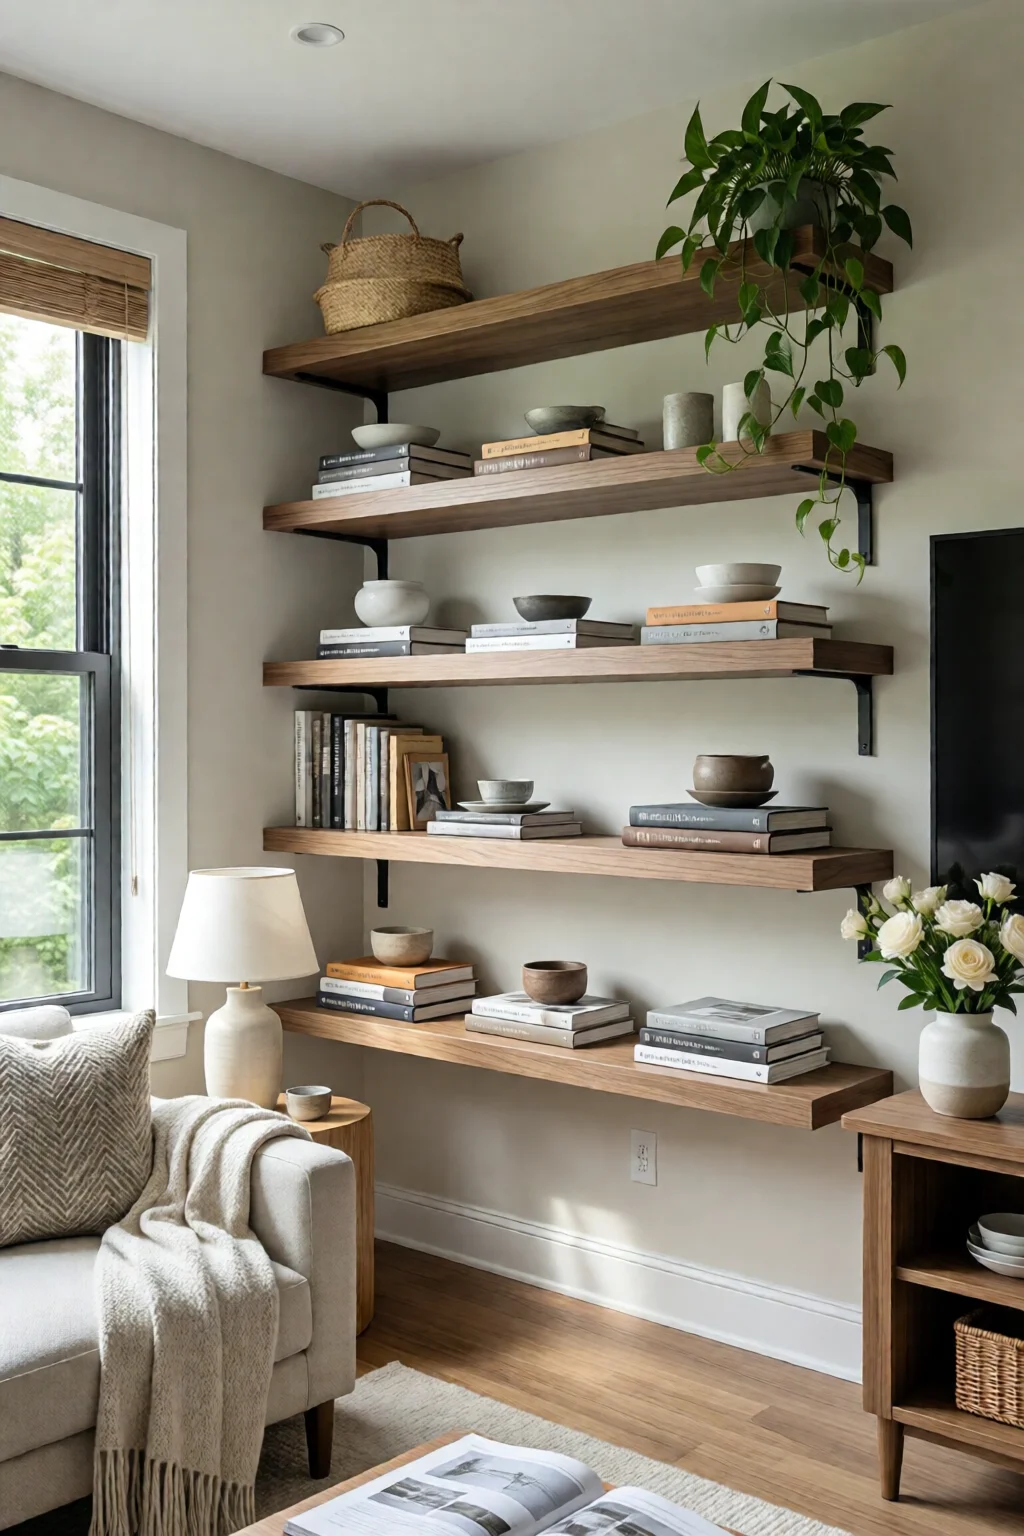
In my experience, the hidden‑rod method delivers the cleanest look without visible hardware. You’ll need a 1‑inch stainless‑steel rod (about $12 from Home Depot), two metal mounting plates, and a board of your choice—typically ¾‑inch pine, oak, or reclaimed barn wood.
Materials & Cost
- 1‑inch stainless steel rod, 48″: $12
- Mounting plates (2 pcs): $8
- Wood board (24” × 12”, ¾‑in): $15 (I usually source pine from Lowe’s for $0.60 per board foot)
- Finishing supplies (sandpaper, stain, sealant): $10
Tools Required
- Drill with ¼‑inch spade bit
- Level, measuring tape, pencil
- Rubber mallet
- Optional: Kreg Jig for pocket holes if you want extra reinforcement
Step‑by‑Step
- Mark the desired height on the wall and drill two pilot holes for the mounting plates.
- Secure the plates with 3‑in wood screws (use #8 × 3 in for drywall anchors).
- Slide the rod into the plates; tap gently with a rubber mallet until flush.
- Cut the wood board to length, sand, and apply your chosen finish.
- Drill a ¼‑inch hole through the board’s center, align it over the rod, and lower the shelf onto the rod.
Pros & Cons
- Pros: Seamless look, strong load capacity (up to 75 lb per shelf), easy to reposition.
- Cons: Requires precise drilling; not ideal for very thin drywall without anchors.
Rating: ★★★★☆ (4.5/5)
2. Industrial Pipe Shelves with Adjustable Height
If you love a loft‑style vibe, black iron pipe shelving is a winner. I’ve installed these in a home office and the aesthetic instantly feels “designer‑grade.”
Materials & Cost
- 2‑in × ½‑in black pipe (10 ft): $25 (Home Depot’s “Pipe Master” line)
- Pipe fittings (2 × elbows, 2 × flanges): $18
- 1‑in × 12‑in lumber board (¾‑in thick): $12
- Spray paint (optional matte black): $6
Tools Required
- Pipe cutter or hacksaw
- Adjustable wrench
- Drill with ½‑in spade bit
- Level
Installation Steps
- Cut pipe to desired length (typically 24‑30 in for a standard shelf).
- Assemble the flange‑elbow‑flange configuration; this creates a “U” that will hold the board.
- Mark and drill pilot holes for the flanges; anchor into studs for maximum support.
- Slide the board into the pipe cradle and tighten the elbow to lock it in place.
- Repeat for additional shelves, adjusting height by moving the flange up or down.
Pros & Cons
- Pros: Adjustable, rugged look, can hold up to 100 lb per shelf.
- Cons: Slightly heavier; pipe may need rust‑proofing if exposed to moisture.
Rating: ★★★★☆ (4.3/5)
3. Minimalist Glass Shelves with Invisible Brackets
Glass adds a floating illusion that’s perfect for a bathroom or a modern kitchen. One mistake I see often is using thin tempered glass that can crack under weight. Opt for ½‑in thick annealed glass.
Materials & Cost
- Clear tempered glass (24 × 12 in, ½‑in thick): $45 (Lowes Glass Department)
- Invisible shelf brackets (set of 2): $30 (Rockler “Clear Shelf Bracket”)
- Silicone adhesive (optional): $5
Tools Required
- Drill with ¼‑in masonry bit (for wall anchors)
- Stud finder
- Level
Installation Steps
- Locate studs and mark bracket locations 1 in from each edge.
- Secure brackets with 2‑in wood screws into studs; ensure they are level.
- Gently place the glass onto the brackets; use a small bead of silicone for extra security if desired.
Pros & Cons
- Pros: Ultra‑clean look, reflects light, ideal for small spaces.
- Cons: Higher cost, limited load (max 30 lb), careful handling required.
Rating: ★★★★✩ (4.0/5)
4. Reclaimed Wood Shelves with Rustic Charm
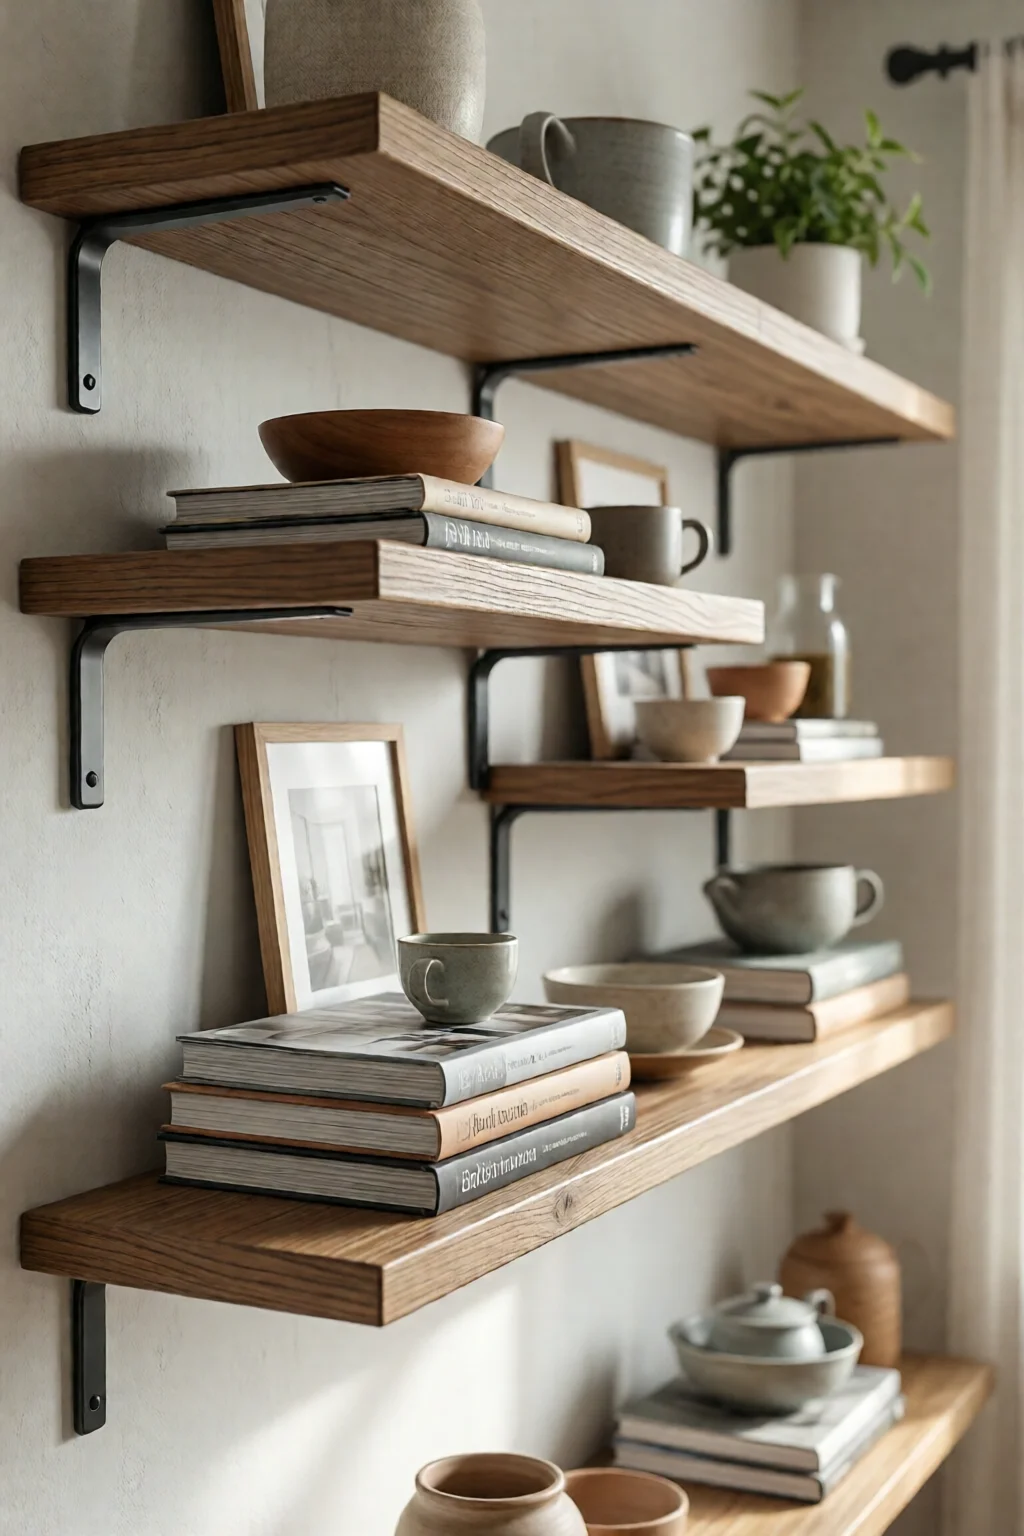
There’s something undeniably warm about a shelf made from salvaged barn wood. I sourced my own pieces from a local demolition site, paying just $1.20 per board foot.
Materials & Cost
- Reclaimed barn wood (24 × 12 in, 1‑in thick): $18
- Heavy‑duty hidden brackets (metal rod system): $14
- Finishing oil (e.g., Minwax Penetrating Oil): $9
Tools Required
- Circular saw or miter saw
- Orbital sander
- Drill
- Level
Installation Steps
- Plane and sand the reclaimed wood to remove splinters.
- Cut to desired length; apply oil and let dry 24 hrs.
- Install hidden brackets as described in Idea 1, but use longer rods (48‑in) for extra support.
- Mount the shelf and enjoy the aged patina.
Pros & Cons
- Pros: Eco‑friendly, unique character, can hold up to 80 lb.
- Cons: Variable dimensions; may require extra sanding.
Rating: ★★★★★ (4.8/5)
5. IKEA Lack Shelf Hack for Budget‑Friendly Floating Look
When you need a quick, cheap solution, the IKEA Lack series is unbeatable. I’ve turned a 30‑in × 30‑in Lack shelf into a floating piece for under $30 total.
Materials & Cost
- IKEA Lack shelf (30 × 30 in): $12
- Two L‑shaped steel brackets (2 × 4‑in): $8 (Harbor Freight)
- Wood filler, paint, and sandpaper: $6
Tools Required
- Drill
- Stud finder
- Paintbrush
Steps
- Remove the back panel of the Lack shelf.
- Attach the L‑brackets to the back, aligning them with where you’ll mount the shelf.
- Paint or stain the shelf to match your décor.
- Secure the brackets to studs using 2‑in wood screws.
- Slide the shelf onto the brackets; the back panel is hidden, giving a floating illusion.
Pros & Cons
- Pros: Inexpensive, widely available, easy to replace.
- Cons: Limited load (max 25 lb), aesthetic depends on finishing.
Rating: ★★★★✩ (4.2/5)
6. DIY Corner Floating Shelf for Maximizing Tight Spaces
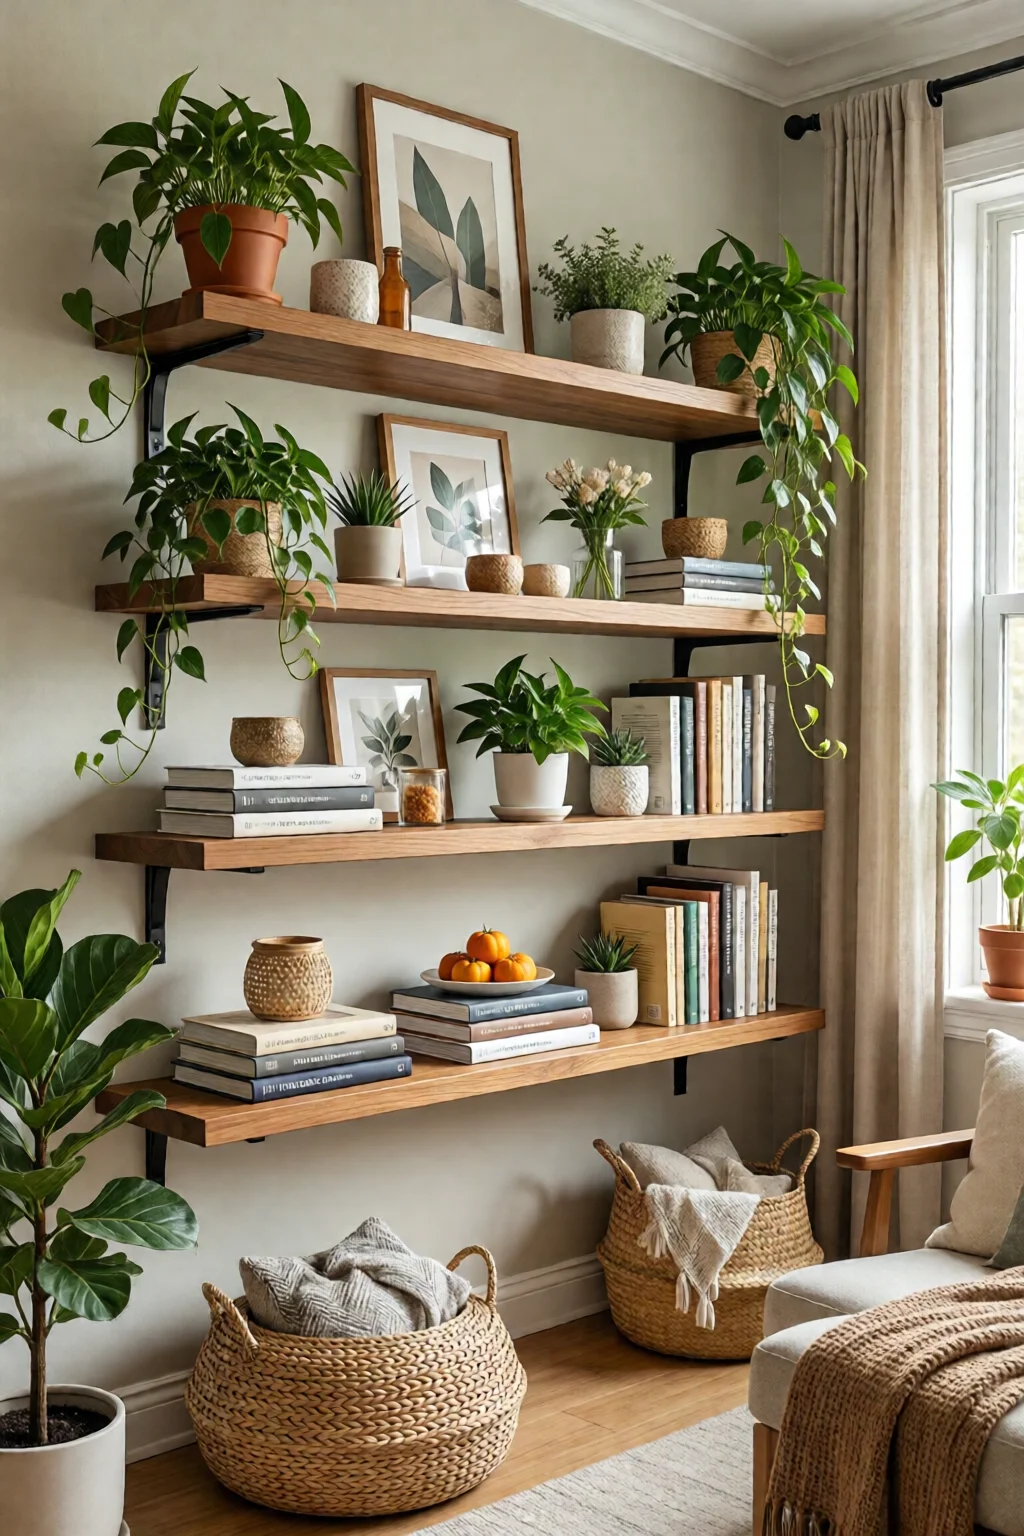
Corner niches often go unused. By installing a triangular floating shelf, you can display plants or books without sacrificing floor space. I’ve used this design in my own japandi living room to keep the aesthetic minimal.
Materials & Cost
- Triangular plywood (12 × 12 × 6 in): $14
- Hidden rod system (same as Idea 1): $12
- Paint or veneer: $8
Tools Required
- Jigsaw for cutting the triangle
- Drill, level
- Clamps
Installation
- Cut plywood into an isosceles right triangle.
- Drill a ¼‑in hole at the apex for the rod.
- Mount the rod brackets on the two adjoining walls, ensuring they intersect at the triangle’s apex.
- Slide the shelf onto the rod and secure.
Pros & Cons
- Pros: Utilizes dead space, stylish, supports up to 40 lb.
- Cons: Requires precise angle measurements.
Rating: ★★★★☆ (4.4/5)
7. Wall‑Mounted Shelf with Integrated LED Strip Lighting
Adding subtle illumination transforms a plain shelf into a showcase. I paired a 12‑V LED strip (from Philips Hue) with a simple hidden‑rod shelf for a modern home bar display.
Materials & Cost
- 1‑inch stainless rod & plates: $20
- Wood board (24 × 12 in, ¾‑in): $15
- Philips Hue White Ambiance LED strip (5 m): $30
- Power adapter and dimmer switch: $12
Tools Required
- Drill, level
- Screwdriver
- Wire stripper (for LED installation)
Installation Steps
- Install the hidden rod as in Idea 1.
- Attach the LED strip to the underside of the board using the adhesive backing.
- Run the power cable through a small drilled hole at the back, securing with a cable clamp.
- Connect to the dimmer or Hue app for adjustable brightness.
- Mount the shelf and enjoy the glow.
Pros & Cons
- Pros: Eye‑catching, functional lighting, supports up to 60 lb.
- Cons: Slightly higher cost, requires basic electrical knowledge.
Rating: ★★★★★ (4.7/5)
Comparison Table: Top DIY Floating Shelf Ideas
| Idea | Materials Cost (USD) | Tools Needed | Difficulty (1‑5) | Time Required (hrs) | Overall Rating |
|---|---|---|---|---|---|
| Hidden Steel Rod (Classic) | 45 | Drill, level, spade bit | 3 | 2.5 | 4.5/5 |
| Industrial Pipe | 68 | Pipe cutter, wrench | 4 | 3 | 4.3/5 |
| Glass with Invisible Brackets | 80 | Drill, stud finder | 4 | 2 | 4.0/5 |
| Reclaimed Wood | 41 | Saw, sander, drill | 3 | 3.5 | 4.8/5 |
| IKEA Lack Hack | 26 | Drill, paintbrush | 2 | 1.5 | 4.2/5 |
| Corner Triangle Shelf | 34 | Jigsaw, drill | 3 | 2 | 4.4/5 |
| LED‑Integrated Shelf | 77 | Drill, wire stripper | 4 | 3 | 4.7/5 |
Putting It All Together: Choosing the Right Shelf for Your Space
First, assess the wall’s load‑bearing capacity. If you have studs every 16 in, any of the above ideas will work. For drywall‑only walls, I recommend the hidden‑rod system with toggle bolts (e.g., Toggler 5‑8 in at $0.45 each).
Second, consider the visual style. A minimalist glass shelf fits a mirror‑decorated wall theme, while reclaimed wood pairs beautifully with dual‑purpose home office settings.
Third, match the load requirement to your intended use—books need sturdier brackets, while decorative vases are lighter.
Maintenance Tips to Keep Your Shelves Floating Forever
- Check screws quarterly; tighten any that have settled.
- For wood, reapply a thin coat of oil or polyurethane every 12 months to prevent moisture damage.
- Clean glass shelves with a non‑abrasive cleaner to avoid streaks.
- LED strips should be dust‑wiped with a microfiber cloth to maintain brightness.
Final Verdict
When it comes to DIY floating shelves ideas and tutorial, the hidden‑rod classic remains the most versatile—offering a sleek look, high load capacity, and moderate cost. However, each alternative brings a unique personality: industrial pipe for loft vibes, glass for modern minimalism, reclaimed wood for rustic warmth, and LED integration for a high‑tech touch. Pick the style that resonates with your room’s vibe, budget, and skill level, and you’ll have a functional, eye‑catching shelf in no time.
How much weight can a typical DIY floating shelf hold?
A well‑installed hidden‑rod shelf can support up to 75 lb per shelf, while glass shelves are limited to about 30 lb. Always anchor brackets into studs for maximum safety.
Do I need a stud finder for every installation?
If you’re hanging shelves on drywall without studs, use heavy‑duty toggle bolts or Molly anchors. However, locating studs simplifies the process and greatly increases load capacity.
Can I paint or stain my floating shelves after they’re installed?
Yes, but it’s easier to finish the wood before mounting. If you need to touch up after installation, use a small artist’s brush and protect surrounding walls with painter’s tape.
What’s the best way to hide the mounting hardware?
Hidden‑rod systems and invisible brackets are designed for this. For other methods, cover the hardware with a decorative back panel or use a thin trim piece that matches the wall color.
Are floating shelves safe for children’s rooms?
Absolutely, as long as you secure them to studs and respect the weight limits. For a nursery, consider lower placement (under 48 in) and use rounded edges to avoid injuries.