Ever wondered why the best gatherings always seem to happen around a well‑designed home bar?
In This Article
- What You Will Need Before You Start
- Step 1 – Choose the Right Location and Layout
- Step 2 – Build a Sturdy Base
- Step 3 – Install Plumbing and Electrical
- Step 4 – Choose and Install the Countertop
- Step 5 – Add Storage Solutions and Finishing Touches
- Step 6 – Light It Right
- Step 7 – Furnish and Personalize
- Common Mistakes to Avoid
- Troubleshooting & Tips for Best Results
- Summary Conclusion
What You Will Need Before You Start
Before you dive into the home bar ideas designs and setup, gather these essentials so you’re not scrambling mid‑project.
- Space Planning Tools: A tape measure (preferably metric/imperial), graph paper or a free app like SketchUp Free. I always start with a 1:12 scale drawing to visualize flow.
- Bar Core Components: Countertop (granite, quartz, or reclaimed wood), base cabinets (standard 24‑inch depth), a sink (BarCo 24‑inch stainless steel bar sink – $199), and a refrigerator or kegerator (Kegco KegWorks 30L – $1,299).
- Lighting: LED strip lights ($12 per 5‑ft reel), pendant lights (West Elm Mid‑Century Brass Pendant – $149 each), or under‑cabinet puck lights ($8 each).
- Plumbing & Electrical: ½‑inch PEX tubing, a 15‑amp circuit breaker, GFCI outlet, and basic tools (pipe wrench, drill, level).
- Storage & Accessories: Glassware racks (Libbey 12‑piece – $39), a wine cooler (EdgeStar 12‑Bottle – $299), and a bar cart (IKEA RÅSKOG utility cart – $79).
- Finishing Touches: Barstools (Herman Miller Eames Molded Plastic – $199 each), decorative backsplashes (subway tile – $1.25 per sq ft), and signage (custom neon – $120).
Step 1 – Choose the Right Location and Layout
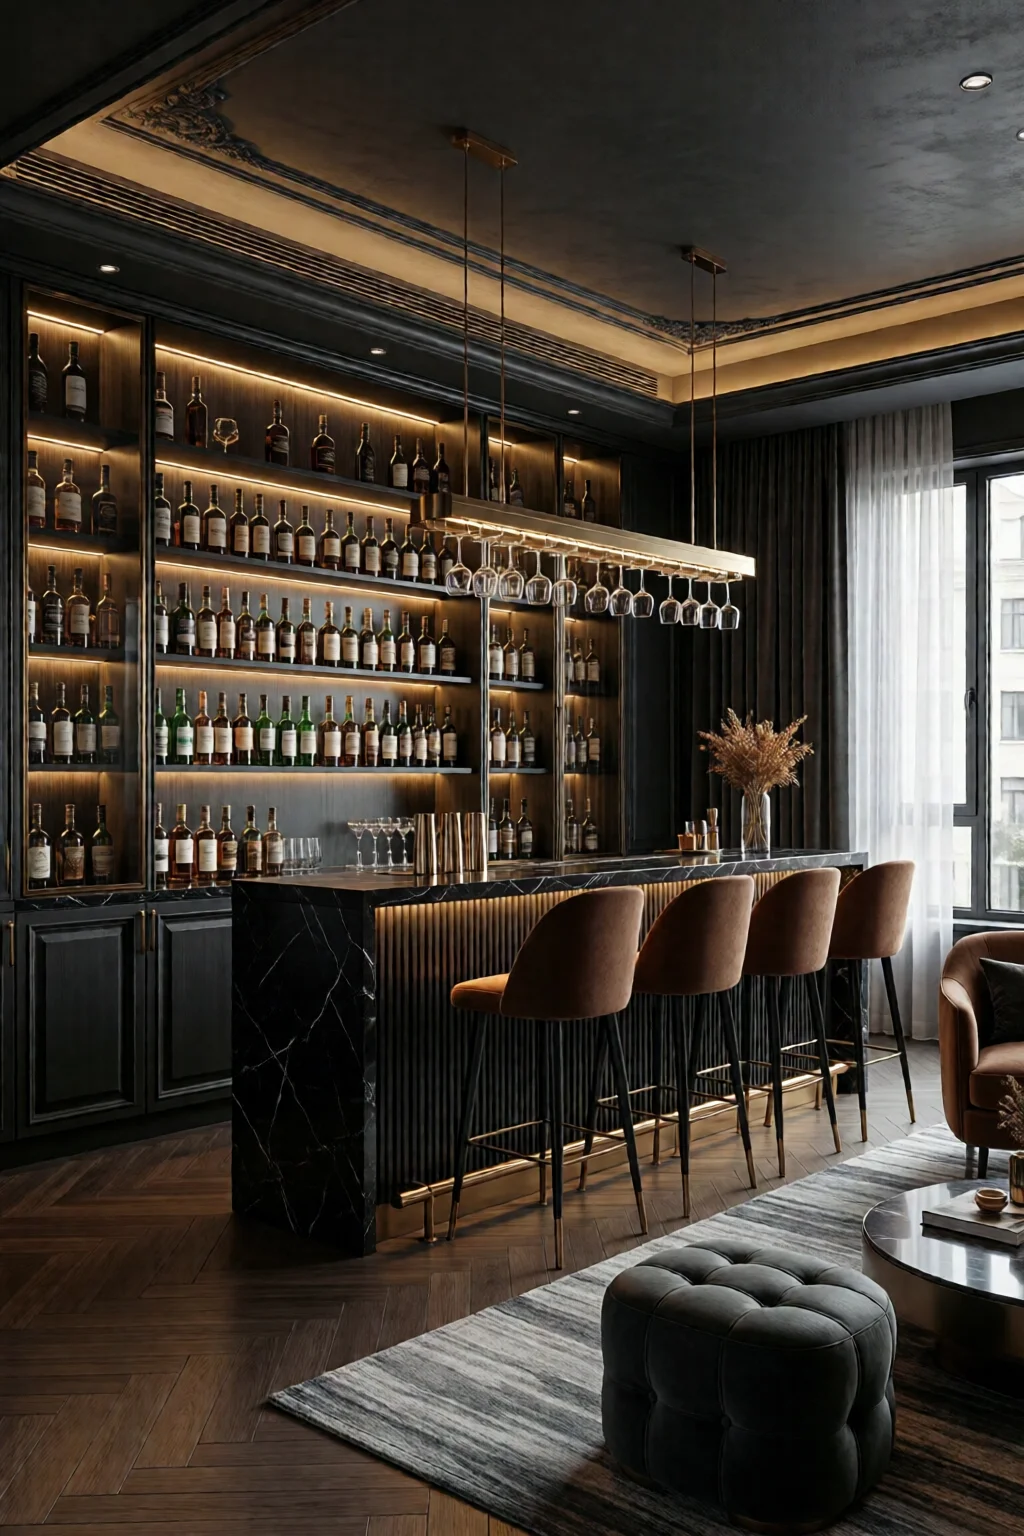
First, decide whether your bar will be a dedicated room, a wall niche, or a portable cart. In my experience, a wall‑mounted “wet bar” works best in open‑plan living spaces because it keeps traffic flowing without creating a bottleneck.
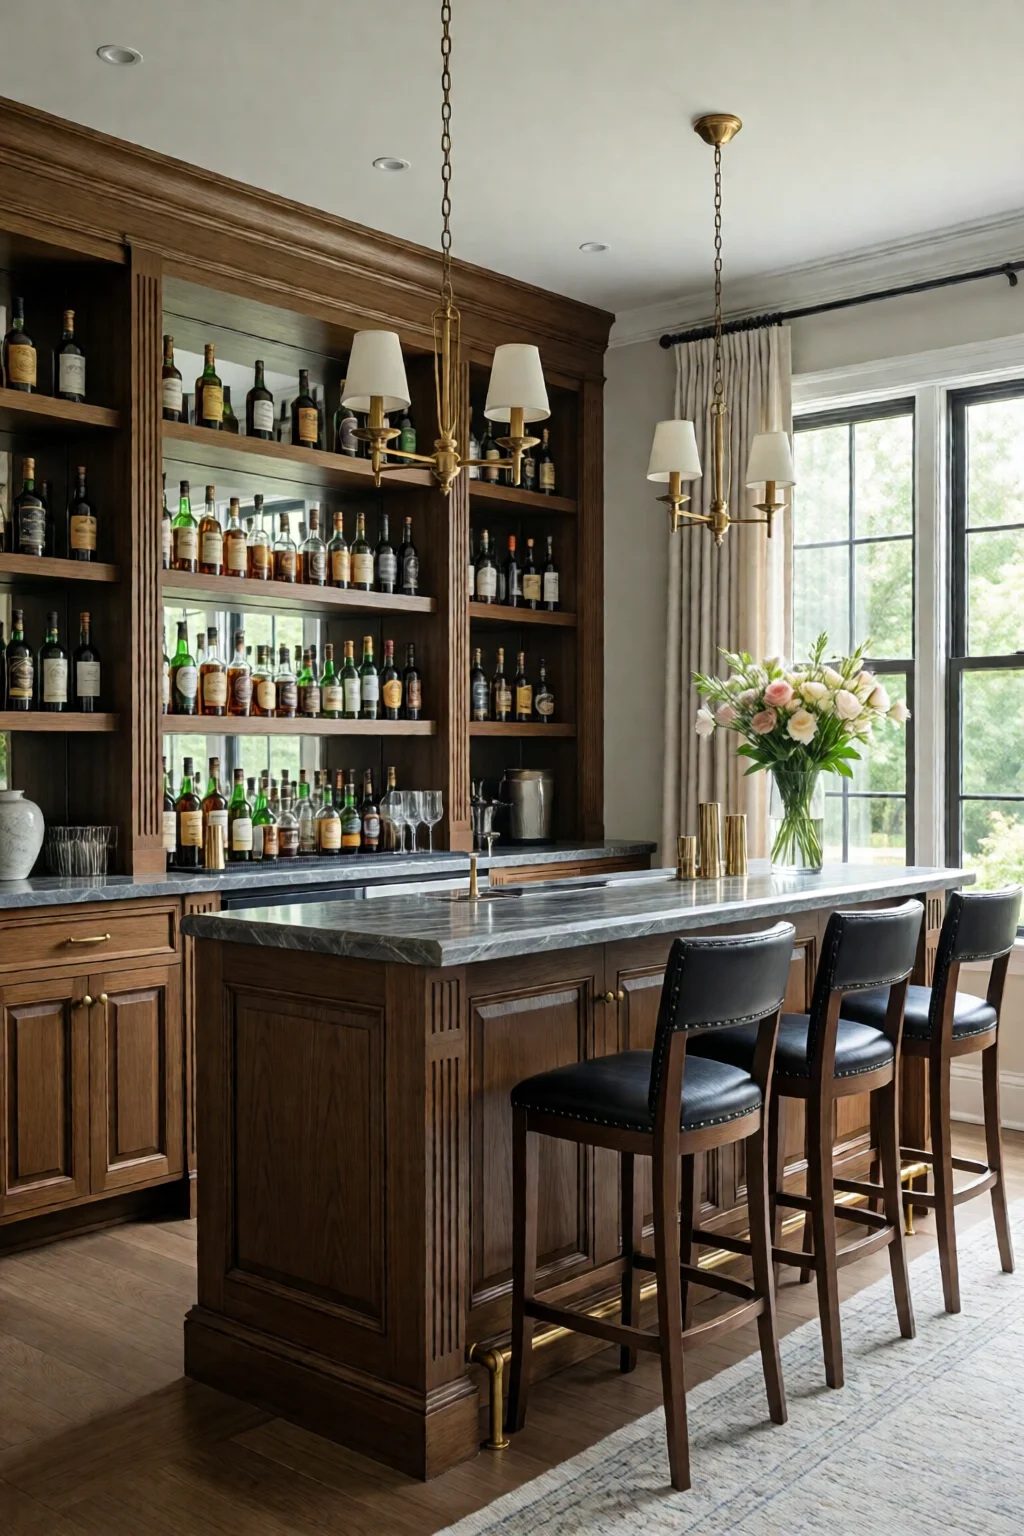
Measure your space. For a standard 8‑foot wall, allocate at least 30 inches of width for the countertop and 24 inches of depth for cabinets. If you’re working with a small apartment, a 4‑foot “bar island” with a 36‑inch diameter round countertop can still feel luxurious.
Consider sight lines. If you have a wainscoting ideas for walls modern feature behind the bar, the vertical lines will accentuate the height of the back bar and make the space feel larger.
Step 2 – Build a Sturdy Base
Start with a 2×4 framing system anchored to the floor joists. I recommend a 2‑inch plywood base (¾‑inch thick) for added rigidity—especially if you plan to install a heavy stone countertop.
Secure cabinets to the base with 3‑inch wood screws. For a floating effect, use a hidden French cleat system (about $30) that lets the cabinets appear suspended.
Step 3 – Install Plumbing and Electrical
Run a ½‑inch PEX line from your nearest sink to the bar sink location. Add a shut‑off valve ($12) for easy maintenance. For the refrigerator, install a dedicated 120‑V GFCI outlet ($15) to meet code.
Lay out LED strip lighting under the countertop lip, connecting to a dimmer switch ($25) so you can shift from bright cocktail prep to soft lounge ambience with a flick.
Step 4 – Choose and Install the Countertop
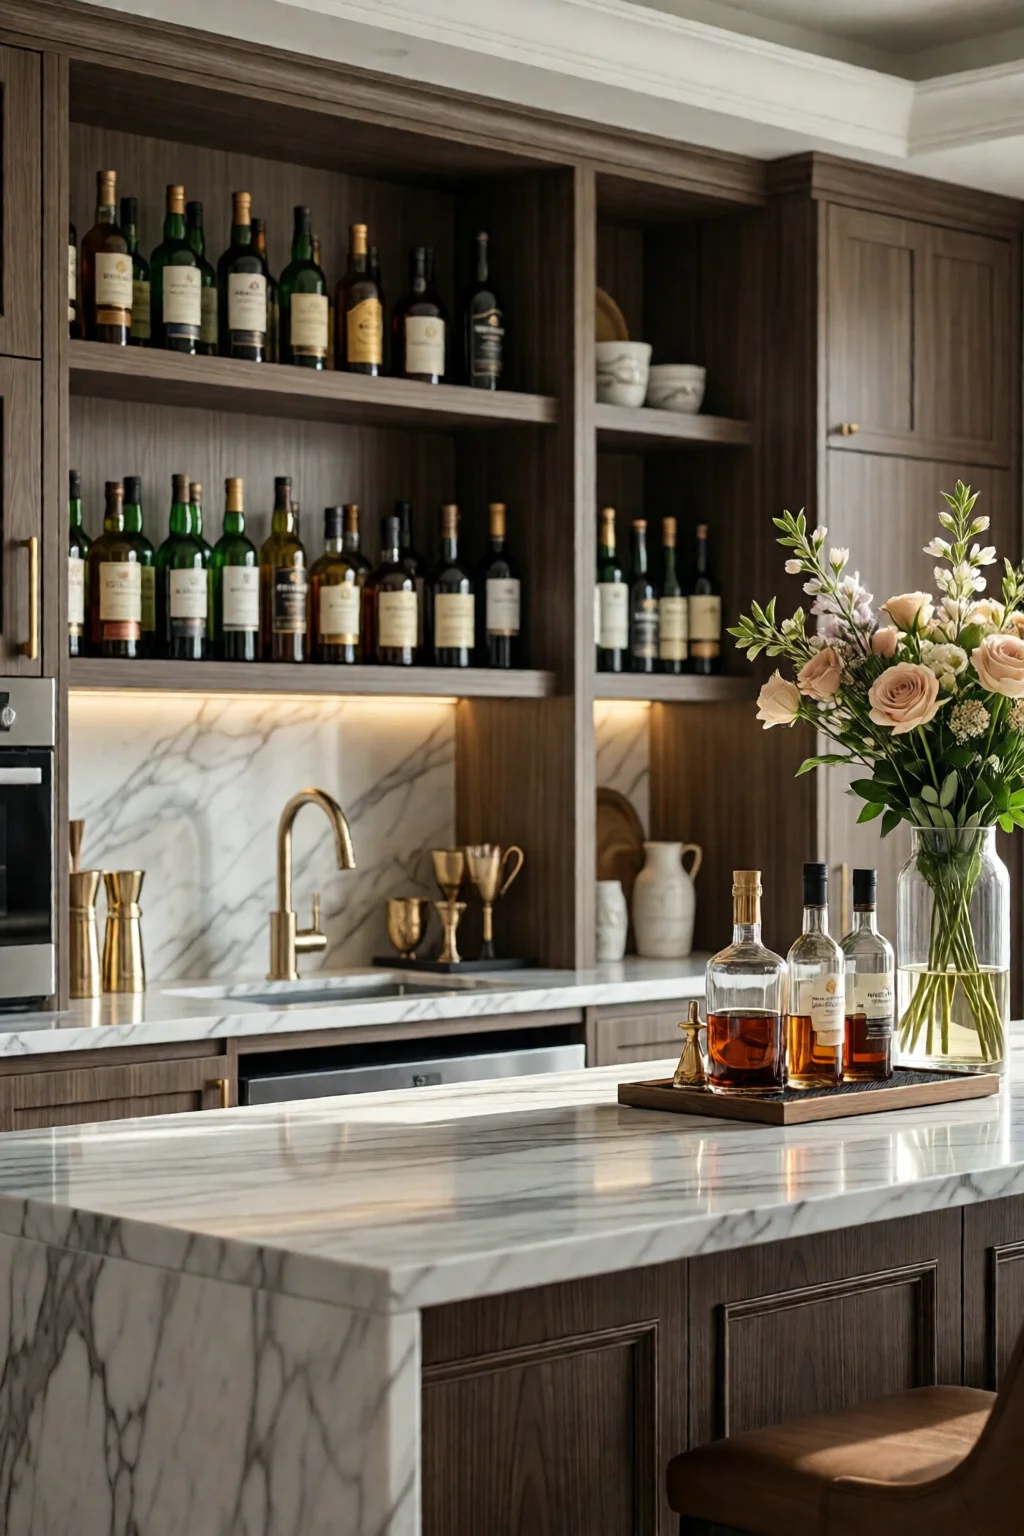
Quartz is my go‑to for durability and low maintenance. A 2‑cm thick slab from Caesarstone (e.g., “Blanco Carrara”) runs about $85 per square foot installed. For a 8‑ft by 2‑ft bar, that’s roughly $1,360.
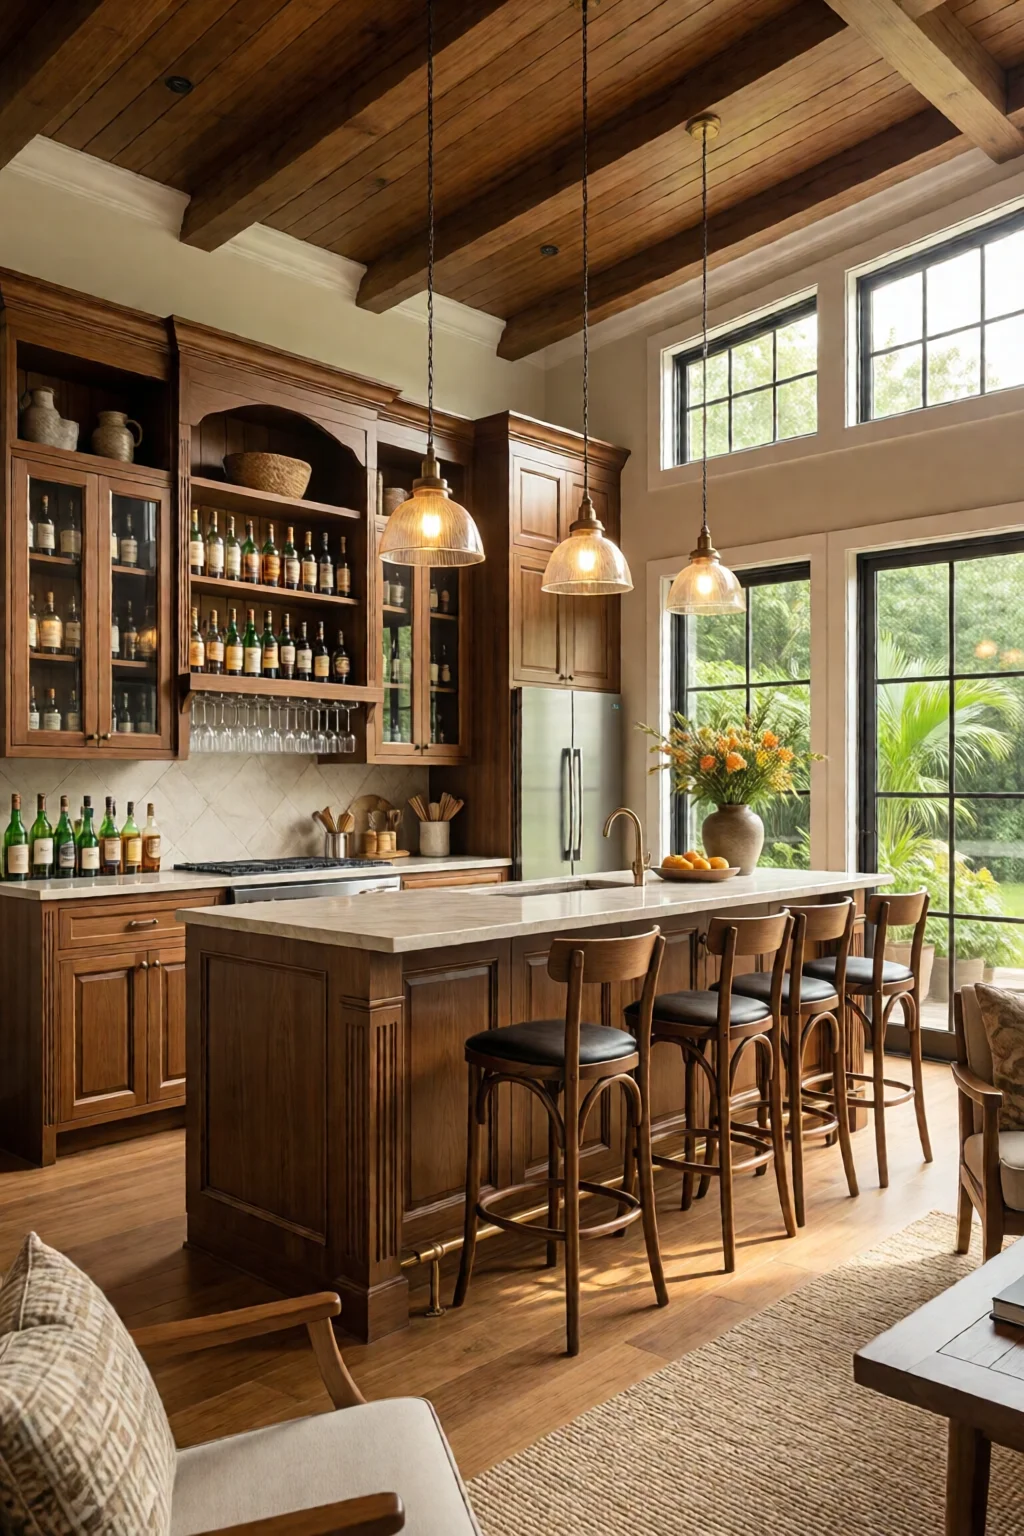
If you love reclaimed charm, look for salvaged barn wood. A 1‑inch thick slab can be sanded and sealed for $45 per board foot, plus $150 for finishing.
Step 5 – Add Storage Solutions and Finishing Touches
Install pull‑out shelves inside the cabinets for bottle storage—adjustable dividers cost $10 each. Mount a magnetic knife strip ($8) for bar tools, and add a pegboard (wall paneling ideas modern and classic) on the back wall to hang cocktail shakers, muddlers, and a jigger set.
Don’t forget a backsplash. Subway tile in a herringbone pattern adds visual interest for $1.25 per sq ft, plus $40 for grout.
Step 6 – Light It Right
Layer your lighting: ambient (pendants), task (under‑cabinet LEDs), and accent (backlit shelving). For a sleek look, choose warm‑white LEDs (3000 K) that highlight the glassware without washing out color.
Install a dimmable 2‑way switch so you can transition from cocktail‑making mode (bright) to lounge mode (soft).
Step 7 – Furnish and Personalize
Choose barstools that complement the overall décor. I love the mid‑century modern vibe of West Elm’s “Industrial Swivel Barstool” – $149 each, 30‑inch seat height, perfect for a 42‑inch countertop depth.
Finish with a few personality pieces: a vintage liquor poster, a small indoor herb garden for fresh garnishes, and a custom neon sign that reads “Cheers!” ($120). If your home has an staircase wall decorating ideas setup, you can install a mirrored back bar that reflects light and creates an illusion of depth.
Common Mistakes to Avoid
- Under‑estimating Clearance: A common error is forgetting the 42‑inch “cocktail circle” around the bar. Without this space, guests feel cramped.
- Skipping Proper Ventilation: If you install a kegerator, ensure there’s a vent or a small window; otherwise the unit will overheat and your beer will go flat.
- Choosing the Wrong Countertop Thickness: Thin laminate can flex under weight, leading to cracks. Always go for at least 1.5‑inch thickness for stone.
- Ignoring Electrical Load: Adding too many appliances on a single circuit trips breakers. Split the fridge and lighting onto separate circuits.
- Forgetting the Back Bar Aesthetic: A plain plywood back wall looks unfinished. Use a decorative panel, reclaimed wood, or a bold paint color (e.g., deep navy) to complete the look.
Troubleshooting & Tips for Best Results
Problem: LED strips flicker after installation.
Solution: Use a compatible driver rated for the total wattage and add a short length of 12‑inch LED as a “buffer” to smooth out voltage spikes.
Problem: The bar sink leaks at the faucet joint.
Solution: Tighten the compression nut an additional ¼ turn and apply plumber’s tape. If the leak persists, replace the faucet’s O‑ring ($5).
Tip: To maximize storage in a narrow bar, install a pull‑out wine rack that holds 12 bottles vertically—cost $70, but frees up cabinet space for mixers.
Tip: Use a TV wall decor ideas and designs approach for the bar’s back wall: a framed gallery of cocktail recipe prints creates conversation starters.
Summary Conclusion
Designing a home bar is more than picking a countertop; it’s about crafting a functional stage where drinks, conversation, and memories flow together. By following these home bar ideas designs and setup steps—planning your layout, building a solid base, installing proper plumbing and lighting, choosing durable surfaces, and adding thoughtful storage—you’ll create a space that feels both professional and personal.
Remember, the best bars evolve with you. Start with the essentials, then layer in the luxe details as your entertaining style matures. Cheers to a bar that’s as inviting as it is efficient!
How much does a basic home bar cost?
A modest setup—basic cabinets, a laminate countertop, a small fridge, and a few bar stools—can be assembled for $2,500–$3,500. Upgrading to quartz, a kegerator, and custom lighting pushes the total to $7,000–$10,000.
Can I install a home bar in a rental?
Yes. Use a portable bar cart (like the IKEA RÅSKOG) or a freestanding cabinet that doesn’t require permanent anchoring. Opt for peel‑and‑stick backsplashes and removable wallpaper to avoid damage.
What lighting works best for a home bar?
Layered lighting: pendant lights for ambience, LED strips under the counter for task illumination, and accent lights on shelves for visual interest. Warm‑white LEDs (3000 K) create a cozy vibe.
Do I need a licensed plumber for the bar sink?
If you’re adding new water lines, a licensed plumber is recommended to meet local code. Simple connections to existing lines can often be done DIY with proper fittings.
How much space should I allocate per person at the bar?
Plan for 24‑30 inches of bar width per guest. This allows enough room for a glass, a napkin, and a bit of elbow space without crowding.