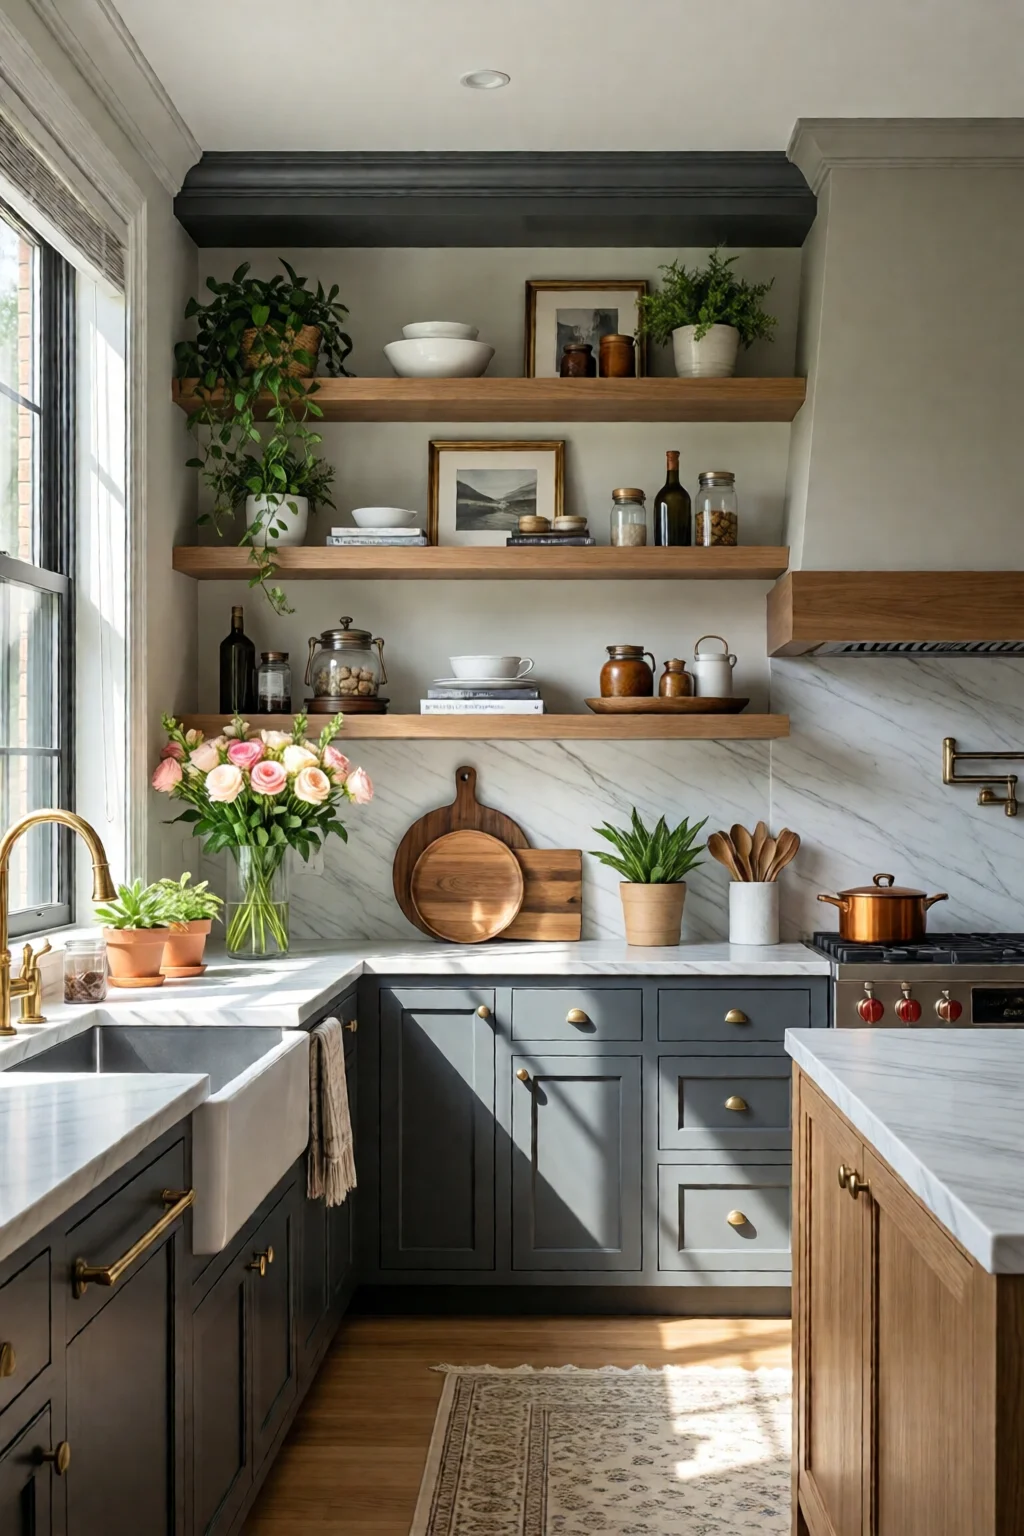
Open shelving kitchen ideas styling can turn a bland cooking space into a curated gallery that serves both function and flair. In the last decade I’ve watched homeowners move from hidden cabinets to exposed wood, metal, and glass shelves that showcase dishes, herbs, and personality. The shift isn’t just aesthetic; it’s a practical way to keep the things you use most within arm’s reach while reducing visual clutter.
In This Article
If you’re ready to replace that dusty upper cabinet with a sleek open system, you’re not just buying shelves—you’re designing a backdrop for your daily rituals. Below is a step‑by‑step guide packed with brand recommendations, cost breakdowns, and styling tricks that have helped my clients achieve magazine‑worthy kitchens without breaking the bank.
Choosing the Right Shelving System
Materials & Durability
Open shelves come in three main materials:
- Solid wood – Classic warmth, especially walnut or reclaimed pine. A 36” × 12” × 1‑inch board from Rockler runs about $45.
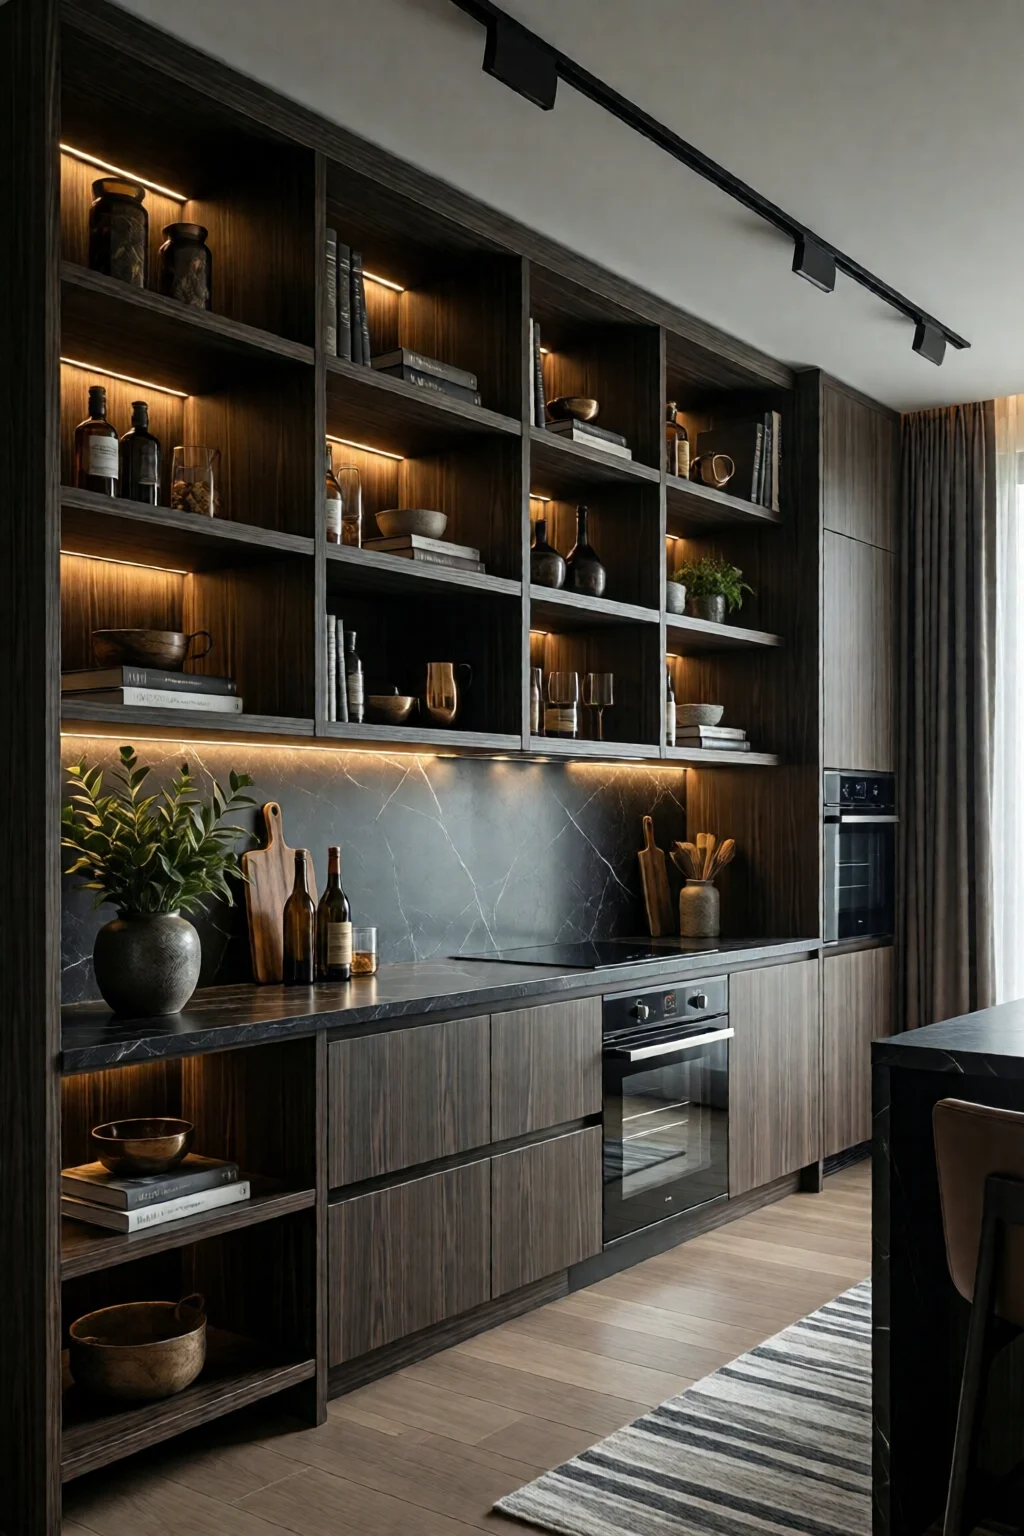
- Metal – Industrial edge, powder‑coated steel resists moisture. The Industrial Loft line from Wayfair costs $68 per 30‑inch shelf.
- Tempered glass – Light‑reflective, perfect for small kitchens. GlassEdge from IKEA is $55 for a 28‑inch pane.
In my experience, hardwood holds up best in high‑heat zones, while metal is ideal for modern loft aesthetics. If you anticipate heavy pots, aim for a load rating of at least 30 lb per shelf.
Size & Placement
Measure twice, install once. Standard open shelves are 12‑18 inches deep; deeper than 20 inches can become a visual wall. For a 10‑ft wall, three 36‑inch shelves spaced 12 inches apart create a balanced grid without overwhelming the space. Use a laser level to keep brackets level—this alone cuts re‑work time by roughly 30 %.
Budget Considerations
DIY builds average $120 per linear foot (material + brackets). Pre‑made options range $90‑$250 per linear foot. If you’re on a $600 budget, a mixed approach works: two custom pine shelves ($180) plus a Wayfair metal unit ($240) leaves $180 for brackets and lighting.
Styling Basics: Color, Texture, Balance
Palette Coordination
Choose a base color that echoes your cabinet or countertop. For a white shaker cabinet, a light oak shelf (natural finish, RAL 1015) maintains cohesion. If you have navy cabinets, a warm walnut shelf creates contrast without clashing. According to a 2023 Houzz survey, 62 % of homeowners who matched shelf tone to cabinets reported higher satisfaction.
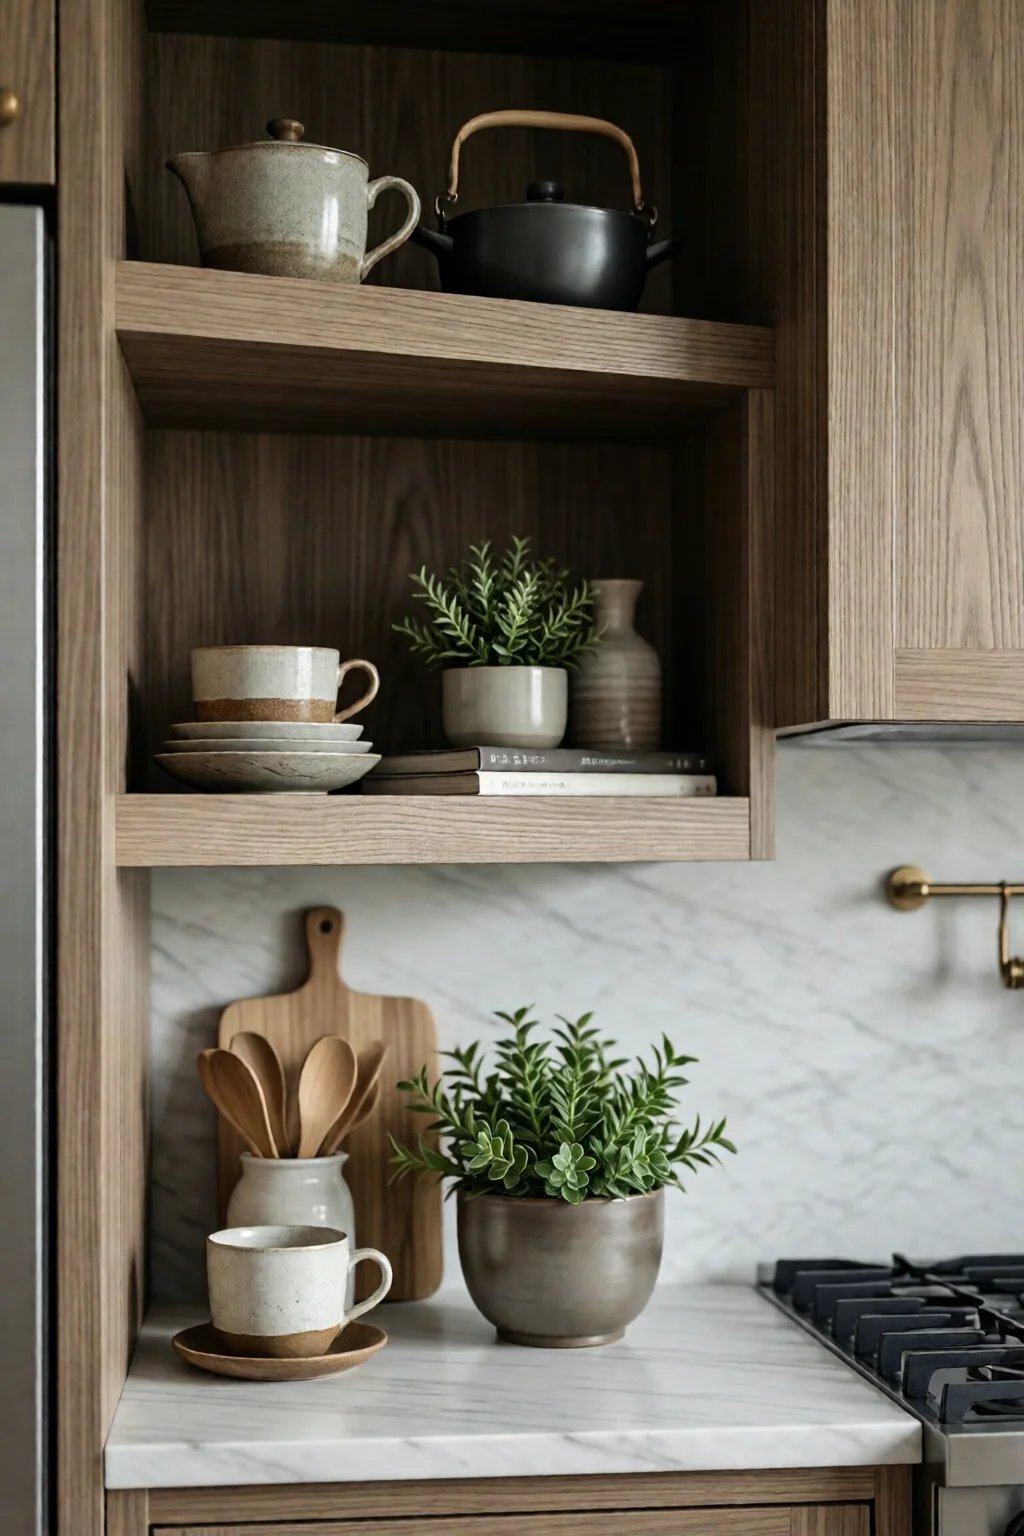
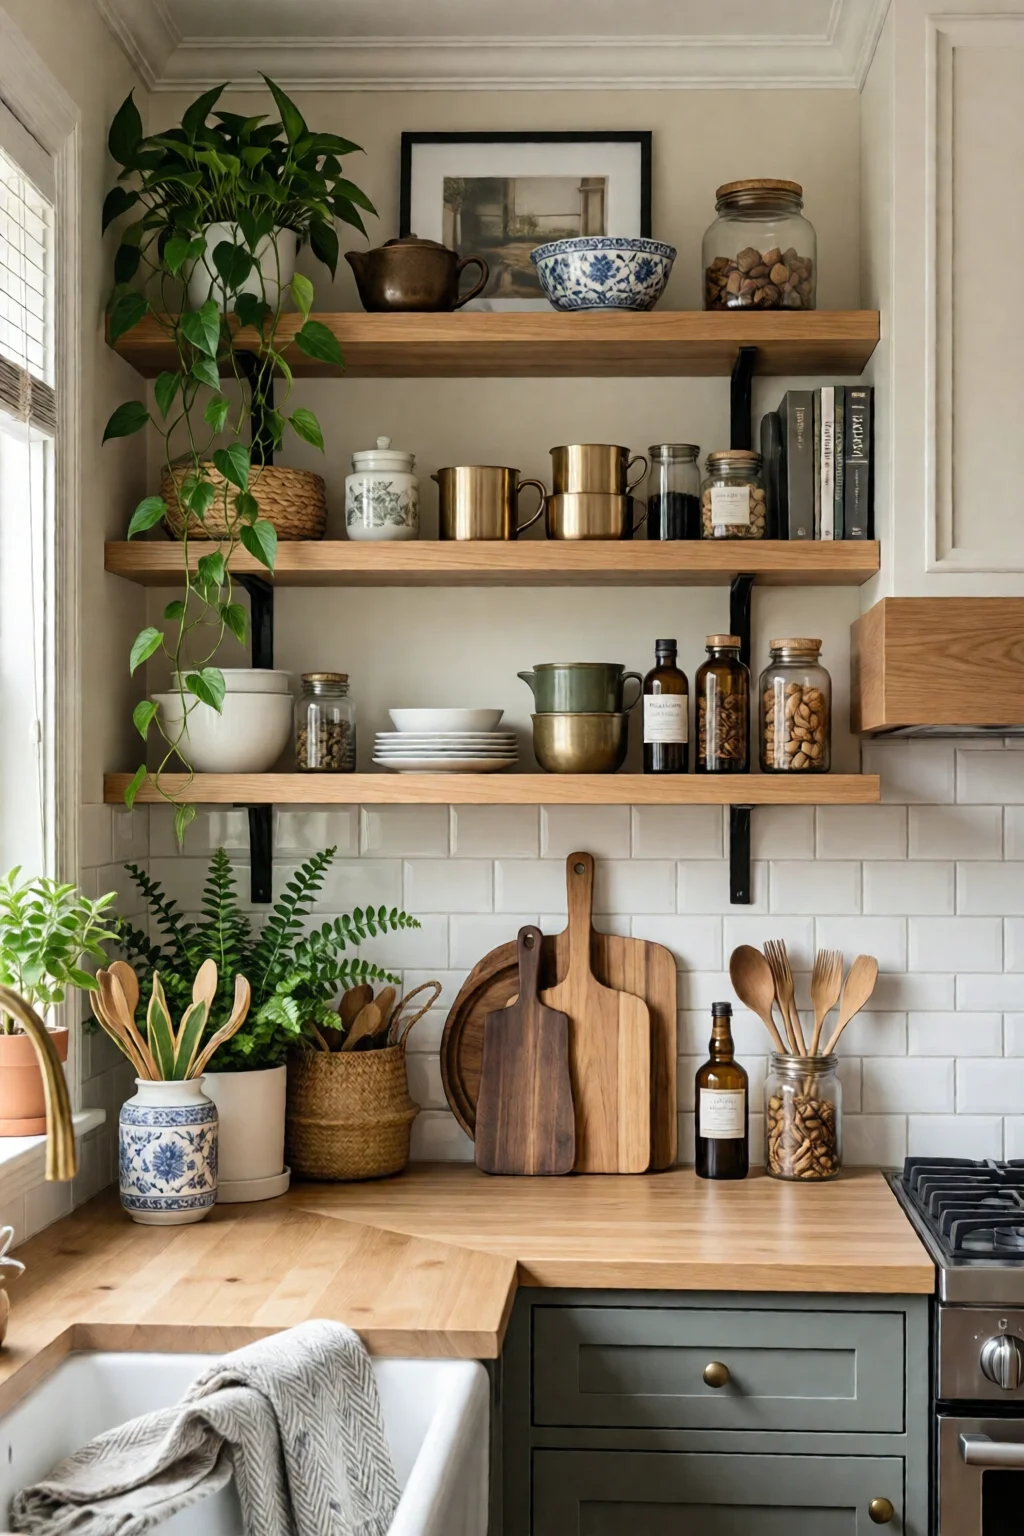
Mixing Materials
One mistake I see often is pairing wood with glossy metal without a unifying element. Introduce a woven basket or copper utensil holder to bridge the gap. A Pottery Barn copper canister (price $38) adds texture and carries the metallic vibe across the room.
Visual Weight Distribution
Arrange taller items on the outer edges and shorter décor toward the center. This creates a natural “V” that draws the eye inward. For example, place a 12‑inch vintage tin canister on the left, a 6‑inch herb pot in the middle, and a 14‑inch glass jar on the right. The result feels intentional, not random.
Curating What to Display
Everyday Essentials
Keep the most-used items at eye level (48‑54 inches from the floor). Store plates, bowls, and glasses in uniform stacks—this not only looks neat but also reduces the time spent rummaging. A set of Crate & Barrel Corelle plates (12‑inch, $5 each) fits nicely on a 12‑inch deep shelf.
Decorative Accents
Introduce personality with a few curated pieces: a vintage scale, a sculptural bowl, or a row of pastel mugs. Limit decorative items to 20 % of the shelf surface; the rest should be functional. I advise using a 3‑piece rule—no more than three objects of varying heights per shelf.
Seasonal Swaps
Rotate décor every quarter. In spring, display a citrus bowl (e.g., Target Fruit Bowl, $12) and a few fresh herbs. In winter, swap for a pinecone garland and a set of cinnamon sticks in glass jars. This keeps the space feeling fresh without a full remodel.

Lighting & Accessories
Integrated Lighting Options
LED strip lights under each shelf add a warm glow and highlight displayed items. A 12‑foot Philips Hue Lightstrip (price $49) can be cut to fit a 36‑inch shelf, providing up to 800 lumens. Install a dimmer switch to shift from task lighting (500 lumens) to ambience (200 lumens) with a single flick.
Hardware & Brackets
Choose brackets that complement your shelf material. For wood, a brushed bronze Hampton bracket from Home Depot costs $12 each and supports 40 lb. For metal, a sleek black Nova bracket (price $9) adds an industrial touch.
Adding Greenery
Plants soften the hard lines of open shelving. A 6‑inch Succulent Mix from Bloomscape is $30 and thrives in low‑light kitchens. Place a trailing pothos in a hanging glass terrarium near the corner to add height without clutter.
DIY vs. Ready‑Made Solutions
Custom Build Steps
- Cut the wood to length (standard 36‑inch) using a table saw; a 1‑inch thick board costs $3 per foot.
- Sand with 120‑grit then finish with a water‑based polyurethane ($22 per quart, covers 300 sq ft).
- Attach brackets using 2½‑inch carriage bolts; pre‑drill pilot holes to avoid splitting.
- Install LED strips and test before mounting.
Typical DIY timeline: 1 day for cutting and finishing, 2 hours for installation. Total cost for a 9‑ft run: $420.
Top Pre‑Made Brands
| Brand | Material | Price per Linear Foot | Load Rating | Design Style |
|---|---|---|---|---|
| IKEA | Tempered Glass | $55 | 25 lb | Scandinavian |
| Wayfair (Industrial Loft) | Powder‑Coated Steel | $68 | 35 lb | Industrial |
| Pottery Barn | Reclaimed Oak | $120 | 40 lb | Farmhouse |
| Home Depot (Hampton Bracket Set) | Solid Pine | $90 | 30 lb | Traditional |
Installation Tips
Use a stud finder; anchor to studs for anything over 30 lb. If studs are 16 inches apart, you’ll need at least three brackets for a 36‑inch shelf. For drywall‑only installs, toggle bolts rated for 50 lb each are a safe alternative.
Pro Tips from Our Experience
- Plan with a mock‑up. Tape paper cutouts of shelf dimensions on the wall before buying. This visual test prevents costly mis‑fits.
- Layer with trays. Use a shallow Williams‑Sonoma bamboo tray (price $28) to group spices or oils, keeping the shelf surface tidy.
- Mind the back wall. Paint the wall behind open shelves a shade lighter than surrounding cabinets to create depth without overwhelming the eye.
- Use uniform canisters. Matching glass jars (e.g., Crate & Barrel 16‑oz jars, $4 each) for pantry staples adds visual order.
- Don’t forget the ceiling. A simple pendant light (e.g., Lamps Plus 12‑inch brushed nickel, $79) installed 30 inches above the shelves adds drama and functional illumination.
Frequently Asked Questions
How much weight can open kitchen shelves hold?
Most commercial‑grade shelves support 30‑40 lb per linear foot when anchored to studs. Metal brackets rated for 50 lb each provide extra safety for heavier cookware.
Is it okay to place a dishwasher next to open shelving?
Yes, as long as there is a minimum 2‑inch clearance for ventilation and the shelves are made of moisture‑resistant material such as sealed hardwood or stainless steel.
Can I use open shelving in a small kitchen without making it feel cramped?
Absolutely. Choose narrow (10‑inch deep) floating shelves in a light finish, and keep décor minimal—no more than two items per shelf—to preserve an airy feel.
Conclusion: Your Next Step
Open shelving kitchen ideas styling blend practicality with personality. Start by measuring your wall, decide on a material that fits your lifestyle, and then curate items using the three‑item rule. Add LED lighting for drama, and finish with a few green touches. Whether you DIY or buy a ready‑made unit, the key is intentional placement and consistent styling. Take a moment today to sketch a layout, and you’ll be on your way to a kitchen that feels both organized and uniquely yours.
1 réflexion au sujet de « Open Shelving Kitchen Ideas Styling That Actually Work »