When I was renovating my own kitchen two years ago, the moment I walked into the showroom and saw a slab of quartz shimmering under the lights, I knew the countertop would set the tone for the entire space. A well‑chosen surface can make a modest kitchen feel luxurious, while the wrong material can quickly become a headache. This kitchen countertop ideas materials guide will walk you through every decision point—from budgeting and measuring to selecting the perfect material and avoiding common pitfalls—so you end up with a countertop you’ll love for years.
In This Article
- What You Will Need or Before You Start
- Step 1 – Measure Your Space Precisely
- Step 2 – Set a Realistic Budget
- Step 3 – Choose the Material That Matches Your Lifestyle
- Step 4 – Pick an Edge Profile
- Step 5 – Order Samples and Test Them In‑Situ
- Step 6 – Arrange Fabrication and Installation
- Step 7 – Finish With Sealing and Care Instructions
- Common Mistakes to Avoid
- Troubleshooting or Tips for Best Results
- FAQ
- Summary
What You Will Need or Before You Start
- Accurate measurements: Length, width, and overhang (usually 1–1.5 in for a clean look).
- Budget worksheet: Include material cost per square foot, fabrication, edge profile, and installation labor.
- Sample board or swatches: Most retailers provide 12‑inch × 12‑inch samples for under $20.
- Tools for DIY install (if you’re hands‑on): Circular saw with a diamond blade, clamps, silicone caulk, level, and safety gear.
- Professional contacts: Fabricator, installer, and possibly a structural engineer if you’re adding heavy stone.
Before you dive into the material options, ask yourself these quick questions: How much traffic will the countertop see? Do you cook often and need heat resistance? Are you willing to perform regular sealing? Your answers will narrow the field dramatically.
Step 1 – Measure Your Space Precisely
Grab a steel tape and a notebook. Measure each cabinet run separately, noting any cut‑outs for sinks or appliances. Write the dimensions in inches, then convert to square feet using the formula: (Length × Width) ÷ 144. For a typical 30‑inch island that’s 48 in × 30 in, you get 10 sq ft (48 × 30 = 1440 ÷ 144 = 10). Add a 10 % waste factor for edge polishing and mistakes.
Step 2 – Set a Realistic Budget
Material costs vary wildly:
- Quartz (e.g., Cambria Calacatta): $70–$150 / sq ft, installation $30–$55 / sq ft.
- Granite (e.g., Silestone Black Galaxy): $40–$200 / sq ft, installation $35–$60 / sq ft.
- Solid Surface (e.g., Corian Mosaic): $50–$120 / sq ft, installation $25–$45 / sq ft.
- Butcher Block (e.g., John Boos Maple): $30–$100 / sq ft, installation $20–$40 / sq ft.
- Concrete (custom pour): $80–$130 / sq ft, installation $40–$70 / sq ft.
- Stainless Steel (e.g., Franke Stainless Steel): $70–$150 / sq ft, installation $45–$80 / sq ft.
Multiply the per‑square‑foot cost by the total square footage plus waste, then add a 15 % contingency for unexpected edge work. For a 70 sq ft kitchen, a quartz countertop typically lands around $8,400 – $13,200 all‑in.
Step 3 – Choose the Material That Matches Your Lifestyle
Quartz. Engineered stone, non‑porous, and low‑maintenance. Ideal for families because spills won’t stain. I installed Cambria Mosaic in my client’s home for $115 / sq ft and it held up beautifully against daily coffee splashes.
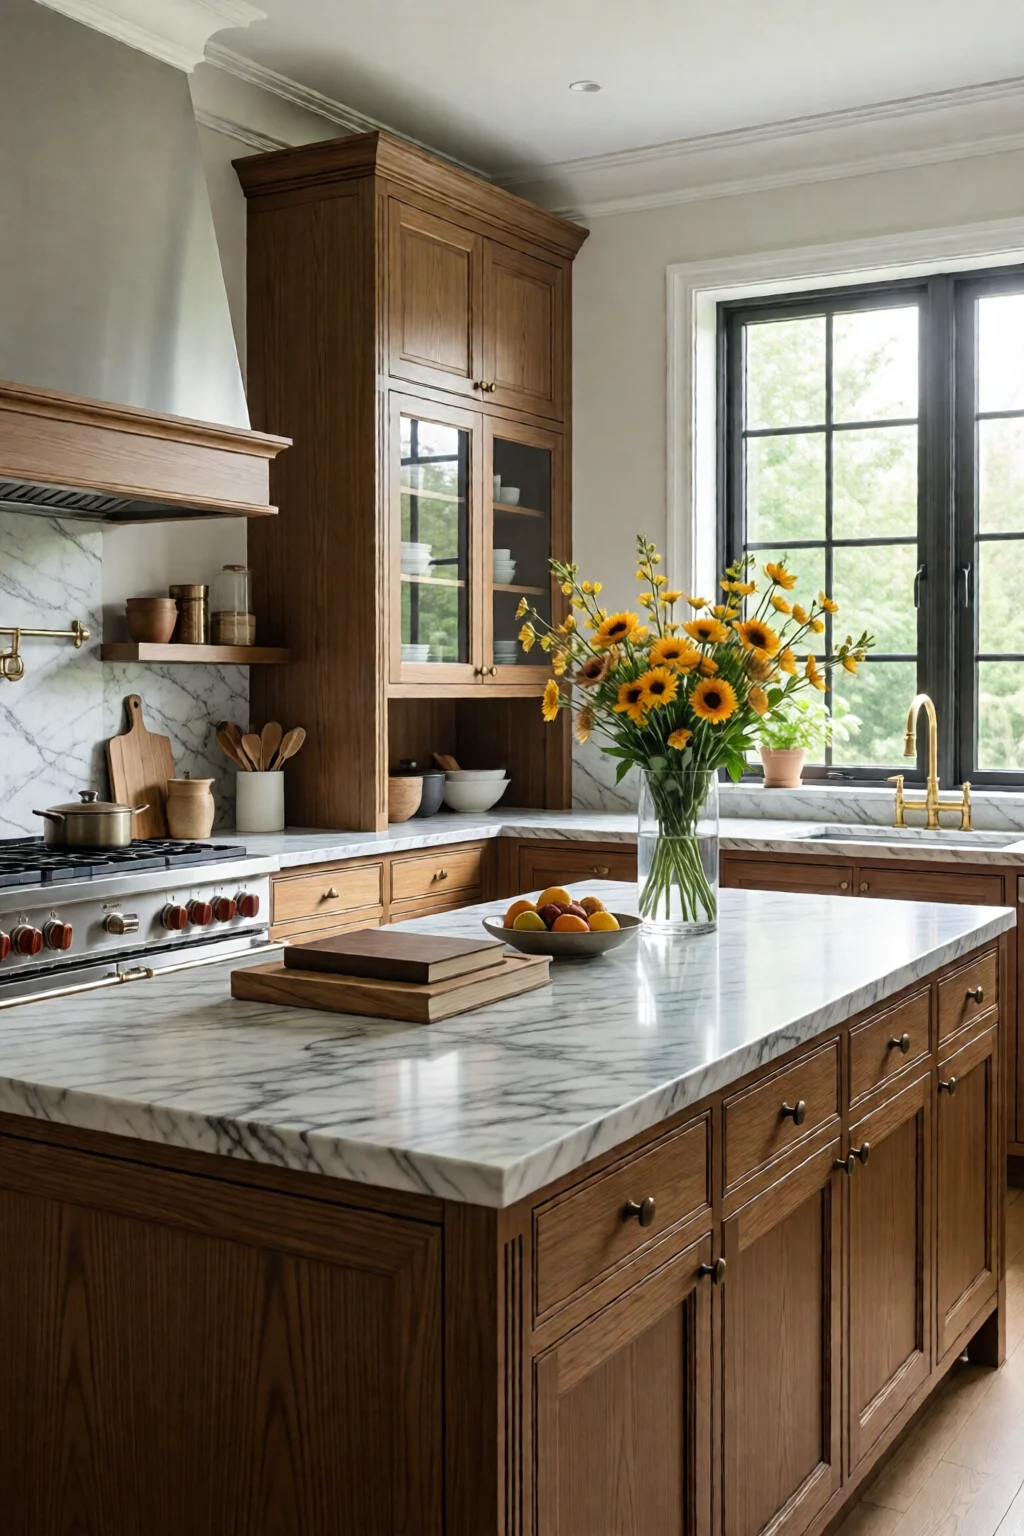
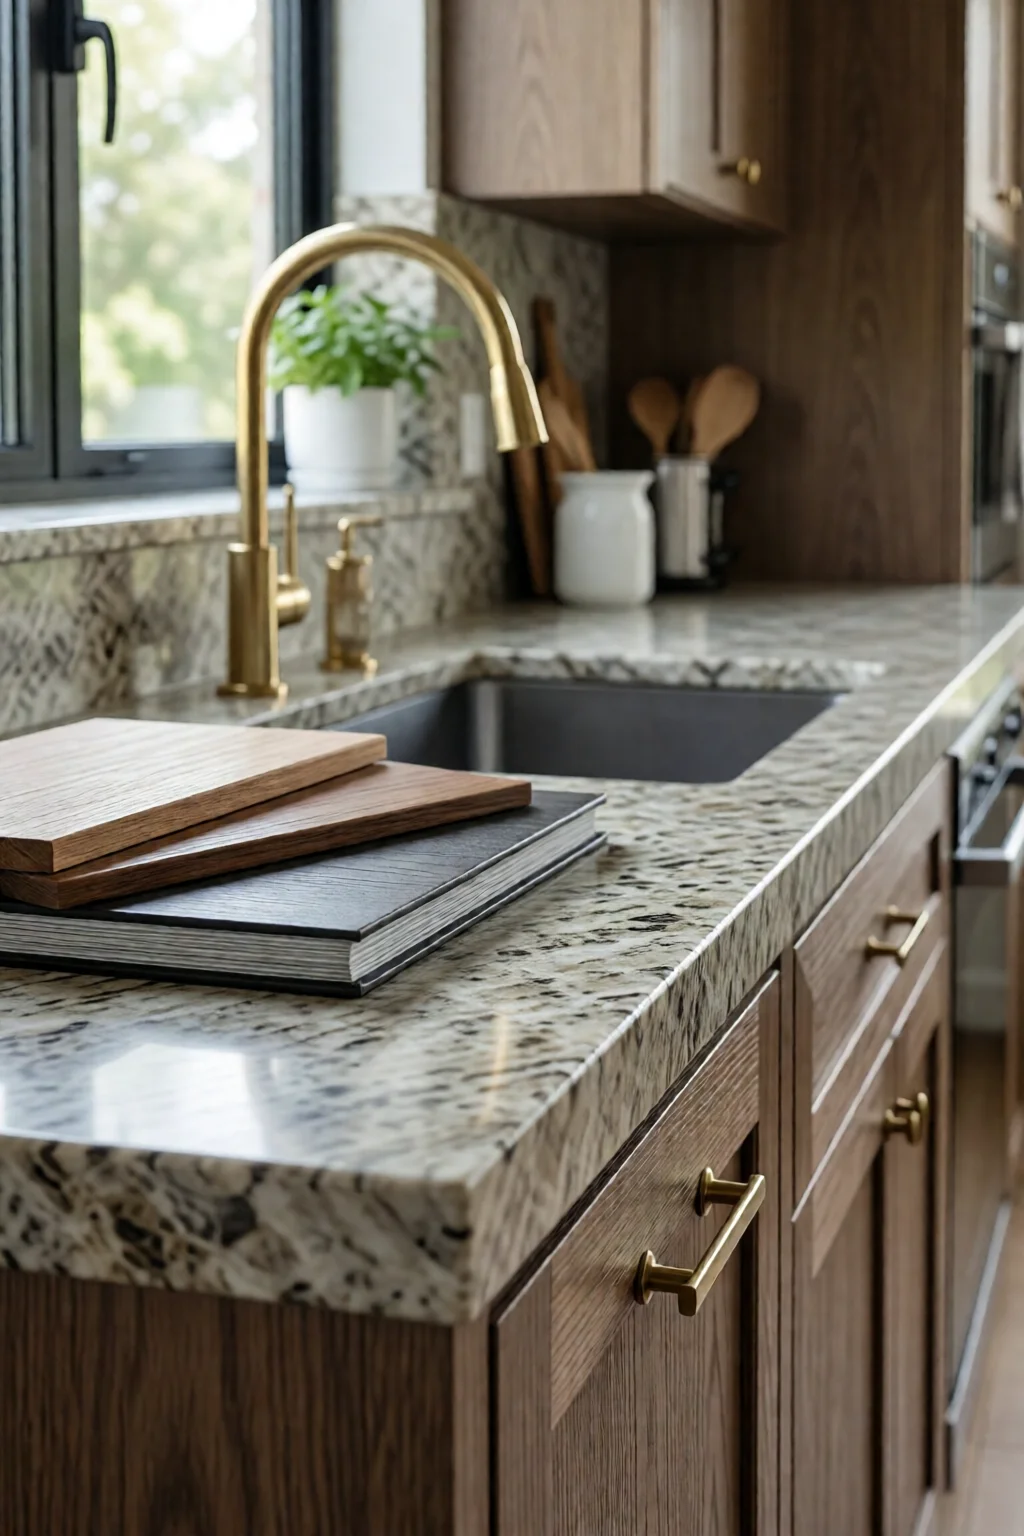
Granite. Natural stone with unique veining. Requires periodic sealing (every 12–18 months). Best for chefs who love the heat‑resistance; a hot pot can sit briefly without damage. The downside? Some slabs have seams that become visible over time.
Solid Surface. Brands like Corian Mosaic offer seamless repairs—scratch? Sand it down and re‑polish. However, they’re softer than stone and can dent under heavy knives.
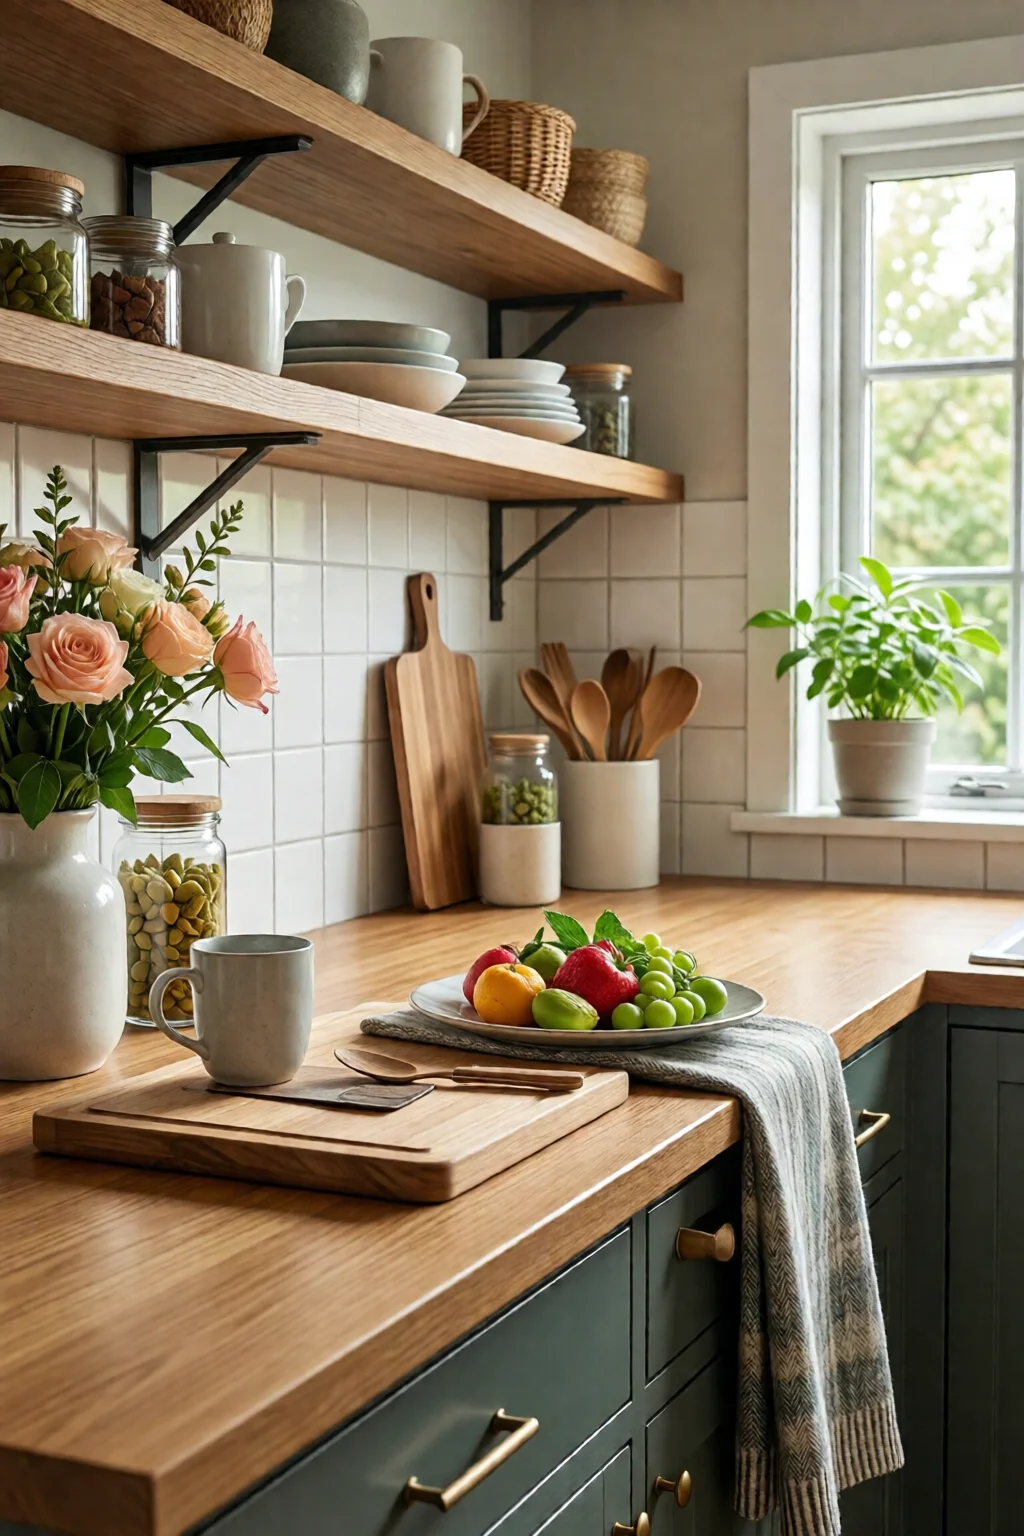
Butcher Block. Warm, organic feel; perfect for baking stations. Requires oiling every 3–4 months to prevent cracking. I’ve seen a 2‑inch thick John Boos slab hold up under a 1,500 lb prep table without sagging.
Concrete. Customizable with pigments, aggregates, and even embedded LED strips. It’s heavy—ensure your cabinets can support the load (typically 15–20 lb/ft²). A 3‑day curing schedule adds time, but the result is a truly unique surface.
Stainless Steel. The industrial look loved by “restaurant‑style” kitchens. It’s heat‑proof and antimicrobial, but fingerprints are glaring. Pair it with a matte finish to reduce glare.
Step 4 – Pick an Edge Profile
Edge style influences both aesthetics and durability. Common profiles include:
- Eased (or softened) edge: Rounded corners, safe for kids, adds 0.5 in to material usage.
- Bullnose: Fully rounded, classic look, adds 0.75 in.
- Beveled: 45° angle, sleek, adds 0.25 in.
- Ogee: Decorative S‑curve, adds 0.5 in, often used in traditional homes.
Measure the extra material needed for your chosen edge and incorporate it into the budget worksheet.
Step 5 – Order Samples and Test Them In‑Situ
Place at least three samples in your kitchen for a full day. Observe how the color changes under natural light in the morning, bright kitchen LEDs at noon, and warm pendant lighting in the evening. This simple step saved my client a $2,000 re‑order when the quartz looked too cool under their under‑cabinet lights.
Step 6 – Arrange Fabrication and Installation
Most fabricators need a 2‑week lead time for stone and a 1‑week window for solid surface. Confirm the following before signing the contract:
- Exact dimensions (including cut‑outs).
- Edge profile and finish.
- Delivery date and onsite storage plan.
- Warranty details (typically 10 years for quartz, 5 years for concrete).
If you’re DIY‑installing a solid surface, use a circular saw with a 7‑inch diamond blade, set the depth to ¼ in, and wear a respirator. For stone, always hire a professional—mistakes can cost $3,000 in replacement.
Step 7 – Finish With Sealing and Care Instructions
Even “seamless” quartz benefits from a light sealant coating after installation to protect edges. Apply a silicone‑based sealant along the backsplash and sink perimeter, smoothing with a caulk finishing tool. For wood, use a food‑grade mineral oil; for stone, a penetrating sealer like StoneTech Pro Seal every 12 months.
Common Mistakes to Avoid
1. Under‑estimating Weight
Granite and concrete can weigh 15–20 lb/ft². One mistake I see often is installing heavy slabs on cabinets that were only rated for 10 lb/ft². The result? Sagging and cracked seams. Always verify cabinet load limits and reinforce with steel brackets if needed.
2. Ignoring Expansion Gaps
Materials expand with temperature changes. Forgetting a 1/8‑in expansion gap at the wall can cause cracking, especially with concrete. Use a silicone backer rod before sealing.
3. Choosing the Wrong Edge for High‑Traffic Areas
A sharp bevel looks modern but can chip quickly on a busy island. I recommend a softened or bullnose edge for islands that see a lot of chopping and dropping.
4. Skipping Daylight Testing
Colors that look perfect under showroom lighting can appear too gray under natural daylight. Always test samples on site.
5. DIY Cutting Stone Without Proper Tools
Attempting to cut quartz with a regular circular saw leads to chipping and safety hazards. Invest in a wet‑saw with a diamond blade or let a professional handle the cuts.
Troubleshooting or Tips for Best Results
Heat Spills
Even heat‑resistant quartz can develop a rainbow effect if a pot sits for more than 5 minutes. Use trivets and educate household members.
Stain Removal
For granite, a poultice of baking soda and water applied for 24 hours can lift oil stains. For butcher block, sand the spot lightly with 220‑grit sandpaper and re‑oil.
Maintaining Shine
Polish quartz with a non‑abrasive cleaner like Method All‑Purpose. Avoid ammonia‑based products on stone; they can etch the surface.
Repairing Small Cracks
Quartz cracks can be filled with a two‑part epoxy resin (e.g., PC‑Products Stone Repair Kit) mixed 1:1, applied with a syringe, and polished after curing (usually 4 hours).
Integrating With Other Kitchen Features
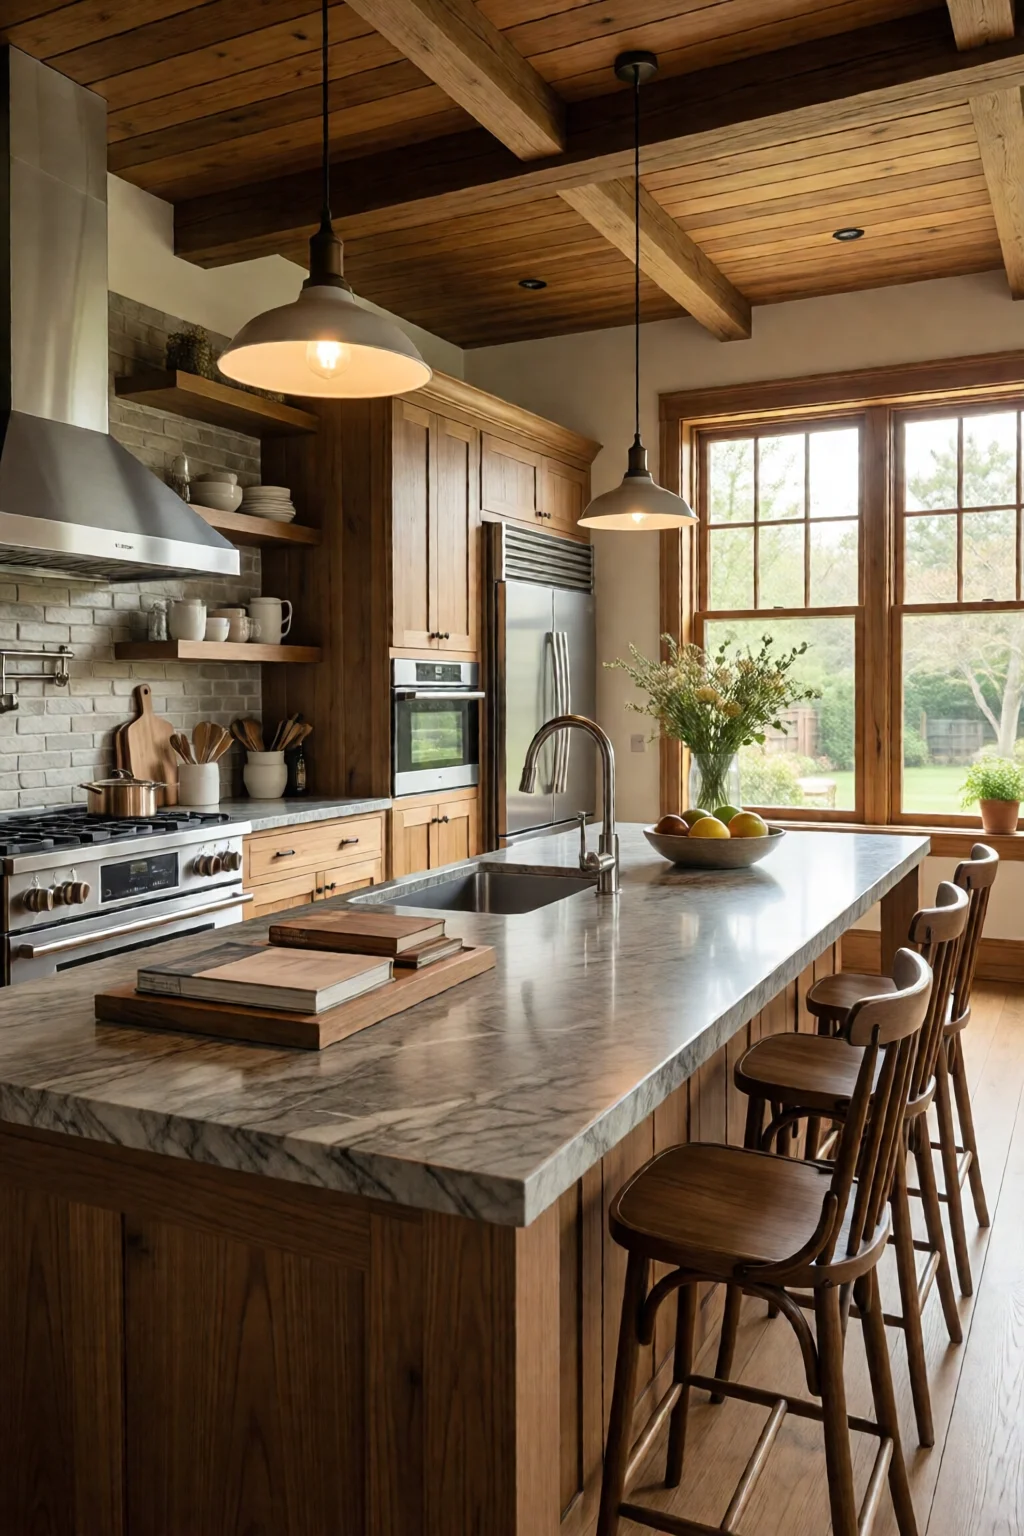
Pair a dark quartz island with kitchen island ideas with seating that feature light wood stools for contrast. Use a stainless steel backsplash behind a concrete countertop for an industrial vibe, and complement it with kitchen pantry organization ideas DIY for a cohesive look.
FAQ
What is the most durable countertop material for a busy family kitchen?
Quartz offers the best combination of durability, low maintenance, and resistance to stains and heat, making it ideal for high‑traffic family kitchens.
How much does a typical quartz countertop cost per square foot installed?
Including material, edge profiling, and labor, expect to pay between $100 and $200 per square foot for quartz installation.
Can I install a concrete countertop myself?
DIY concrete is possible but requires careful reinforcement, proper mixing, and a minimum 72‑hour cure time. Most homeowners hire a professional to avoid cracking.
Summary
Choosing the right surface is a blend of aesthetics, function, and budget. By measuring accurately, testing samples in your own lighting, and respecting each material’s strengths and limits, you’ll create a countertop that not only looks great but also stands up to daily life. Whether you gravitate toward the sleek uniformity of quartz, the natural drama of granite, the warmth of butcher block, or the modern edge of concrete, this kitchen countertop ideas materials guide equips you with the knowledge to make an informed, confident decision.