Did you know that 70% of homeowners underestimate how much lighting can transform a bathroom’s perceived size and mood? The right fixtures can make a cramped powder room feel spa‑like, while a poorly lit space can feel cramped and uninviting. This guide will walk you through practical bathroom lighting ideas fixtures sconces that you can implement yourself, from planning to installation, so you end up with a bright, functional, and stylish bathroom.
In This Article
- What You’ll Need Before You Start
- Step 1: Assess Your Space and Light Needs
- Step 2: Choose the Right Fixture Types
- Step 3: Pick the Perfect Sconce Styles and Brands
- Step 4: Wiring, Placement, and Installation Basics
- Step 5: Add Smart Controls and Finishing Touches
- Common Mistakes to Avoid
- Tips for Best Results
- Summary
What You’ll Need Before You Start
- Basic tools: screwdriver set, wire strippers, voltage tester, drill with ½‑inch bits, level, and pencil.
- Electrical supplies: 12‑gauge Romex cable, wire nuts, electrical tape, and a new 15‑amp GFCI breaker if you’re adding a separate circuit.
- Lighting fixtures: at least two wall sconces (4” × 6” or 6” × 8” models work well), a vanity bar light or mirror backlight, and optional recessed or LED strip lighting.
- Mounting hardware: toggle bolts for drywall, anchors for tile, and the mounting brackets that come with each fixture.
- Design references: floor plans, a tape measure, and a sketch of fixture placement.
Having these items on hand cuts down on trips to the hardware store and keeps the project under the $250‑$500 range for most mid‑range homes.
Step 1: Assess Your Space and Light Needs
Start by measuring the bathroom’s dimensions. A 5’ × 7’ bathroom typically requires 400–500 lumens for general illumination, while a larger 8’ × 10’ space needs 800–1,000 lumens. Use a simple formula: square footage × 75 = required lumens. Write these numbers down; they’ll guide fixture selection.
Next, map out functional zones:
- Vanity area – needs clear, shadow‑free light for grooming.
- Shower/tub – a softer, moisture‑resistant glow.
- General ceiling light – overall ambient lighting.
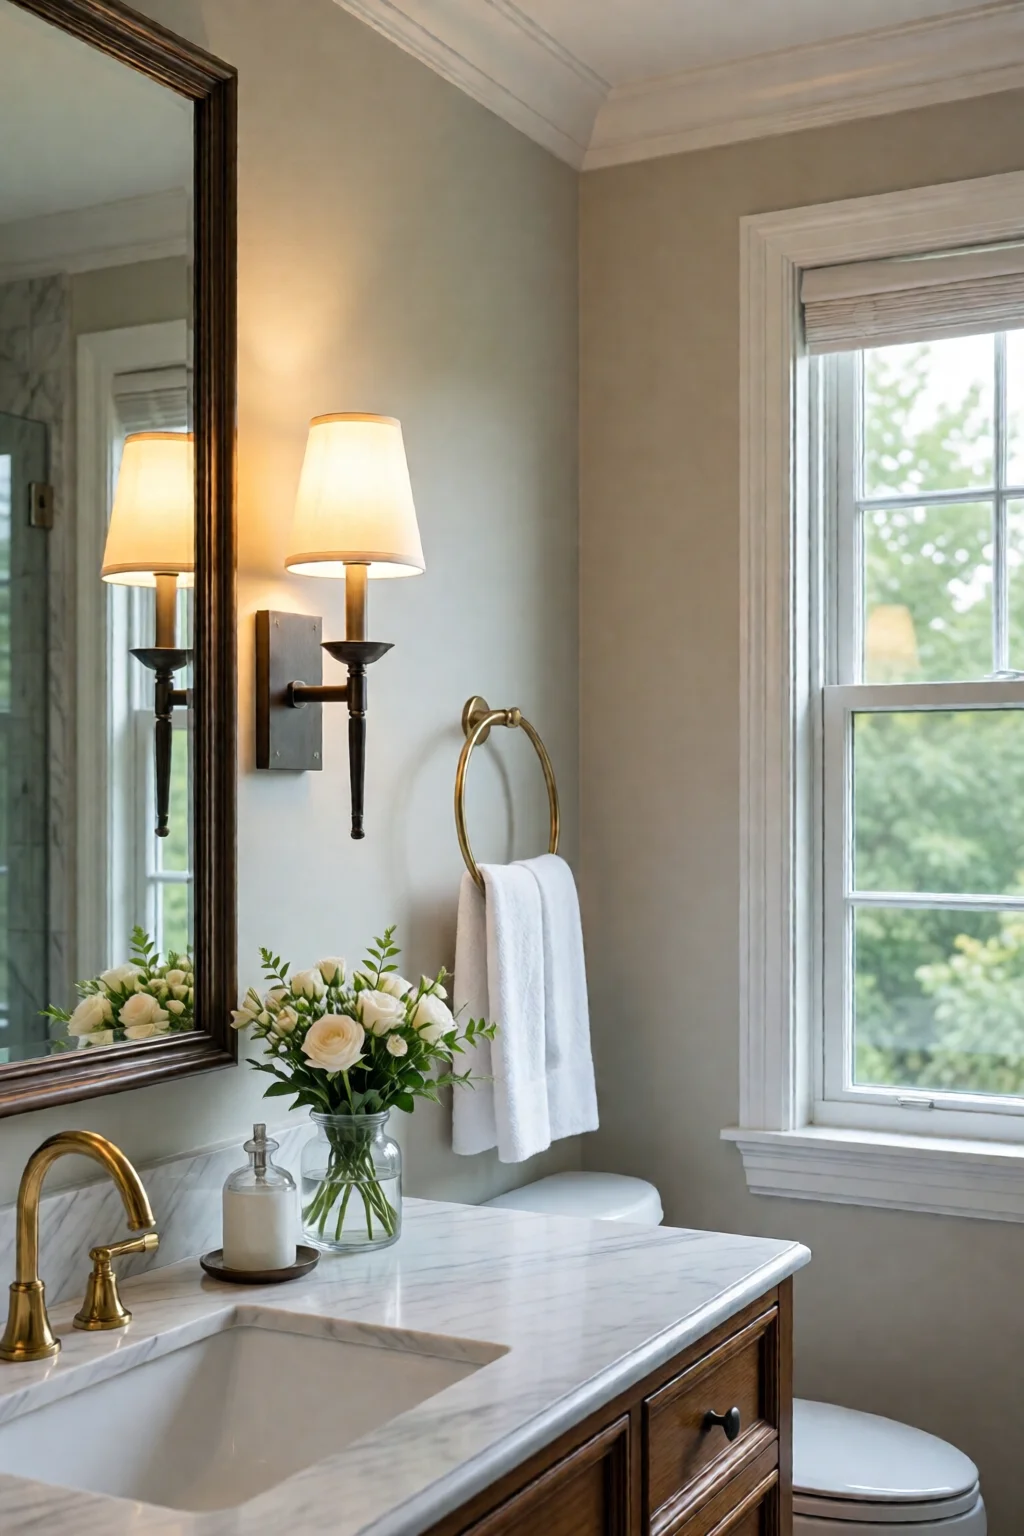
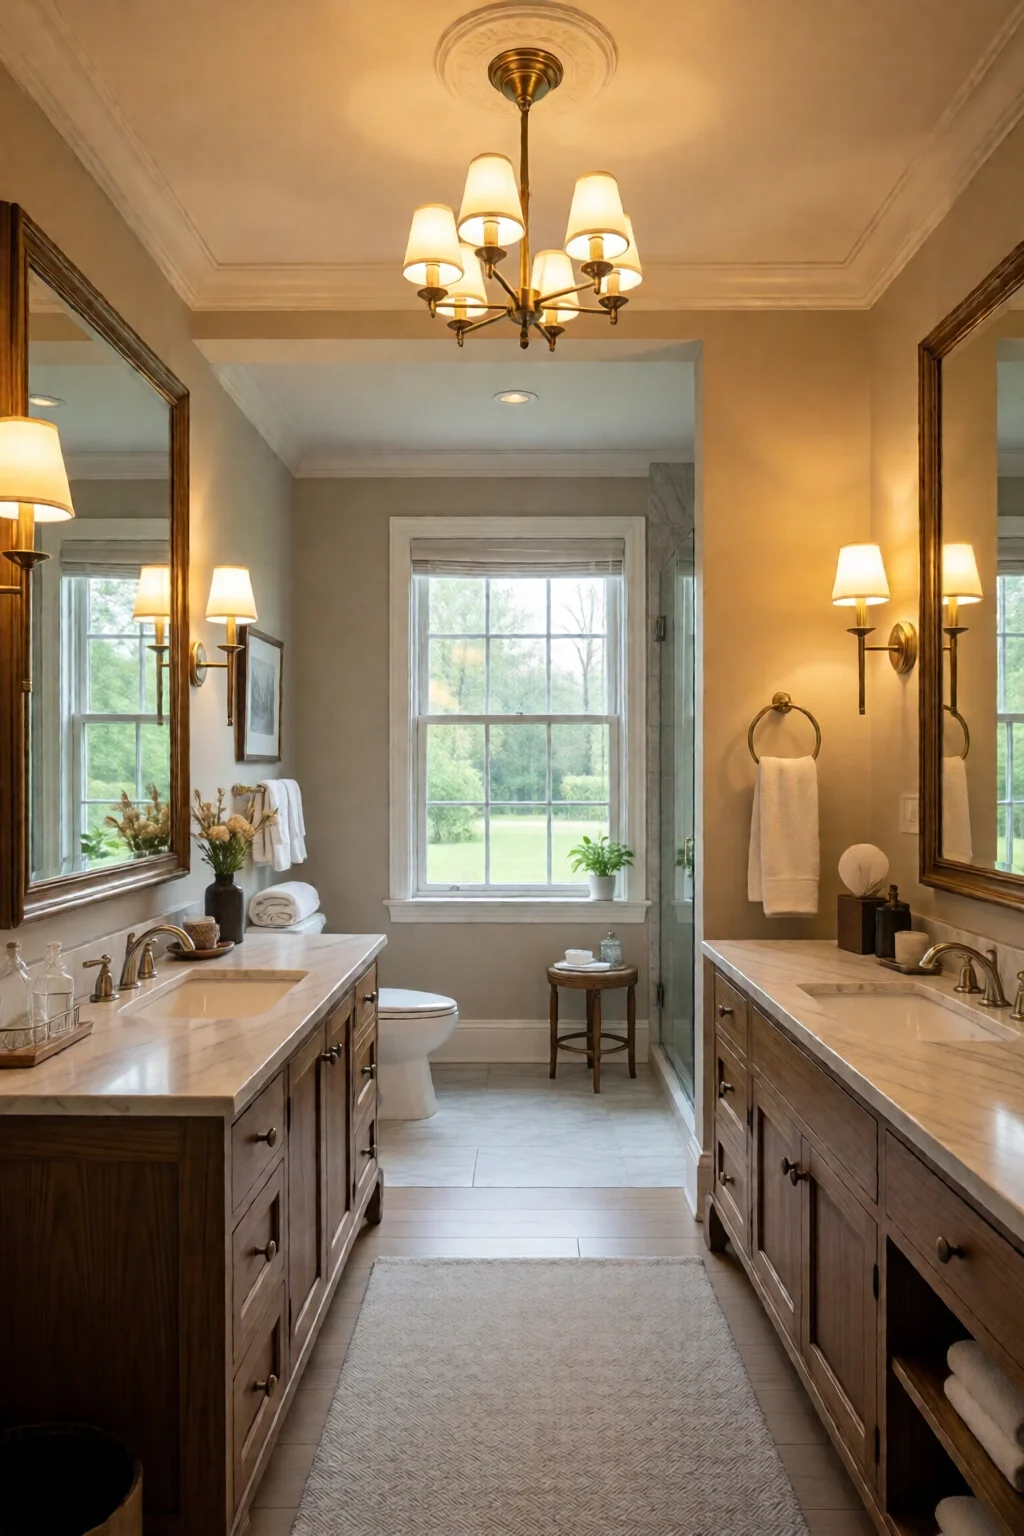
In my experience, placing sconces on either side of the vanity mirror reduces shadows dramatically, especially when paired with a dimmable LED bar.
Step 2: Choose the Right Fixture Types
There are three main categories of bathroom lighting:
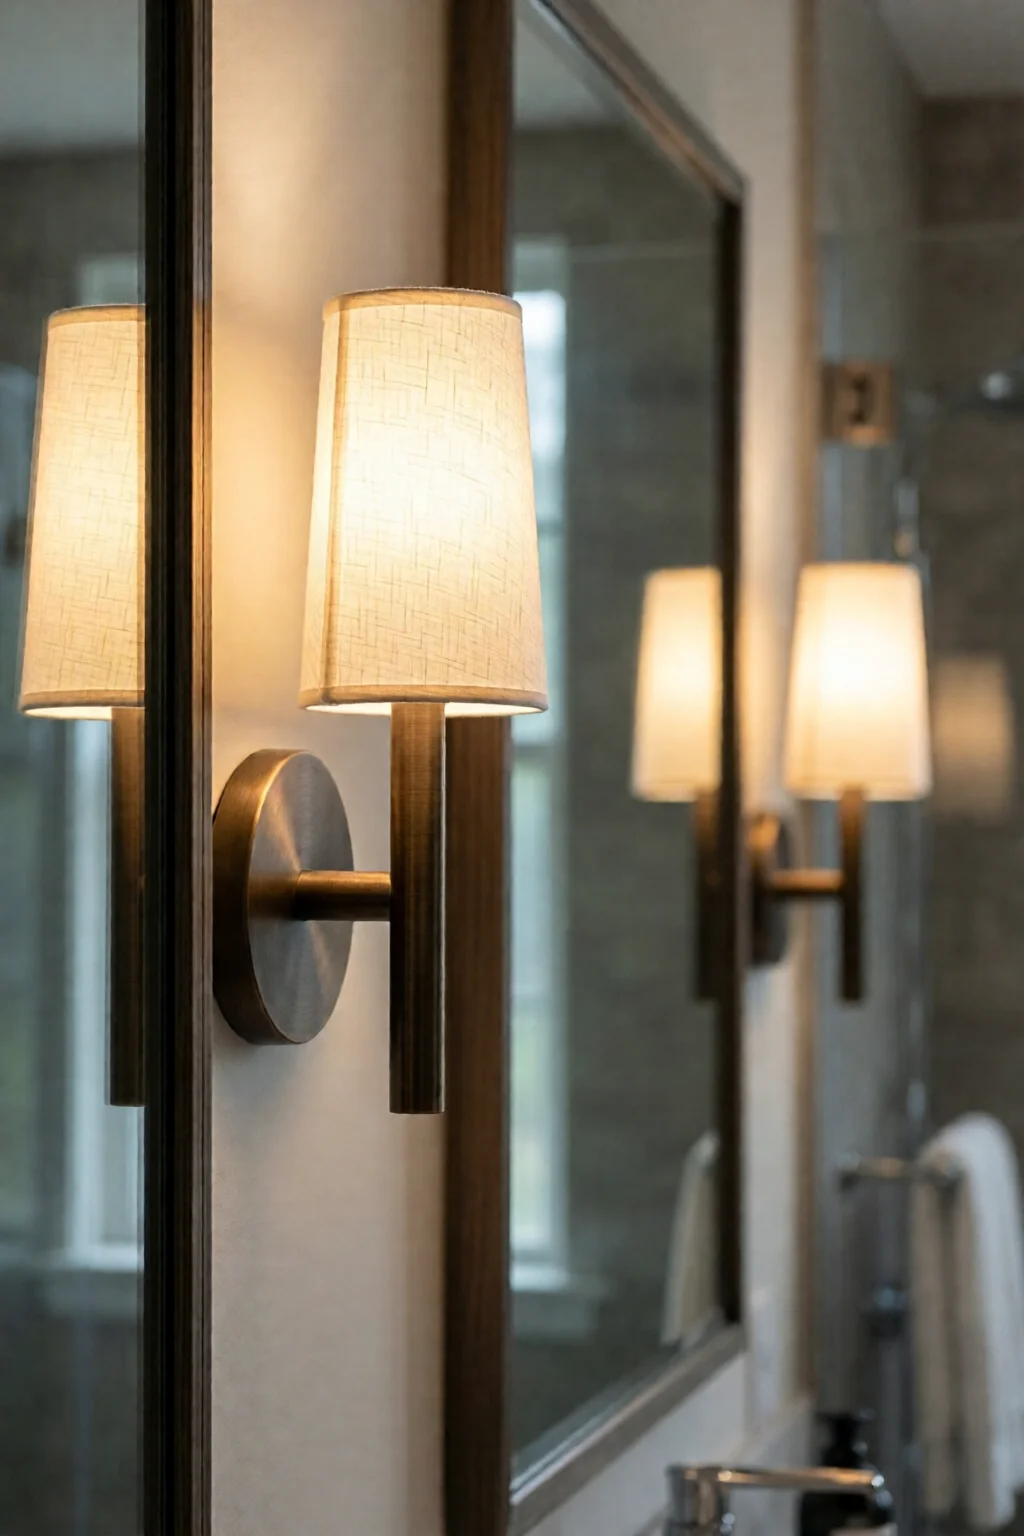
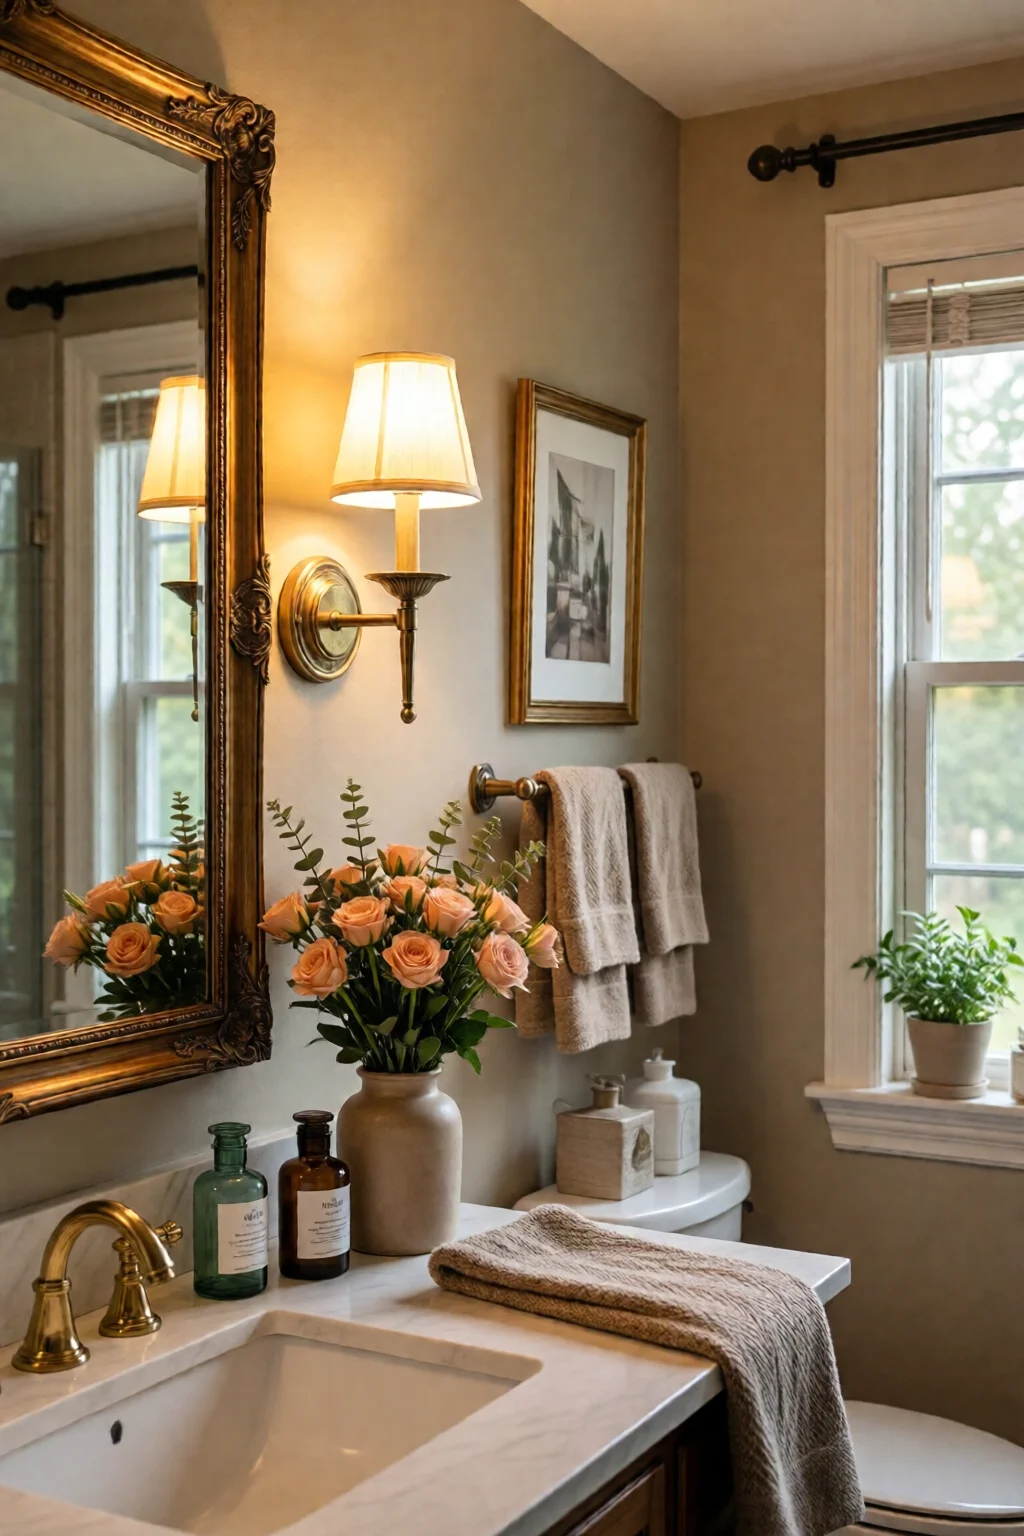
- Wall sconces – perfect for vanity side lighting. Look for UL‑listed, IP44‑rated fixtures for moisture protection.
- Recessed downlights – great for ambient ceiling illumination. A 4‑inch LED can deliver 600 lumens at 8 W.
- Accent lighting – LED strips behind mirrors or under cabinets add a modern touch.
For a balanced look, combine at least two types. A popular combo is a pair of bathroom vanity ideas modern and rustic sconces flanking a dimmable LED bar, plus recessed ceiling lights for overall brightness.
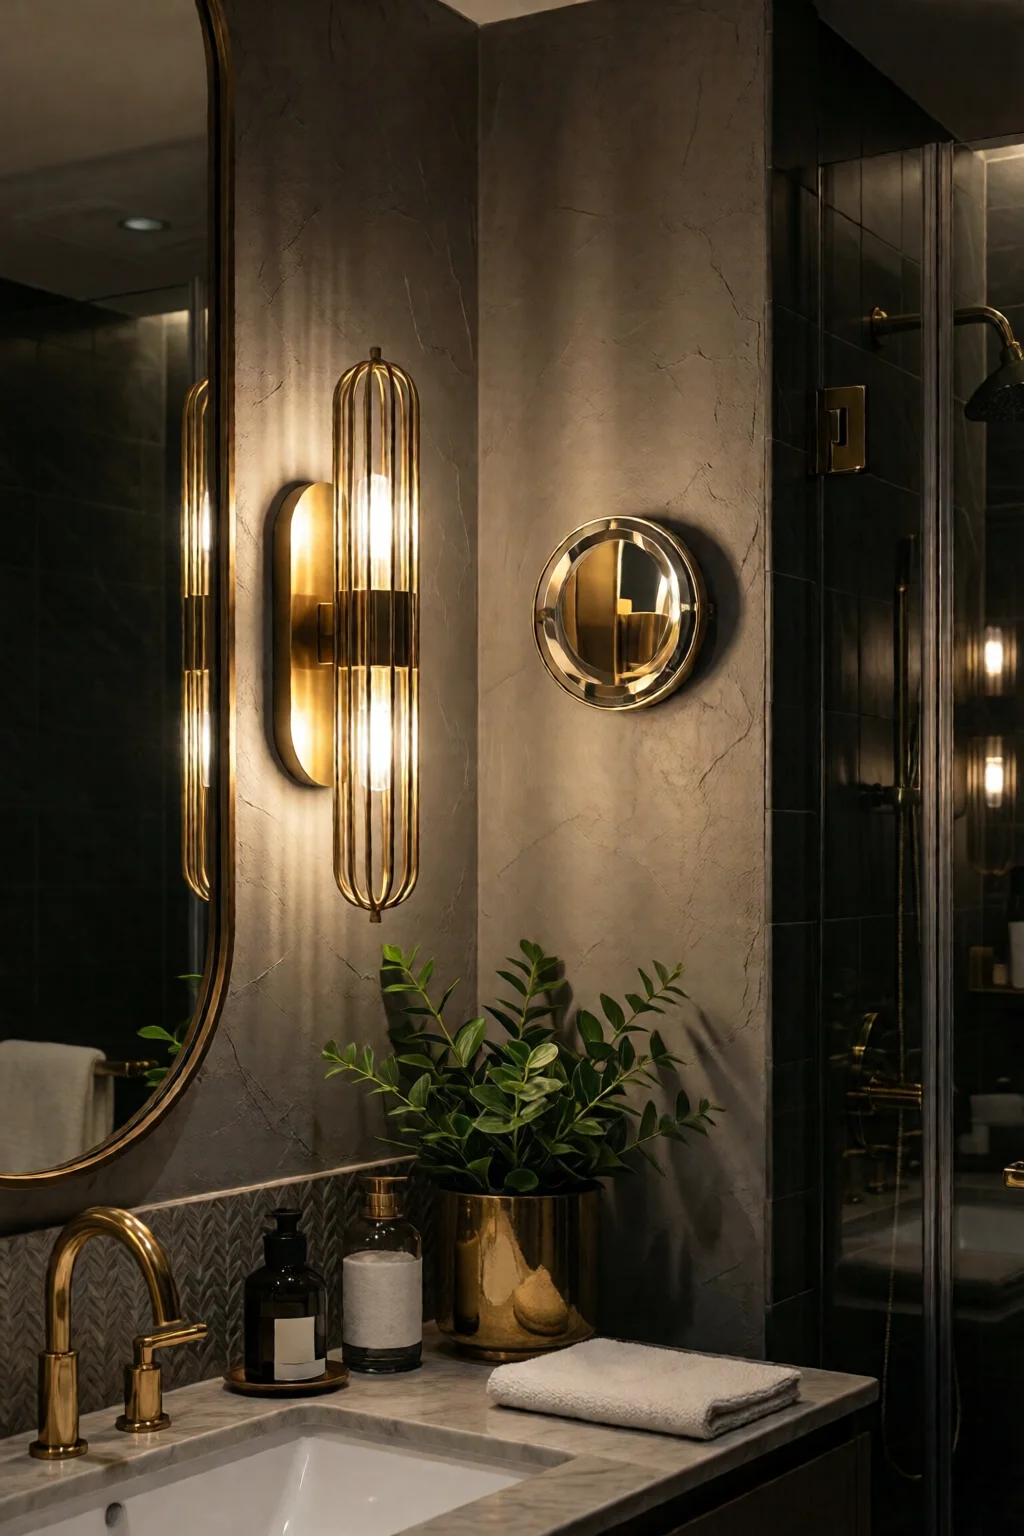
Step 3: Pick the Perfect Sconce Styles and Brands
When it comes to bathroom lighting ideas fixtures sconces, the design should complement your décor while meeting performance specs. Here are three reliable brands that consistently deliver:
- Kichler 44392 – brushed nickel, 4” × 6”, 350 lumens, $89 each. Comes with a built‑in LED, so no bulbs needed.
- Progress Lighting P630-07 – oil‑rubbed bronze, 6” × 8”, 420 lumens, $115 each. Adjustable arm for flexible placement.
- West Elm Sconce – matte black, 5” × 7”, 300 lumens, $129 each. Features a frosted glass shade for soft diffusion.
One mistake I see often is picking a fixture solely for its looks and ignoring the watts per lumen ratio. A 10‑W LED producing 300 lumens is far more efficient than a 20‑W halogen that gives the same output.
Consider the fixture’s finish: chrome works well with contemporary tiles, oil‑rubbed bronze pairs nicely with vintage marble, and matte black adds an industrial edge.
Step 4: Wiring, Placement, and Installation Basics
- Turn off power at the breaker. Verify with a voltage tester.
- Mark mounting points. For a standard vanity height of 32‑34 inches, measure 3‑4 inches left and right of the mirror’s center line. Use a level to keep sconces even.
- Drill holes. If you have tile, use a carbide‑tipped drill bit and a piece of masking tape to prevent chipping.
- Run wiring. Pull 12‑gauge Romex from the nearest junction box to each sconce location. If the distance exceeds 50 feet, add a junction box mid‑run.
- Connect wires. Match black to black (hot), white to white (neutral), and green or bare copper to ground. Secure with wire nuts and wrap with electrical tape.
- Mount the fixtures. Use the supplied mounting brackets; for drywall, toggle bolts rated for at least 50 lb provide a secure hold.
- Seal connections. Apply silicone caulk around the fixture’s base to prevent moisture infiltration.
- Test. Turn the breaker back on and check each sconce for proper operation. If flickering occurs, tighten the wire nuts or check for a loose connection.
If you’re uncomfortable with any step, consult a licensed electrician. In my projects, adding a dedicated GFCI circuit for bathroom lights costs about $80 for parts and saves future headaches.
Step 5: Add Smart Controls and Finishing Touches
Modern bathrooms benefit from smart dimmers and color‑temperature controls. Philips Hue White Ambiance bulbs can be paired with most sconces (if the fixture uses a standard E26 socket) for 2700 K–6500 K adjustments via a smartphone app. A 2‑channel Zigbee dimmer costs around $45 and integrates with Alexa or Google Home.
Finish the look with complementary accessories:
- Install a LED backlit mirror (approx. $150) for a seamless glow.
- Run a waterproof LED strip along the toe‑kick of the vanity for subtle accent lighting.
- Pair the sconces with a plush, mildew‑resistant bath mat to complete the spa feel.
For budget‑friendly inspiration, check out bathroom remodel ideas on a budget. You’ll find that swapping out outdated fixtures alone can boost a bathroom’s perceived value by up to 15%.
Common Mistakes to Avoid
- Overloading circuits. Adding multiple high‑watt fixtures to an existing 15‑amp line can trip breakers. Keep total draw under 80% of the circuit capacity.
- Ignoring IP ratings. A non‑rated sconce in a humid environment will corrode quickly. Always choose IP44 or higher for areas near showers.
- Placing fixtures too low. Sconces mounted below 30 inches can cause glare on the mirror. Aim for 32–36 inches from the floor.
- Choosing the wrong bulb type. Mixing incandescent bulbs with LED fixtures reduces efficiency and can cause overheating.
- Skipping the sealant. Without silicone caulking, water can seep into the electrical box, creating a fire hazard.
Tips for Best Results
Here are a few pro tips that make a noticeable difference:
- Layer lighting. Combine ambient ceiling lights, task sconces, and accent LEDs for a balanced look.
- Use dimmers. A 0‑10 V dimmer gives smooth transitions and can extend LED lifespan by up to 30%.
- Match color temperatures. Keep vanity lighting around 3000 K for flattering skin tones, while ambient lights can sit at 3500 K for a warm, inviting feel.
- Consider a mirror with integrated lighting. Brands like Hampton Bay offer mirrors with built‑in LED sconces for an all‑in‑one solution (prices $199‑$299).
- Plan for future upgrades. Run an extra cable conduit to each sconce location; it makes swapping to smart fixtures later a breeze.
For a cohesive aesthetic, pair your lighting choices with spa bathroom decor ideas relaxing elements such as bamboo accessories, soft grey towels, and natural stone countertops.
Summary
Transforming a bathroom with bathroom lighting ideas fixtures sconces is both an artistic and technical endeavor. By measuring your space, selecting the right IP‑rated sconces, wiring safely, and adding smart controls, you’ll create a bright, functional, and stylish sanctuary. Remember to avoid common pitfalls, seal every joint, and layer your lighting for maximum impact. With the right plan, you can achieve a professional‑grade upgrade for under $500.
How many lumens should each bathroom sconce provide?
A single sconce should deliver between 300 and 420 lumens, which is enough to light the vanity area without creating harsh shadows.
Can I install bathroom sconces myself if I’m not an electrician?
Yes, as long as you follow local code, turn off power at the breaker, use GFCI‑protected circuits, and keep wiring connections tight. If you’re unsure about any step, hire a licensed electrician.
What IP rating is required for sconces near a shower?
IP44 is the minimum rating for fixtures exposed to moisture and splashes. For fully enclosed shower enclosures, IP65 provides extra protection.
Are dimmable LED sconces worth the extra cost?
Absolutely. Dimmable LEDs let you adjust brightness for tasks or ambience, reduce energy use, and extend bulb life by up to 30%.
How can I match my sconce finish with existing bathroom hardware?
Take a sample of your faucet or towel bar to a lighting showroom. Popular finishes include chrome, oil‑rubbed bronze, brushed nickel, and matte black, each of which pairs well with specific tile and countertop styles.