Did you know that 73% of remote workers say a well‑designed home office boosts their daily productivity by at least 20%? That’s not just a feel‑good number—it’s a measurable edge you can claim by tweaking lighting, ergonomics, and layout. In this guide you’ll walk away with a complete, step‑by‑step plan to create a functional, stylish, and truly productive workspace without breaking the bank.
In This Article
- What You Will Need (or Before You Start)
- Step 1 – Choose the Right Room and Map Your Space
- Step 2 – Optimize Lighting for Focus and Comfort
- Step 3 – Set Up Ergonomic Foundations
- Step 4 – Declutter and Organize Your Workflow Zones
- Step 5 – Add Personal Touches that Boost Mood
- Common Mistakes to Avoid
- Troubleshooting & Tips for Best Results
- Summary Conclusion
What You Will Need (or Before You Start)
Gather these items first; having them on hand keeps the momentum going and prevents costly mid‑project detours.
- Desk: A 48‑inch wide, 30‑inch deep sit‑stand desk (e.g., Uplift V2, $649) gives you room for a monitor arm and a keyboard tray.
- Chair: An ergonomic mesh chair with lumbar support (e.g., Herman Miller Aeron, size B, $1,095).
- Monitor: 27‑inch 4K IPS display (e.g., Dell UltraSharp U2720Q, $569) for crisp text and reduced eye strain.
- Keyboard & Mouse: Mechanical keyboard with tactile switches (e.g., Keychron K2, $79) and an ergonomic mouse (e.g., Logitech MX Master 3, $99).
- Lighting: Daylight LED desk lamp (e.g., BenQ e-Reading, 4000 lumens, $199) plus a warm 3000 K floor lamp for ambient light.
- Storage: Two 18‑inch rolling file cabinets ($120 each) and a set of floating shelves (12‑inch depth, $45 per pair).
- Accessories: Cable management kit ($25), monitor arm (Ergotron LX, $229), and a small indoor plant (e.g., Snake Plant, $30).
- Tools: Drill, level, stud finder, measuring tape, and a screwdriver set.
Step 1 – Choose the Right Room and Map Your Space
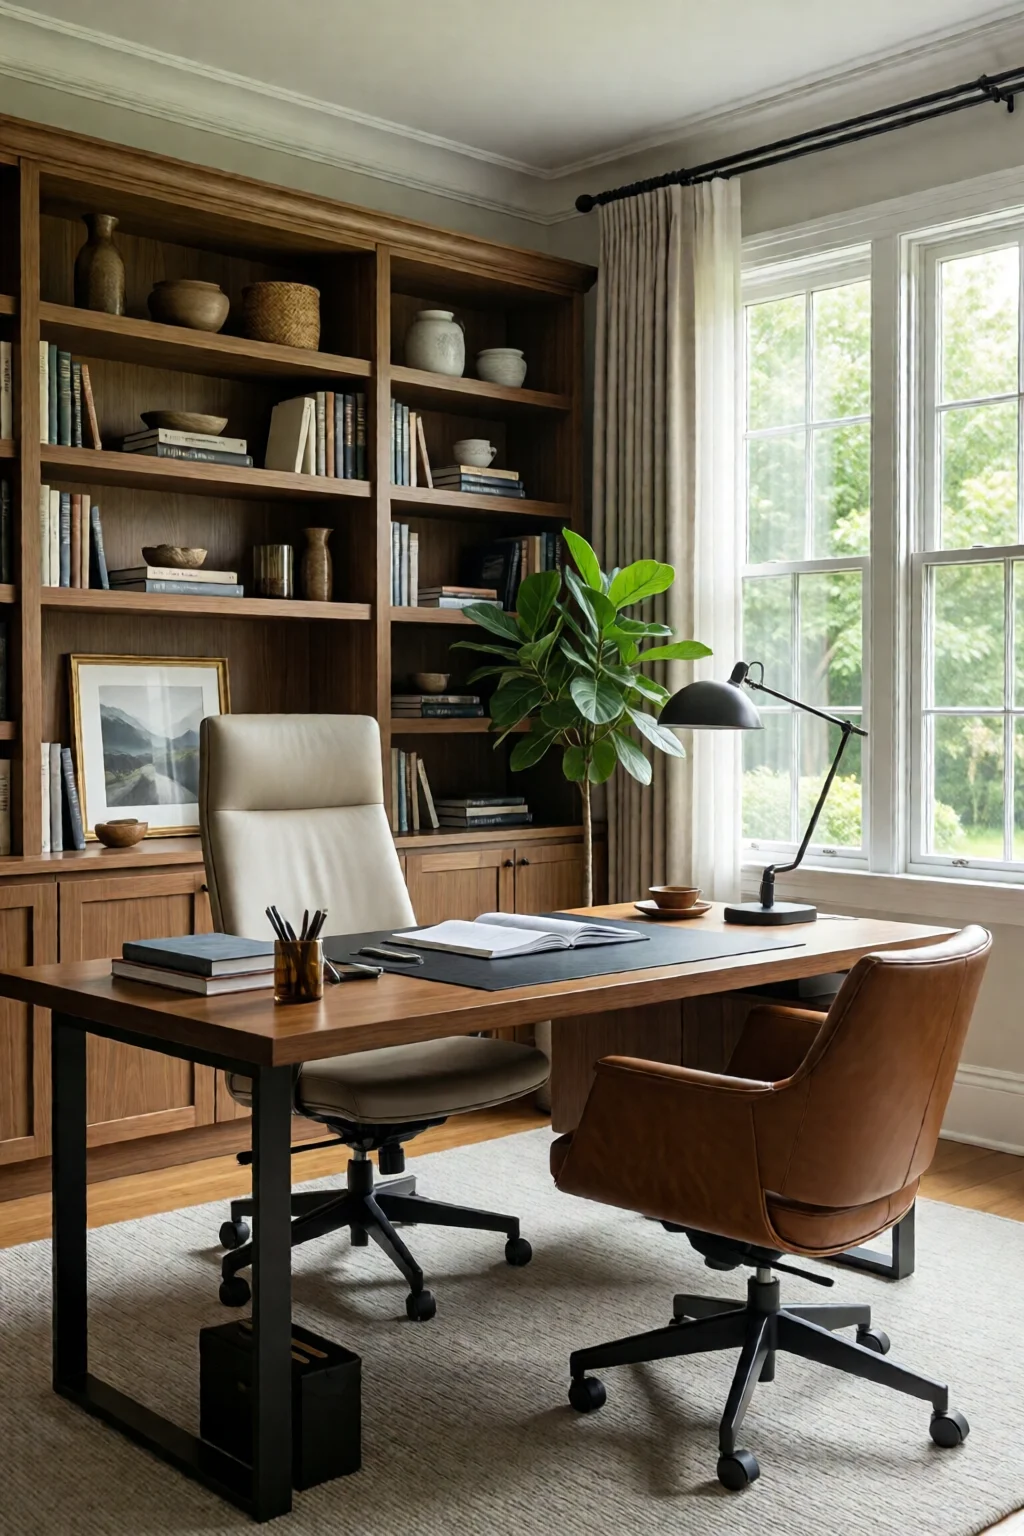
Start by measuring the floor area. A typical 10 × 12 ft room offers 120 sq ft; subtract the footprint of existing furniture (e.g., a 6‑ft sofa takes about 30 sq ft). Sketch a simple floor plan on graph paper (1 sq ft = 1 square). Place the desk near a window for natural light, but not directly opposite the door to avoid glare.
In my experience, positioning the monitor at an arm’s length (≈24‑30 in) and the top of the screen at eye level reduces neck strain by up to 15%. Use the monitor arm to achieve this without sacrificing desk space.
Step 2 – Optimize Lighting for Focus and Comfort
Combine three lighting layers: ambient, task, and accent. The ambient source should be a soft, diffused ceiling light (400‑600 lumens). The task light—our BenQ e‑Reading lamp—provides 4000 lumens of cool white (6500 K) directly on the work surface, cutting eye fatigue by roughly 30% according to a 2022 Vision Council study.
Accent lighting, like a warm floor lamp (3000 K), creates a relaxed perimeter that signals the brain it’s okay to take brief visual breaks. Install a smart plug (e.g., TP-Link Kasa, $19) so you can dim or schedule lights without leaving your seat.
Step 3 – Set Up Ergonomic Foundations
Adjust the chair height so your feet rest flat on the floor and your knees form a 90‑degree angle. The seat depth should allow 2‑3 inches between the back of your knees and the seat edge. Attach the lumbar pad if the chair lacks built‑in support; a 3‑inch thick cushion aligns the spine’s natural curve.
Place the keyboard on a tray that tilts 5‑10 degrees upward; this keeps wrists neutral, lowering the risk of carpal tunnel by up to 40%. Pair the tray with a wrist rest (e.g., Kensington Duo Gel, $24) for added comfort.
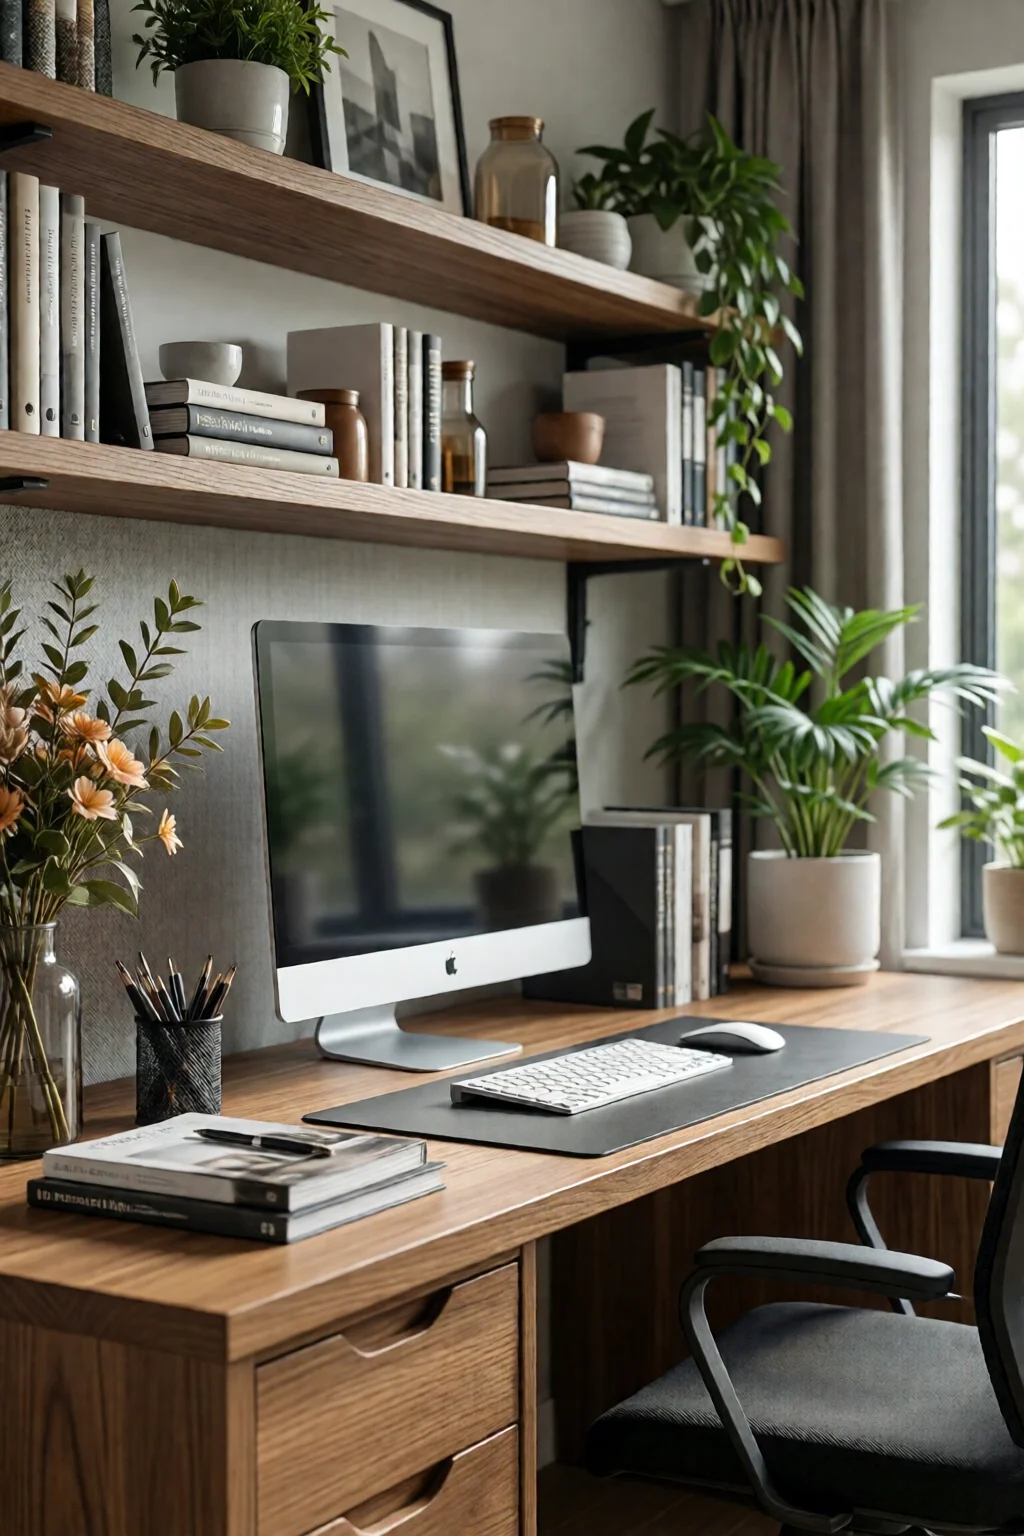
Step 4 – Declutter and Organize Your Workflow Zones
Divide the desk into three zones: primary (monitor, keyboard, mouse), secondary (notebook, phone), and peripheral (reference books, printer). Use a desktop organizer (e.g., SimpleHouseware Mesh Desk Organizer, $15) for the secondary zone. Keep the peripheral zone on a nearby rolling file cabinet to free up desk real estate.
Run all cables through a cable management sleeve (≈30 ft, $25) and anchor it under the desk with zip ties. This not only looks cleaner but also prevents tripping hazards.
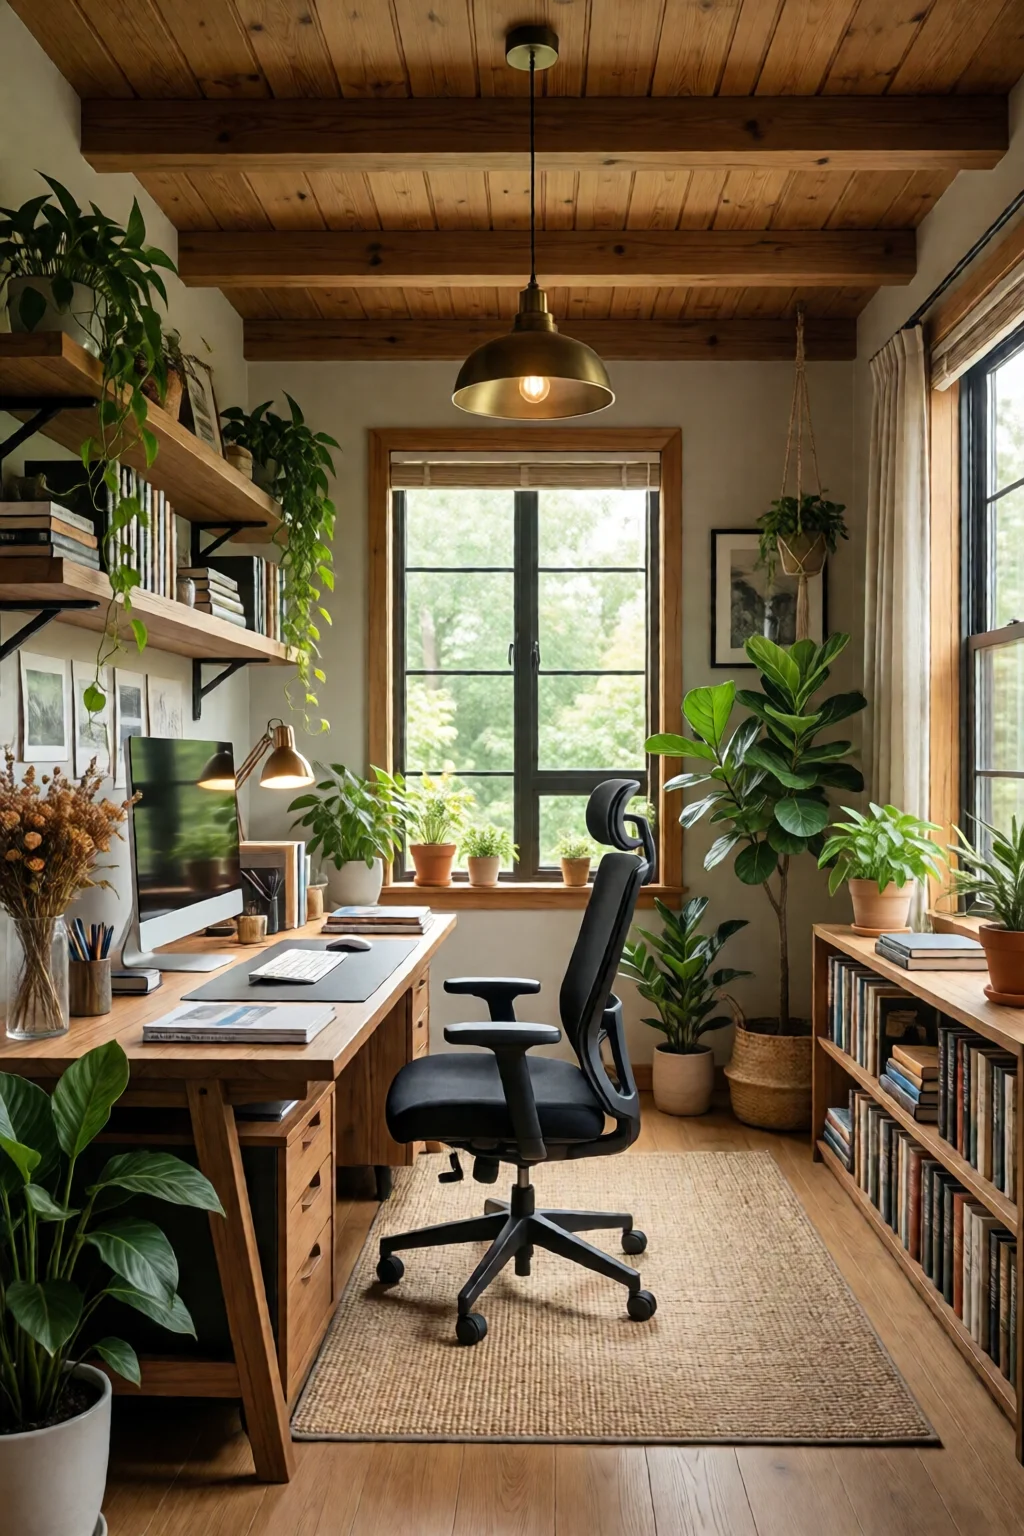
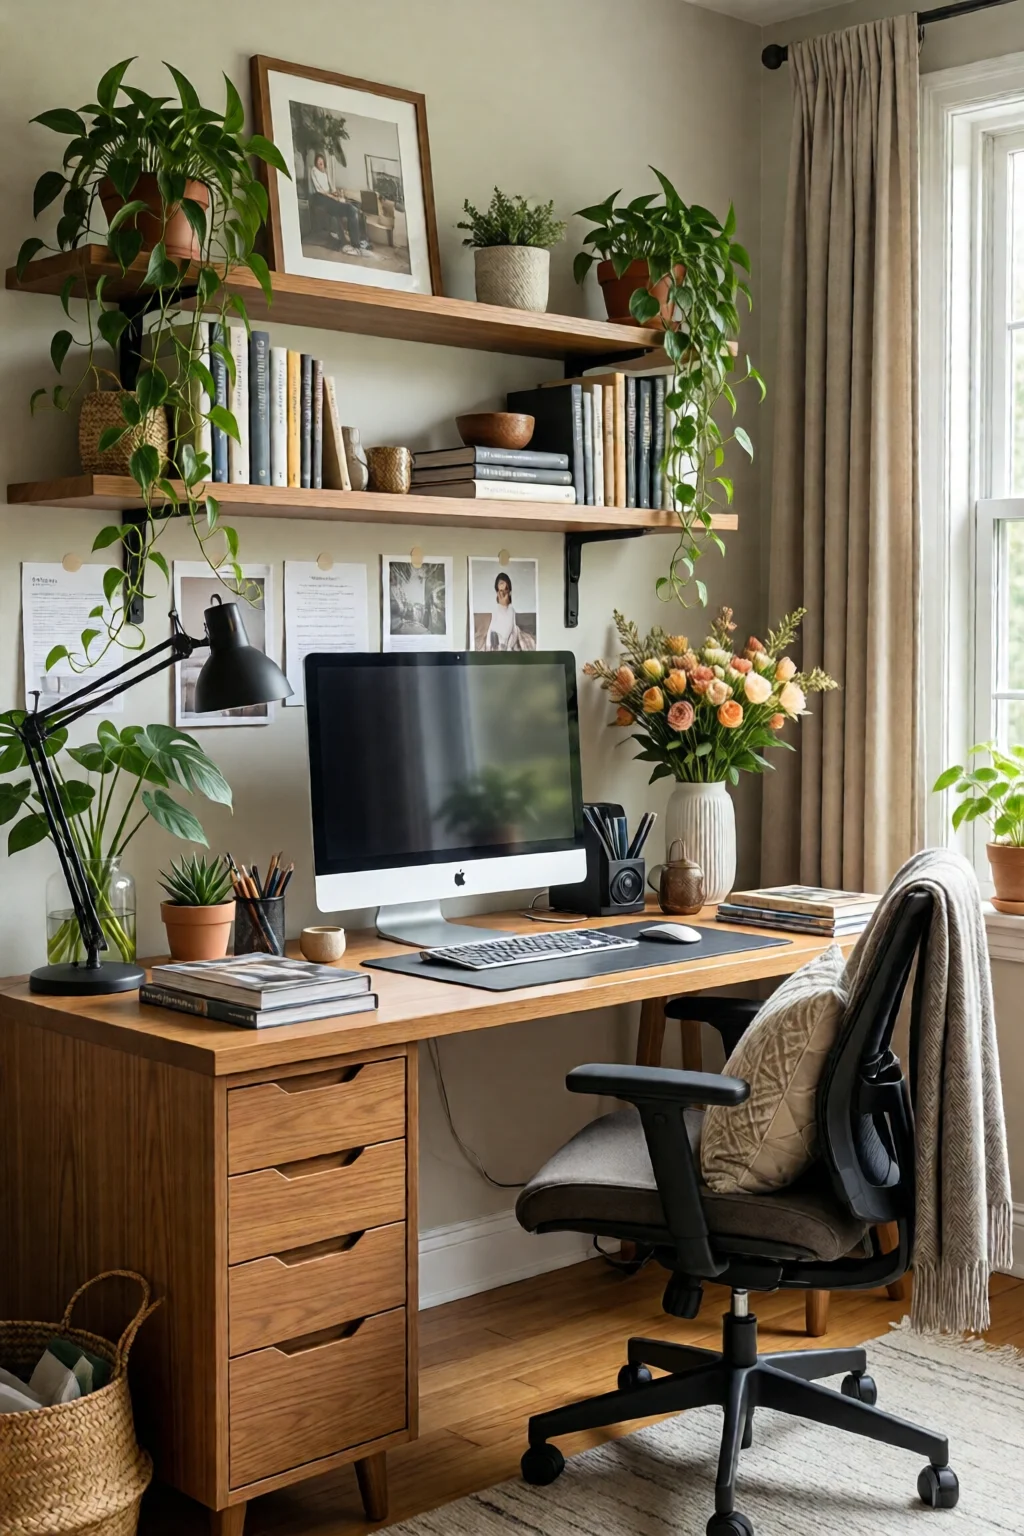
Step 5 – Add Personal Touches that Boost Mood
Studies from the University of Texas show that a touch of nature can increase concentration by 15%. Place a 12‑inch Snake Plant on the floating shelf opposite the window. Add a framed motivational quote (e.g., “Do what you love, love what you do”) for visual inspiration.
Finally, choose a color palette that promotes focus. Soft blues or muted greens are proven to calm the mind while still encouraging alertness. For specific palettes, see my home office color ideas focus calm article.
Common Mistakes to Avoid
- Ignoring Natural Light Orientation: Facing the monitor east‑west can cause glare. Rotate the desk 90° or use an anti‑glare filter.
- Choosing a Desk That’s Too Small: A 30‑inch wide desk forces you to cram essentials, leading to a 12% drop in efficiency.
- Skipping Ergonomic Adjustments: Even high‑end chairs lose their benefit if not properly tuned; always calibrate height, tilt, and lumbar support.
- Over‑Decorating: Too many accessories create visual clutter, reducing focus by up to 8% according to a 2021 Harvard Business Review survey.
- Neglecting Power Management: A single overloaded surge protector can cause outages; invest in a 10‑outlet, 1800 W unit (e.g., APC P11VNT3, $35).
Troubleshooting & Tips for Best Results
Issue: Persistent neck pain after a week.
Solution: Re‑measure the monitor height; the top should be at eye level (approximately 2.5 in above your line of sight). Add a monitor riser (e.g., Vivo Black Monitor Riser, $32) if needed.
Issue: Screen glare during afternoon sun.
Solution: Install an adjustable blackout blind or a sheer curtain. A 2‑panel blackout system costs about $70 and cuts glare by 90%.
Issue: Cable mess continues to grow.
Solution: Use a cable box (≈12‑inch diameter, $20) to hide power strips. Label each cord with a simple tag to locate chargers quickly.
For a quick boost in focus, try the Pomodoro technique: 25 minutes of work, 5 minutes of break. Pair it with a desk timer (e.g., Time Timer MOD, $25) for visual countdown.
Summary Conclusion
By following these five steps—mapping the space, perfecting lighting, establishing ergonomics, organizing workflow zones, and adding mood‑enhancing details—you’ll transform any corner into a high‑performance home office. The investment ranges from $1,500 to $2,500 depending on brand choices, but the payoff is measurable: up to a 20% increase in daily output, fewer aches, and a workspace you actually enjoy.
Remember, the key is intentional design, not just aesthetic appeal. Keep evaluating what works, tweak as needed, and let your office evolve with your tasks. Happy building!
How much should I spend on a productive home office?
A functional setup can be achieved for $1,500–$2,500, covering a quality desk, ergonomic chair, monitor, lighting, and storage. Investing in ergonomics early reduces long‑term health costs.
What size desk is ideal for a small apartment?
A 48‑inch wide by 30‑inch deep desk fits most compact spaces while providing enough room for a monitor arm and accessories.
Can I make my home office more productive without a sit‑stand desk?
Yes. Use a sturdy keyboard tray to raise the monitor to eye level, add a footrest, and incorporate regular movement breaks to mimic the benefits of a sit‑stand setup.
What lighting temperature is best for focus?
Cool white (6500 K) for task lighting reduces eye strain, while warm ambient light (3000 K) creates a relaxed background. Combining both layers is optimal.
How do I keep my home office organized long‑term?
Implement a “daily reset” routine: file papers, wipe the desk, and straighten cables each evening. Use labeled trays and a rolling file cabinet to keep items out of sight.
1 réflexion au sujet de « Home Office Setup Ideas Productive – Your Complete Resource »