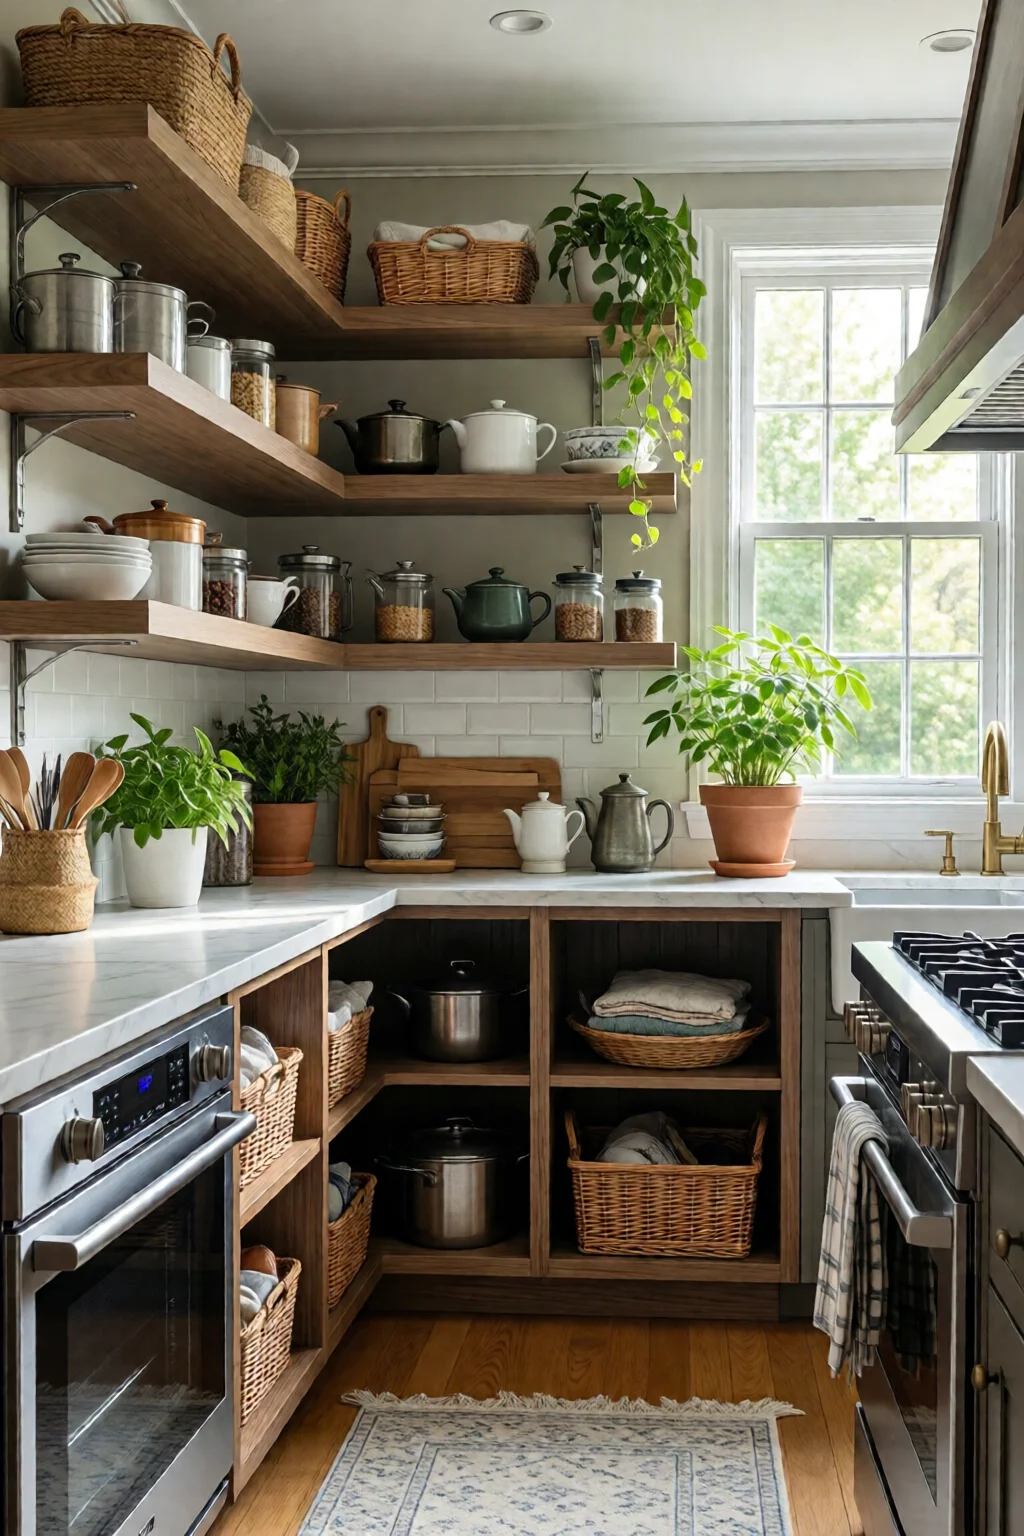
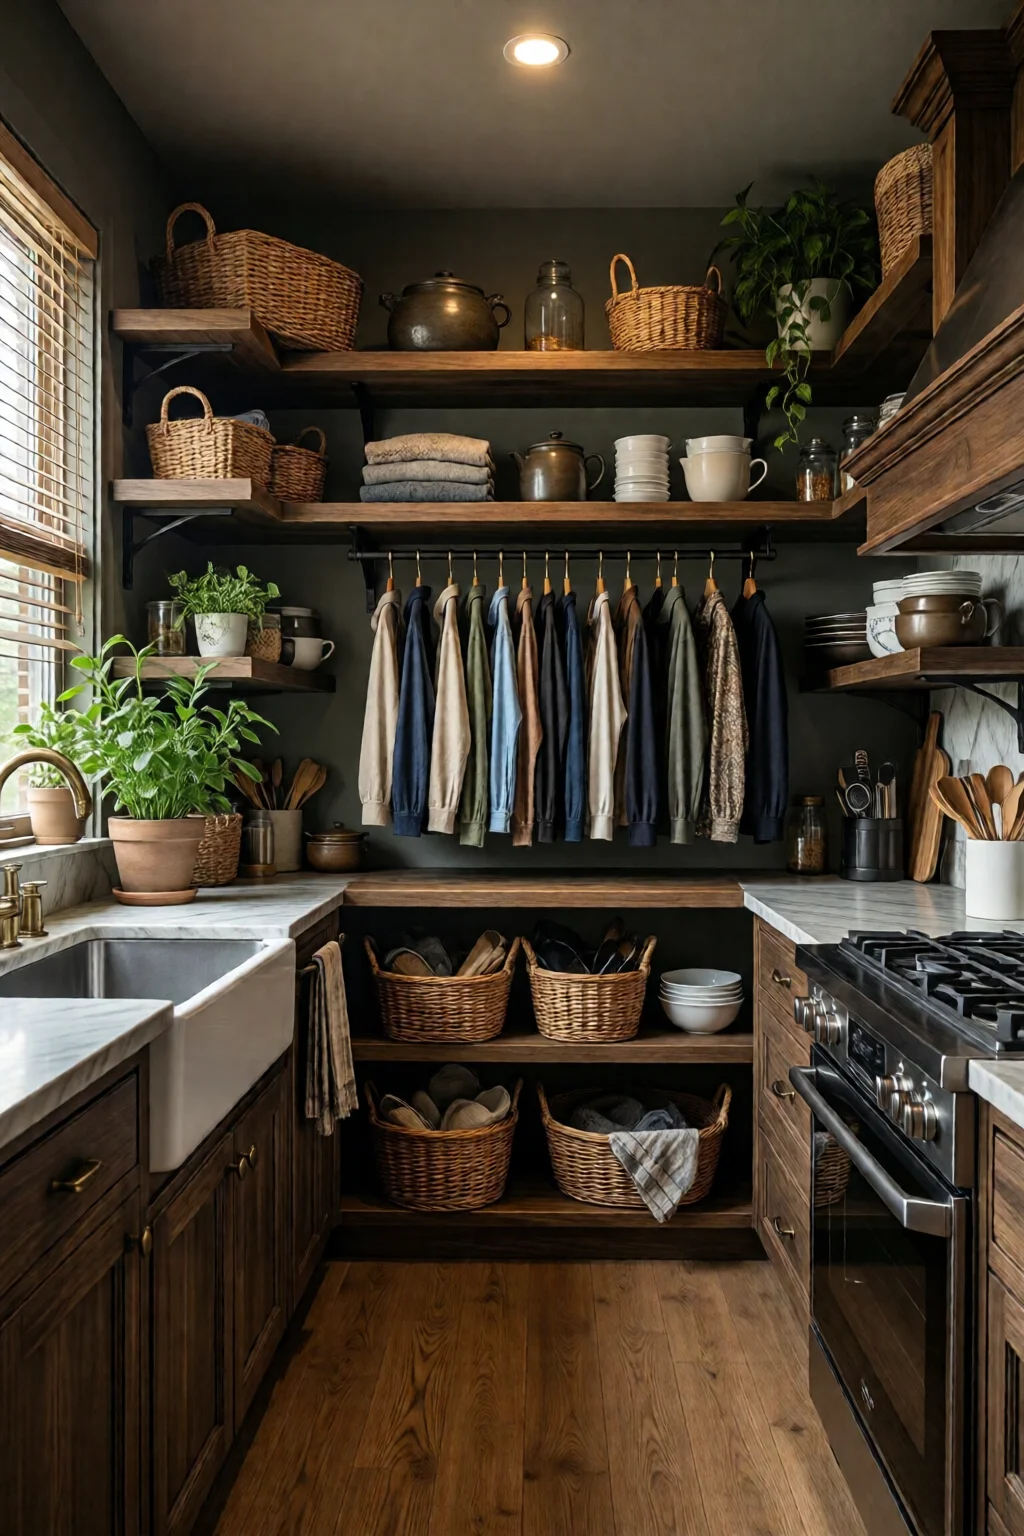
Ever opened a pantry and felt like you were staring into a black hole of mystery cans and forgotten snacks? You’re not alone. A well‑organized pantry not only saves time—but it can shave $50‑$100 a month from grocery waste by keeping food visible and fresh. Below are my favorite kitchen pantry organization ideas DIY that blend budget‑friendly products with clever design tricks.
In This Article
- 1. Start with a Full‑Pantry Audit (The “Empty‑and‑Sort” Method)
- 2. Install Adjustable Shelf Dividers
- 3. Use Clear, Stackable Bins for Bulk Items
- 4. Create a “Grab‑N‑Go” Snack Station
- 5. Add a Pull‑Out Spice Rack
- 6. Incorporate a Fold‑Down Shelf for Seasonal Items
- 7. Label Everything with a Consistent System
- 8. Optimize Door Space with Hanging Racks
- 9. Install LED Strip Lighting for Visibility
- 10. Build a Small “Pantry Workstation” for Meal Prep
- Comparison Table: Top DIY Pantry Products
- Maintaining Your DIY Pantry System
- Final Verdict
1. Start with a Full‑Pantry Audit (The “Empty‑and‑Sort” Method)
Before you buy anything, empty every shelf, pull out every box, and lay items on the floor. Group by category: canned goods, grains, snacks, baking supplies, and spices. Discard expired items (a quick modern kitchen design ideas sleek tip is to use a red “X” sticker on the back of the pantry door as a visual reminder).
Why it matters: You’ll know exactly how much vertical and horizontal space you truly need, preventing over‑buying and ensuring each bin has a purpose.
Pro tip: Use a kitchen scale to weigh bulk items like rice or flour; then label the containers with both weight and serving size. This reduces guesswork and cuts waste by up to 15%.
2. Install Adjustable Shelf Dividers
Adjustable dividers are the unsung heroes of pantry order. I love the IKEA VARIERA system—four pieces cost $3.99 each and slide into any standard 12‑inch shelf. For deeper shelves, the The Container Store Elfa dividers run $9.95 per pair and support up to 30 lb.
How to install:
- Measure the interior width of each shelf.
- Insert the divider’s tabs into the shelf’s lip.
- Adjust the width until you have two equal compartments.
Pros: Instantly creates separate zones for cereal, snacks, and baking mixes. Cons: Plastic dividers can crack under heavy loads; metal versions (e.g., OXO Good Grips at $12.99) are sturdier but cost more.
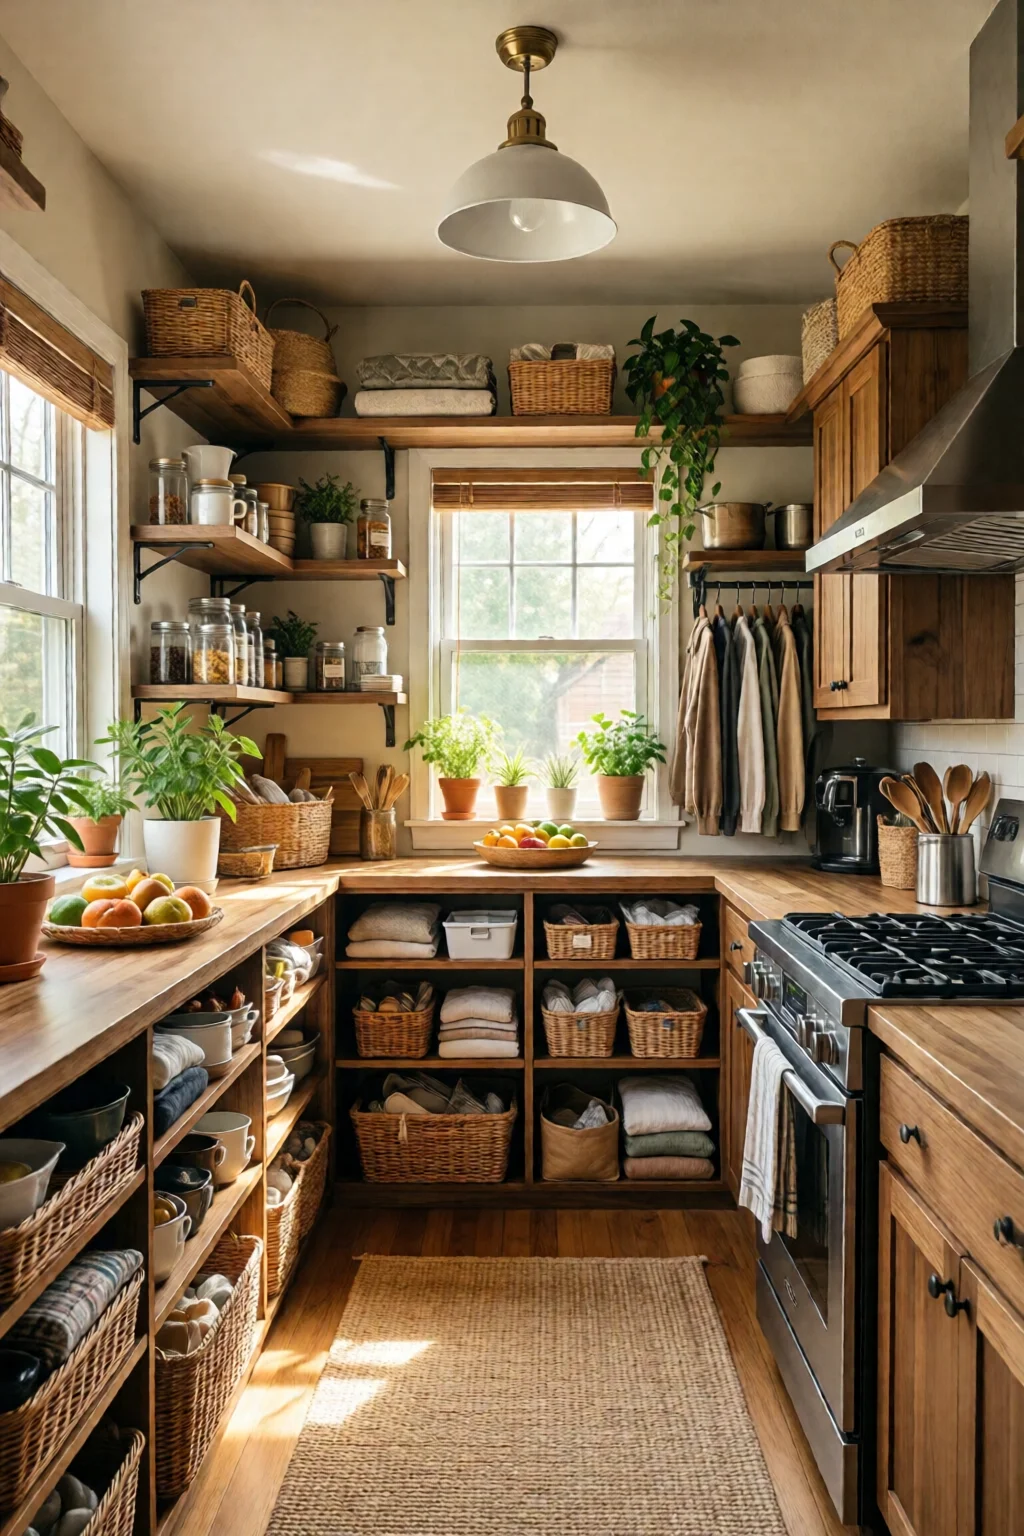
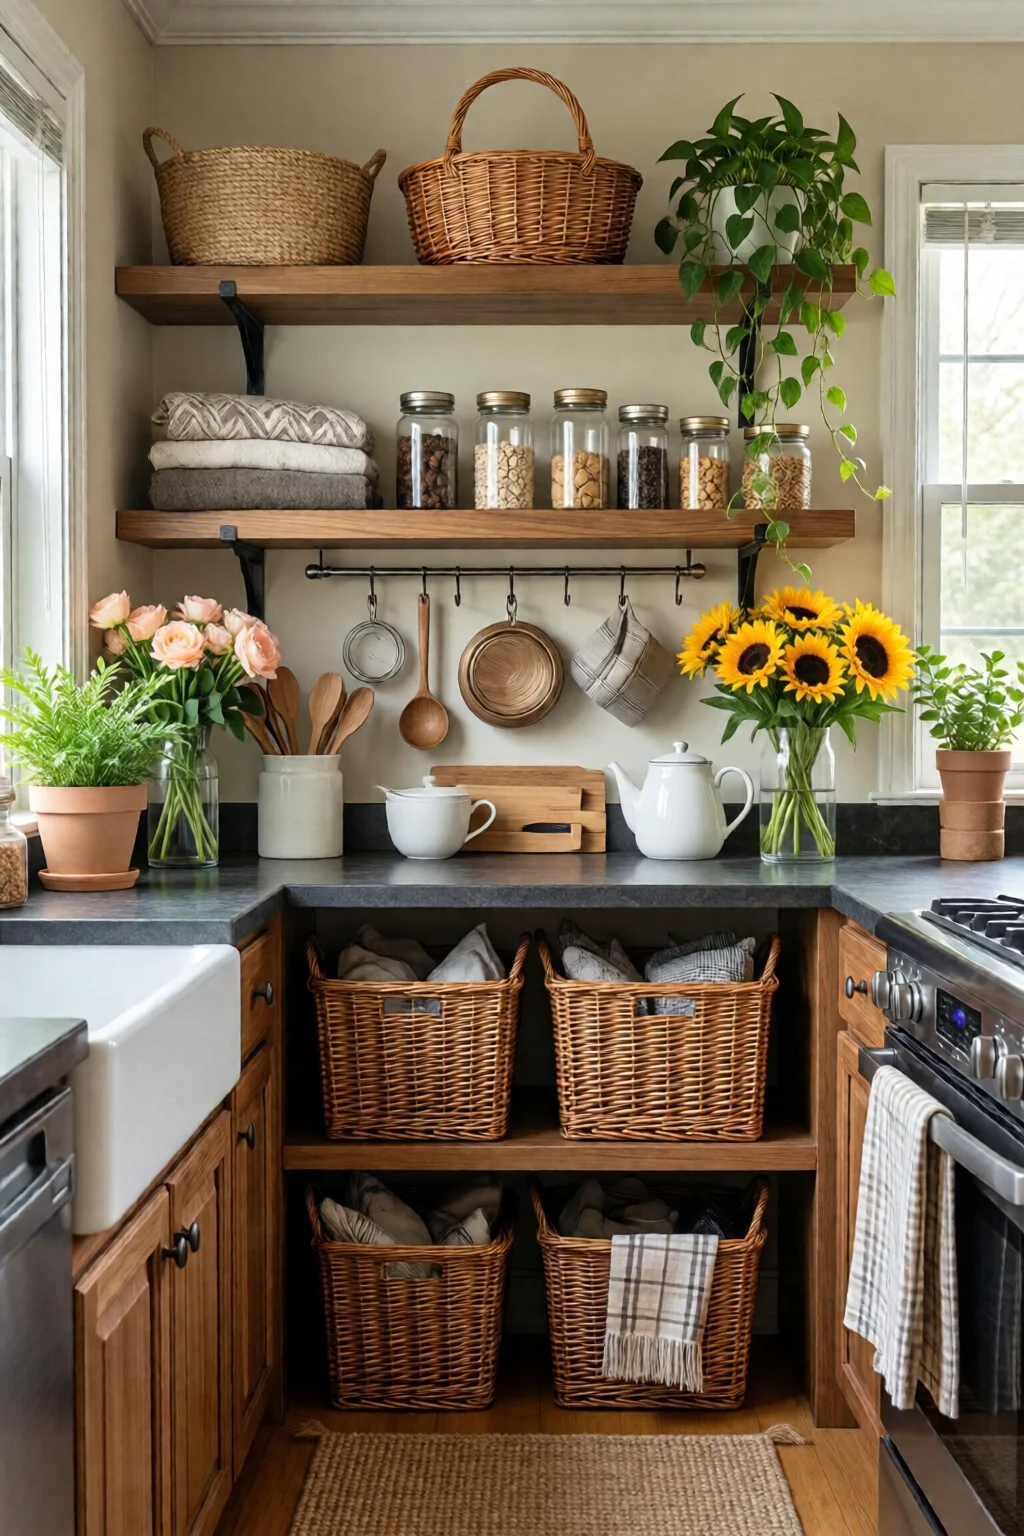
3. Use Clear, Stackable Bins for Bulk Items
Seeing is believing. Clear bins let you spot low‑stock items at a glance, reducing “out‑of‑sight, out‑of‑mind” waste. My go‑to is the Rubbermaid Brilliance 12‑quart containers—$7.99 each, BPA‑free, and they nest perfectly.
Arrange bins by height:
- Front row (easy‑reach): Snacks, breakfast items.
- Middle row: Canned goods, jars.
- Back row: Bulk grains, flour, sugar.
Label each bin with a custom vinyl label (approx. $0.30 each). This small touch adds a boutique feel and prevents misplacement.
4. Create a “Grab‑N‑Go” Snack Station
Kids and busy adults love a dedicated snack zone. Install a low, pull‑out drawer using Knape & Co. soft‑close slides ($24.99 per pair). Inside, place a OXO Good Grips 15‑oz airtight container set ($19.99). The drawer stays under the countertop, keeping snacks out of sight but within arm’s reach.
Benefits: Reduces countertop clutter, limits snack spillage, and encourages kids to help restock.
Cons: Requires a minimum 6‑inch clearance under the counter; not ideal for ultra‑low cabinets.
5. Add a Pull‑Out Spice Rack
Spice chaos is a pantry nightmare. I swapped a full‑height shelf for a pull‑out spice rack from Kitchener 10‑tier ($34.99). It slides out on full extension, revealing all jars at once.
Installation steps:
- Remove the existing shelf.
- Attach the rack’s brackets to the cabinet sides (use the included wood screws).
- Slide the rack in, test the glide.
Fill each jar with a Mason jar with silicone lid ($0.99 each) for airtight freshness. Group by cuisine (Italian, Mexican, Asian) for quick navigation.
6. Incorporate a Fold‑Down Shelf for Seasonal Items
Seasonal baking supplies (candy canes, pumpkin puree) often end up buried. A fold‑down shelf, like the Gladiator 2.5‑in fold‑down utility shelf ($17.48), can be mounted on the back wall. When not in use, it tucks flat, preserving space.
Installation tip: Use a stud finder to locate a wall stud, then secure with 2‑in wood screws. The shelf can hold up to 20 lb—perfect for canned pumpkin or holiday treats.
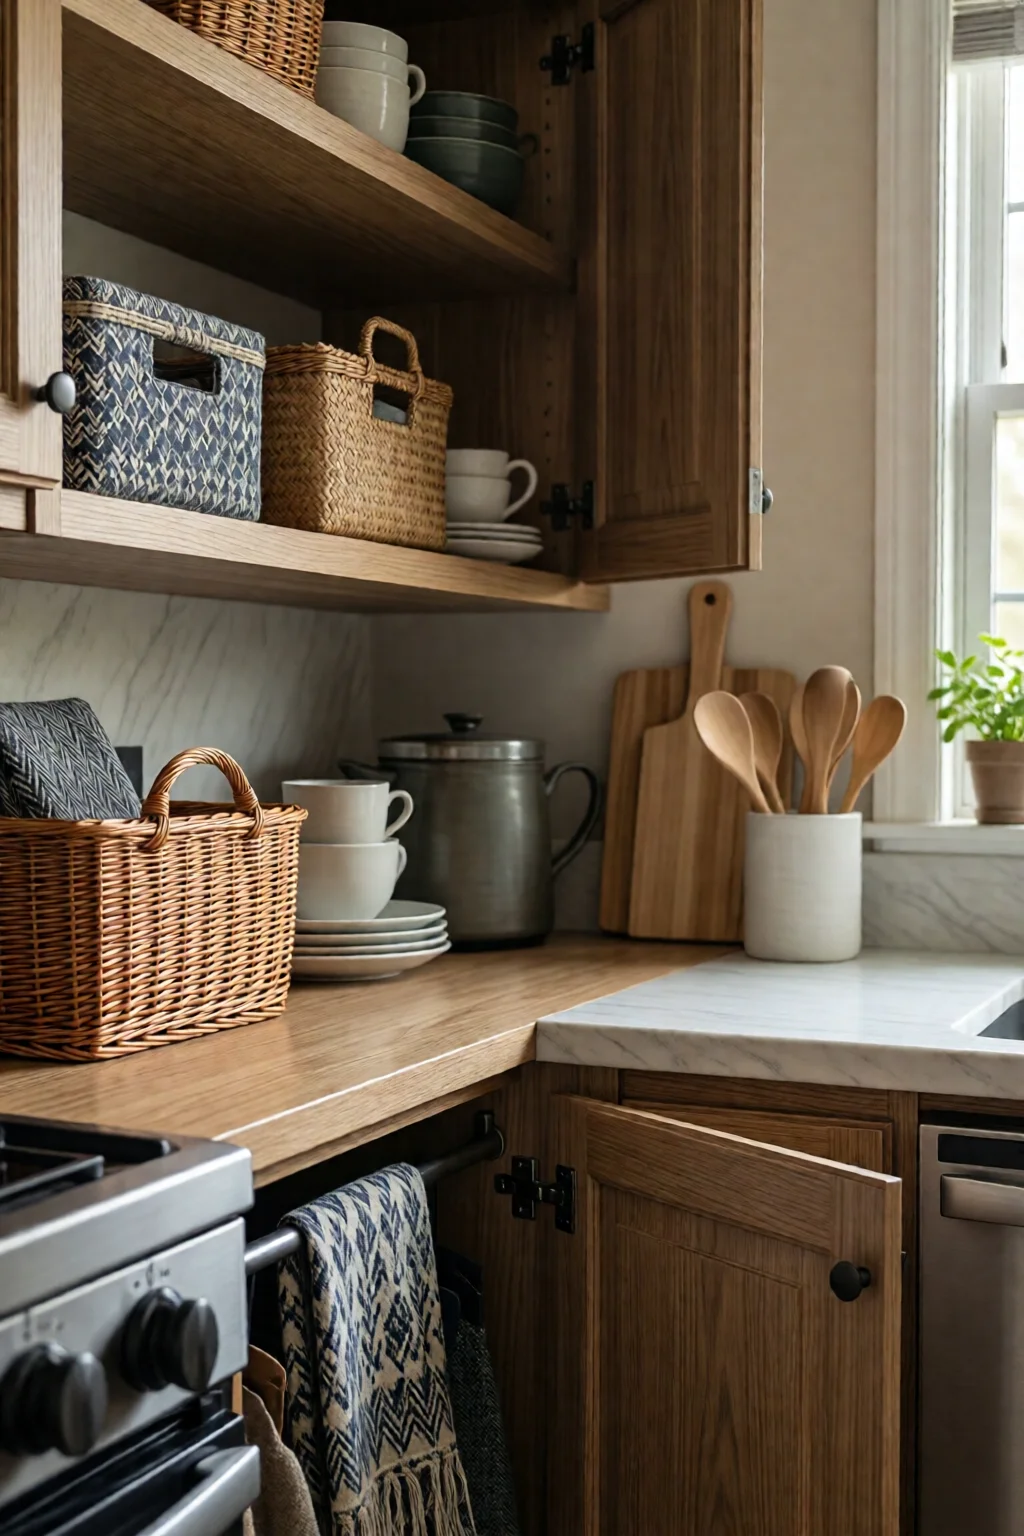
7. Label Everything with a Consistent System
Labels are the glue that holds the system together. I recommend a two‑tone label system:
- White background, black text: Staples—cereal, pasta, rice.
- Yellow background, black text: Perishables—baking soda, yeast, spices.
Purchase a Avery 8000 label set ($8.99) and a Brother P‑Touch label maker ($49.99). Consistency reduces the time spent hunting for items by up to 30%.
8. Optimize Door Space with Hanging Racks
If your pantry door is 24 in wide, install a Container Store hanging rack ($12.95). Use it for lightweight items like reusable grocery bags, small jars of sauce, or a magnetic spice strip.
Pro: Adds 4‑5 extra “shelves” without sacrificing floor space. Con: Overloading can sag the door hinges.
9. Install LED Strip Lighting for Visibility
A dark pantry hides expired goods. LED strips (e.g., Philips Hue Lightstrip at $39.99) can be glued to the underside of each shelf. Connect to a motion sensor for hands‑free illumination.
Result: You’ll see everything at a glance, reducing food waste by an estimated 12%.
10. Build a Small “Pantry Workstation” for Meal Prep
Allocate a 2‑ft wide section near the pantry entrance for a cutting board, a small trash bin, and a rolling cart. I use the IKEA RASKOG cart ($29.99). It slides out, holds a few knives, and doubles as a portable prep surface.
Having a dedicated prep zone keeps countertops clear and streamlines the cooking flow.
Comparison Table: Top DIY Pantry Products
| Product | Price | Capacity | Durability Rating (1‑5) | Best Use |
|---|---|---|---|---|
| IKEA VARIERA Shelf Divider | $3.99 each | 12‑in shelf | 4 | Creating dual zones on standard shelves |
| Rubbermaid Brilliance 12‑qt Clear Bin | $7.99 each | 12 qt | 5 | Storing bulk grains and canned goods |
| Knape & Co. Soft‑Close Drawer Slides | $24.99 per pair | 6‑in pull‑out | 5 | Snack station drawer |
| Kitchener 10‑Tier Pull‑Out Spice Rack | $34.99 | 10 jars | 4 | Spice organization |
| Philips Hue LED Lightstrip | $39.99 | 5 ft | 5 | Pantry illumination |
Maintaining Your DIY Pantry System
Organization fades without upkeep. Schedule a 10‑minute “pantry sweep” every two weeks:
- Check expiration dates.
- Re‑label any moved items.
- Wipe shelves with a vinegar‑water solution.
Stick to a “first‑in, first‑out” rule—place new items behind older ones. This habit alone can cut grocery waste by up to 20%.
Final Verdict
Transforming a chaotic pantry into a streamlined, functional space doesn’t require a contractor or a $1,000 budget. With the right kitchen pantry organization ideas DIY—adjustable dividers, clear bins, pull‑out racks, and a dash of LED lighting—you’ll save time, money, and sanity. Start with a simple audit, pick the tools that fit your budget, and watch the pantry become the heart of your kitchen.
How can I organize a small pantry without buying expensive custom cabinets?
Use adjustable dividers, stackable clear bins, and a pull‑out spice rack. These products cost $5‑$35 each and maximize vertical space without structural changes.
What’s the best way to label pantry items for quick identification?
Invest in a label maker and use a two‑tone system (e.g., white for staples, yellow for perishables). Consistent labeling cuts search time by roughly 30%.
Can LED lighting really reduce food waste?
Yes. Better visibility helps you spot items before they expire. Studies show illumination can lower pantry waste by up to 12%.
How much should I budget for a full pantry makeover?
A comprehensive DIY pantry can be done for $150‑$300, depending on the number of bins, dividers, and lighting you choose.
What maintenance routine keeps the pantry organized long‑term?
A 10‑minute bi‑weekly sweep: check dates, re‑label moved items, and wipe shelves. This habit maintains order and reduces waste.