Transform your living room from bland to breathtaking with a perfectly curated gallery wall – the ultimate style hack that costs less than a new sofa but delivers a wow factor that lasts.
In This Article
- 1. Classic Symmetrical Grid – The Timeless Anchor
- 2. Eclectic Salon Style – The Curated Museum Feel
- 3. Monochrome Black‑and‑White – High‑Impact Minimalism
- 4. Mixed Media Collage – Texture Meets Art
- 5. Large‑Scale Statement Piece + Mini Gallery – Balance Boldness
- 6. Color‑Coded Theme – Cohesive Hue Story
- 7. Floating Shelf Gallery – Versatile & Change‑Ready
- 8. Vintage Postcard & Map Collage – Travel‑Inspired Storytelling
- Comparison Table – Top Picks for Every Budget
- Putting It All Together – Practical Tips
- Final Verdict
Living rooms are the social hub of the home, so why settle for a single piece of art that competes with the chatter? A gallery wall lets you showcase personality, blend textures, and tie together the whole design scheme. In my ten‑plus years of interior design, I’ve watched clients go from “I have nothing on these walls” to “Everyone asks where I bought that piece!” simply by arranging frames, photos, and objects in a thoughtful composition. Below you’ll find eight tried‑and‑true gallery wall ideas for living rooms, each broken down with step‑by‑step instructions, cost breakdowns, and the pros and cons that matter when you’re balancing budget, time, and style.
1. Classic Symmetrical Grid – The Timeless Anchor
The symmetrical grid is the go‑to for anyone who loves order and clean lines. Think of a 3×3 or 4×4 arrangement of identically sized frames, all spaced evenly. This layout works especially well in modern or mid‑century living rooms where you want the art to complement, not compete, with sleek furniture.
How to execute:
- Measure the wall space. A common rule is to keep the gallery width about two‑thirds of the sofa’s length. For a 96‑inch sofa, aim for a 64‑inch wide wall.
- Choose frames. I recommend the IKEA RIBBA frame in 11×14 inches – $12 each. For a 3×3 grid, you’ll need nine frames ($108 total).
- Print photos or artwork at 10×13 inches (to leave a small border inside the frame). Use a professional service like Shutterfly – $0.35 per print.
- Lay the frames on the floor to perfect spacing. A 2‑inch gap between frames looks balanced.
- Transfer the layout to the wall with painter’s tape, then use Command picture hooks (2‑pack for $5) for a damage‑free hang.
Cost breakdown: Frames $108 + prints $3.15 + hooks $5 = $116.15 (≈ $12.90 per piece).
Pros
- Creates a cohesive focal point.
- Easy to swap photos without disrupting the whole look.
- Works with any color palette.
Cons
- Can feel sterile if all frames are identical.
- Requires precise measurement – a small mis‑step throws off the entire grid.

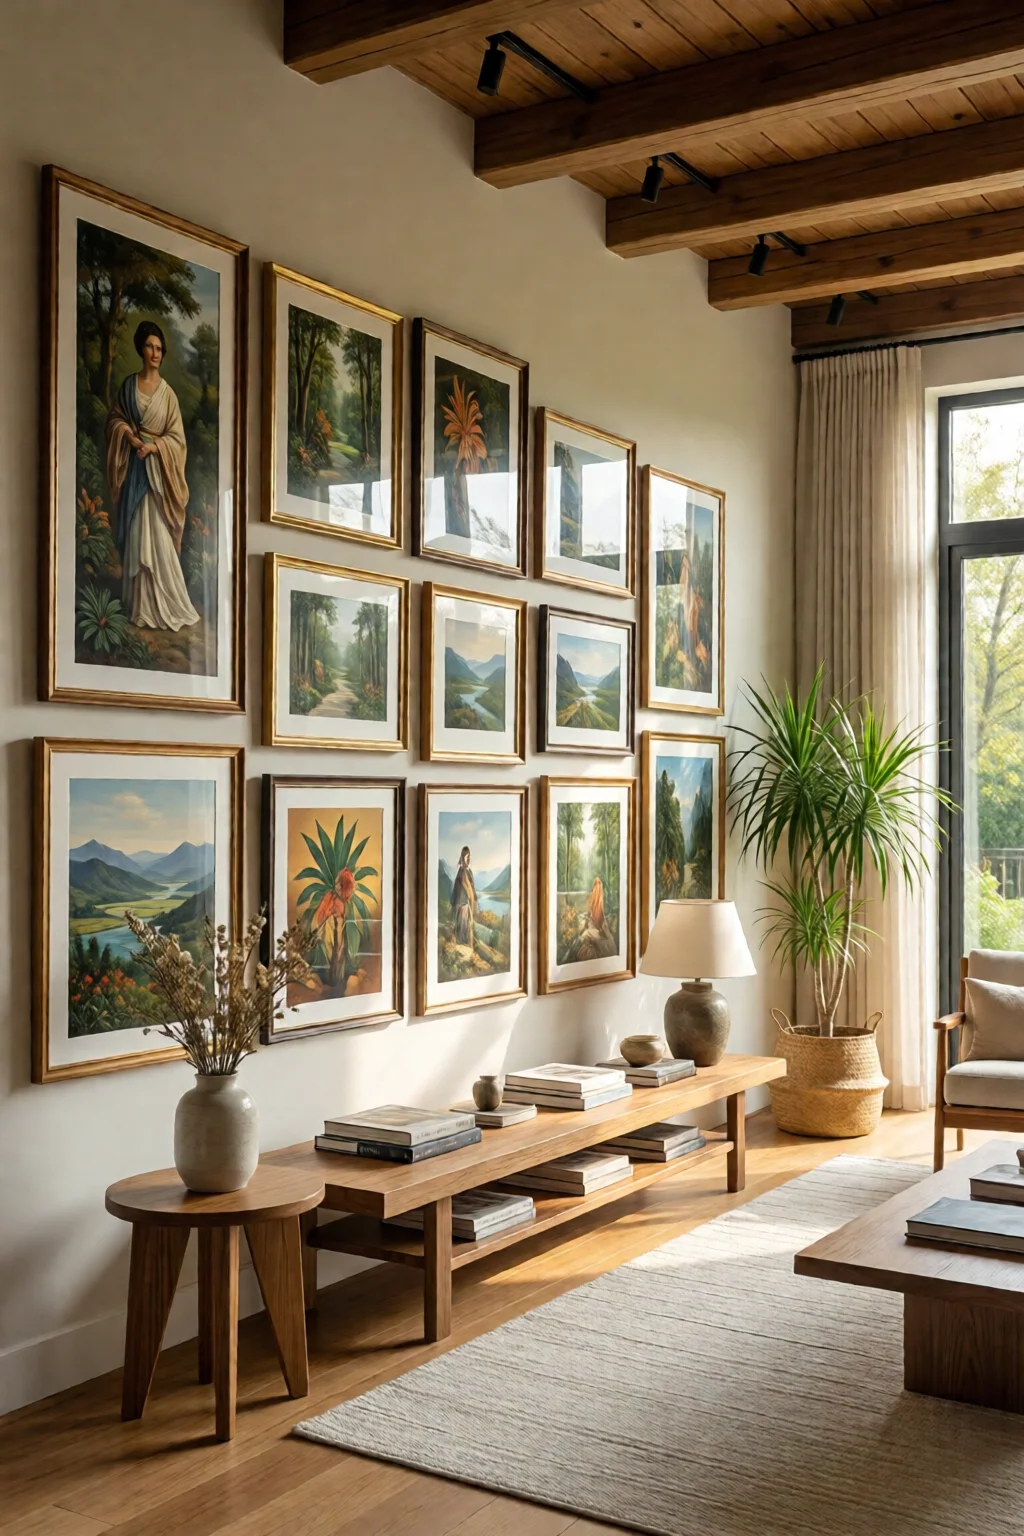
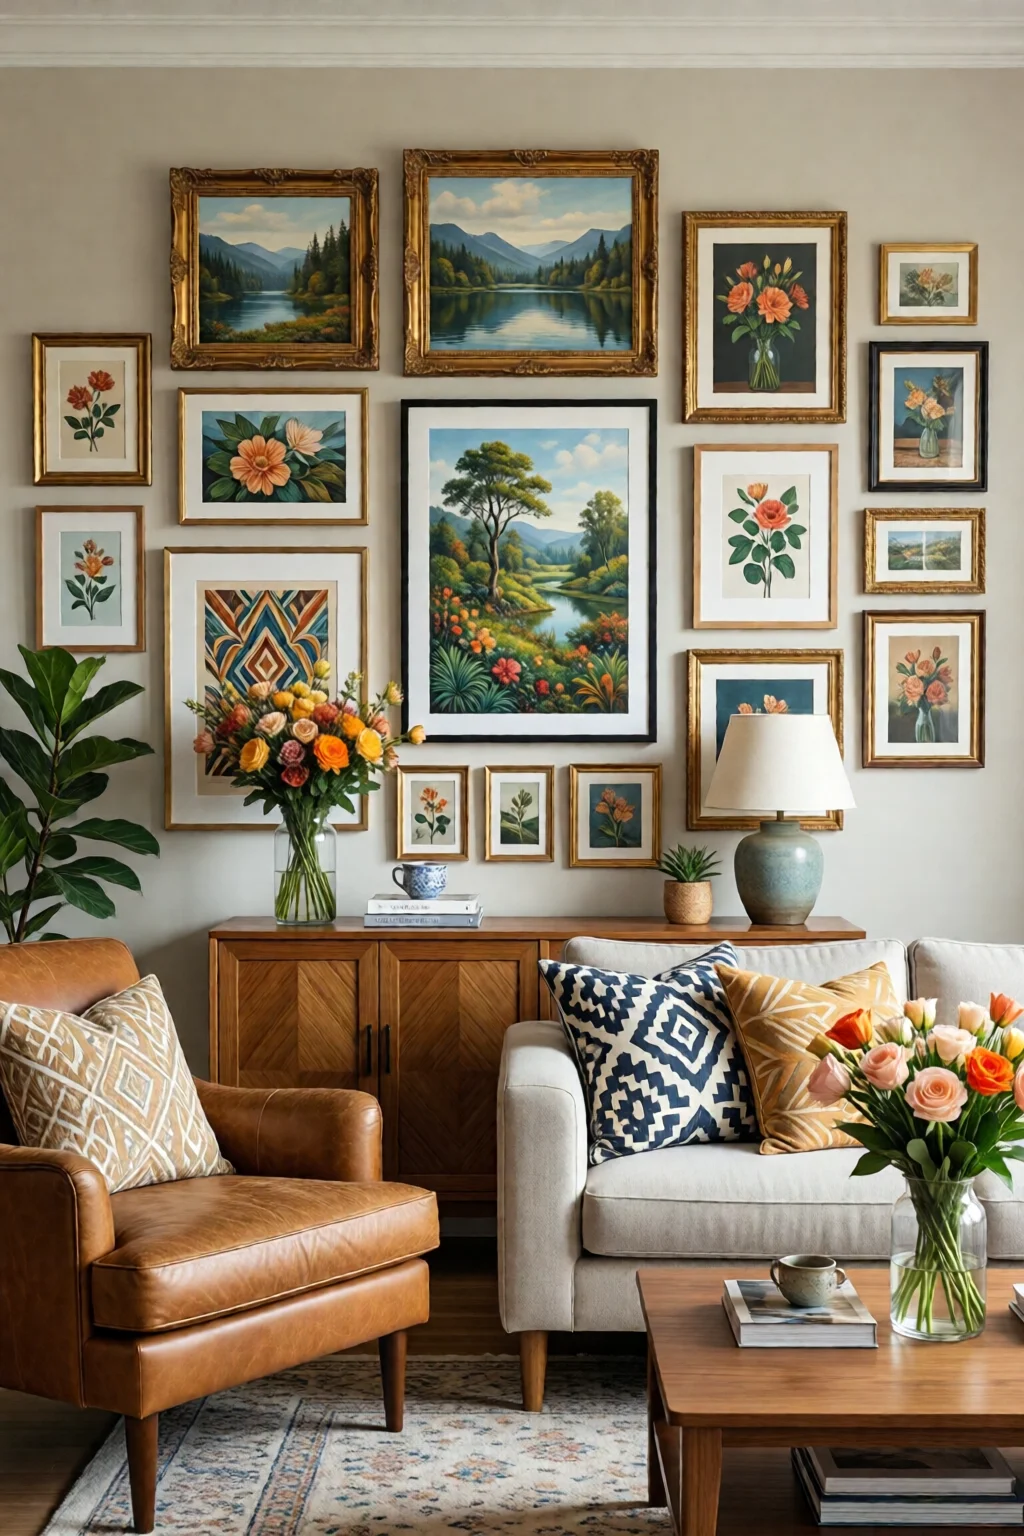
2. Eclectic Salon Style – The Curated Museum Feel
If you love mixing vintage postcards, abstract prints, and family portraits, the salon style is your playground. This “gallery wall without a grid” mimics the walls of European salons, where art of varying sizes lives together in harmony.
Step‑by‑step:
- Gather 6–12 pieces ranging from 5×7 to 24×36 inches. I love the 24×36 Pottery Barn large black frame ($180) for a statement piece.
- Use a large piece as the anchor (usually centered). Place smaller frames around it, rotating each piece slightly (2–3 degrees) for a relaxed vibe.
- Mix frame finishes – brass, wood, and black – but limit to three finishes to avoid chaos.
- Include non‑frame items: a small woven wall hanging (e.g., West Elm handwoven wool wall hanging, $85) or a metal “Live Laugh Love” sign ($30).
- Secure with picture‑hanging hooks; for heavier pieces, use Hillman anchors ($0.40 each).
Average cost: 8 frames averaging $45 each = $360 + 1 large frame $180 + wall hanging $85 + hardware $10 ≈ $635.
Pros
- Showcases personality and travel memories.
- Allows for future additions without redesign.
- Looks high‑end even with budget pieces.
Cons
- Design can feel cluttered if not balanced.
- Heavier pieces may need professional installation.
3. Monochrome Black‑and‑White – High‑Impact Minimalism
Black‑and‑white photography paired with sleek black frames creates a dramatic, gallery‑like atmosphere without overwhelming color. This style works wonders in living rooms with light wood floors and neutral sofas, adding depth without competing with other hues.
Execution tips:
- Select 4–6 high‑resolution black‑and‑white prints. I recommend purchasing from Art.com – $45 per 16×20 print.
- Use the Crate & Barrel 16×20 black wood frame ($49 each).
- Arrange in a staggered line rather than a strict grid – this adds movement while keeping the palette simple.
- Maintain a 1.5‑inch gap between frames for breathing room.
Total cost: 5 prints $225 + 5 frames $245 + hooks $10 = $480.
Pros
- Elegant, timeless look.
- Works with any wall color.
- Easy to swap prints for seasonal changes.
Cons
- May feel cold if not balanced with warm textures (throw pillows, rugs).
- High‑quality prints can be pricey.
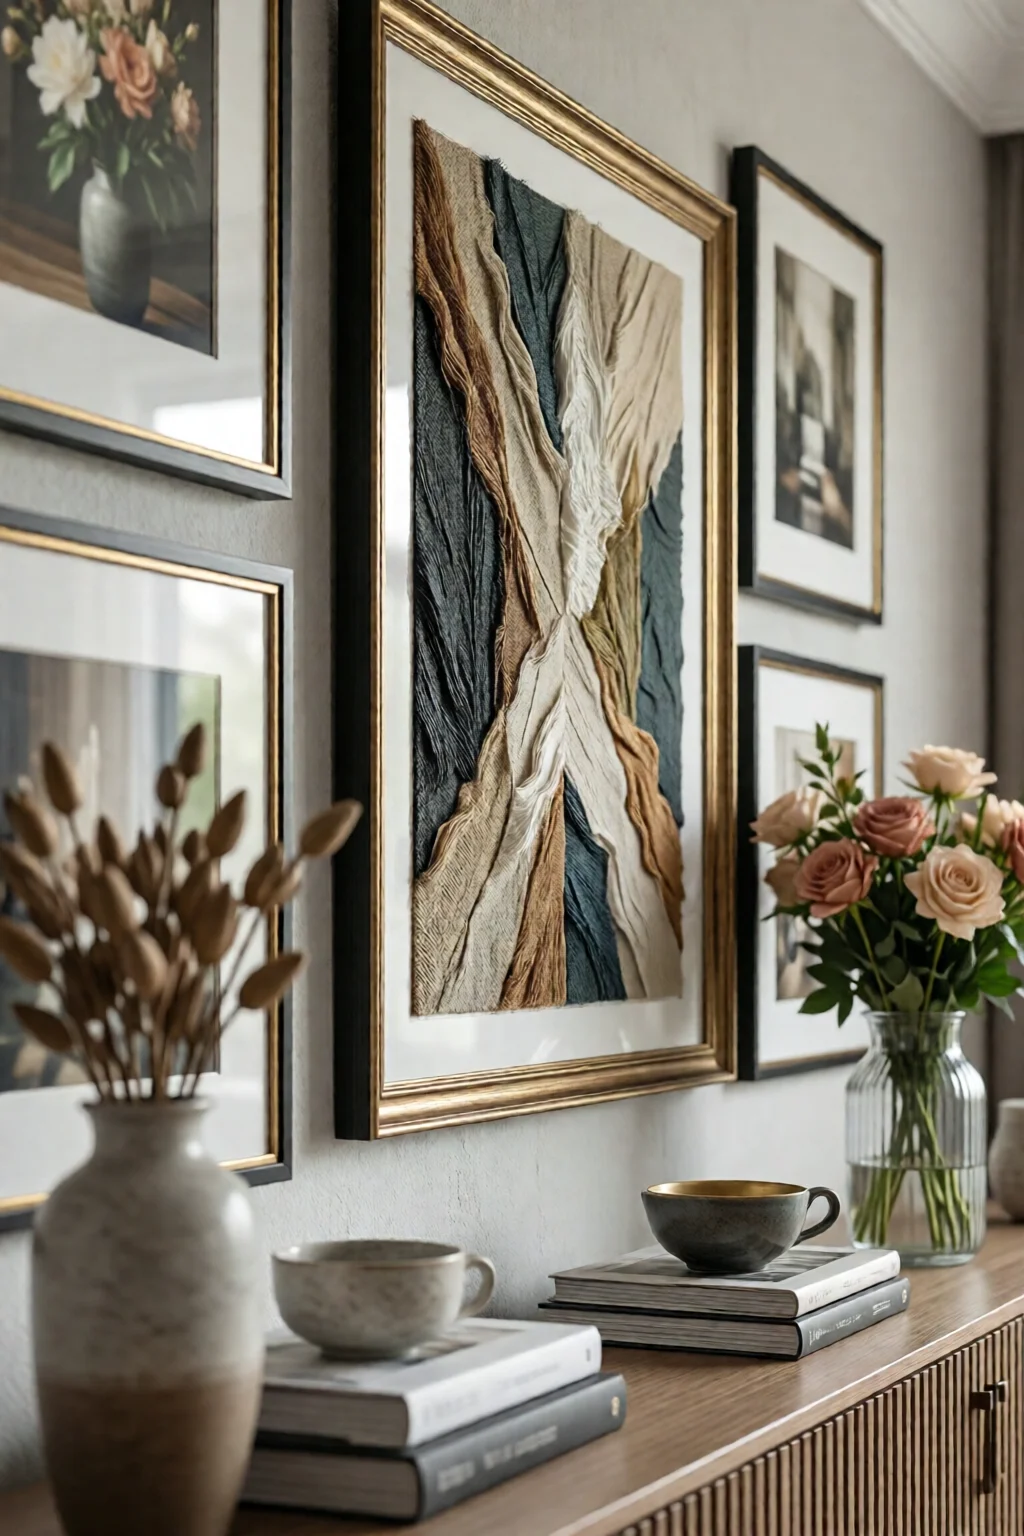
4. Mixed Media Collage – Texture Meets Art
When you want your wall to feel as tactile as your sofa, mixed media is the answer. Combine framed artwork, fabric swatches, metal plates, and even a small shelf for objects. This approach is perfect for farmhouse living rooms or boho‑chic spaces.
Materials & steps:
- Pick a central piece – a 30×40 inch Urban Outfitters abstract canvas ($220).
- Add three 12×12 wooden frames (Target 12×12 wood frame, $9 each) for smaller art.
- Attach a 12×12 inch woven fabric panel (Etsy custom, $30).
- Install a floating shelf (IKEA LACK, 30×10 inches, $15) to display small ceramics or candles.
- Secure everything with a combination of picture hooks and flat‑head screws for the shelf.
Cost summary: Canvas $220 + 3 frames $27 + fabric $30 + shelf $15 + hardware $8 ≈ $300.
Pros
- Adds depth and interest beyond flat images.
- Easy to personalize with seasonal decor.
- Makes a small living room feel larger through visual layers.
Cons
- Heavier wall load – check studs before hanging.
- More time needed to arrange and level.
5. Large‑Scale Statement Piece + Mini Gallery – Balance Boldness
Pair a single oversized artwork (think 48×72 inches) with a cluster of mini frames to create a focal point that doesn’t dominate the room. This technique works great in open‑plan living rooms where you need a visual anchor without blocking sightlines.
Implementation:
- Buy a large canvas from World Market – “Coastal Sunset” 48×72, $350.
- Choose six 5×7 frames (Michaels black 5×7 frame, $7 each) for personal photos.
- Arrange the mini frames in a semi‑circle beneath the large piece, keeping a 1‑inch gap.
- Use Command large picture strips ($12 per pack) for the canvas, and standard hooks for the minis.
Total cost: Large canvas $350 + 6 frames $42 + hardware $24 = $416.
Pros
- Creates a dramatic visual hierarchy.
- Mini frames can be updated frequently.
- Works with both contemporary and traditional furnishings.
Cons
- Large canvas may be expensive.
- Requires a solid wall anchor for the heavy piece.
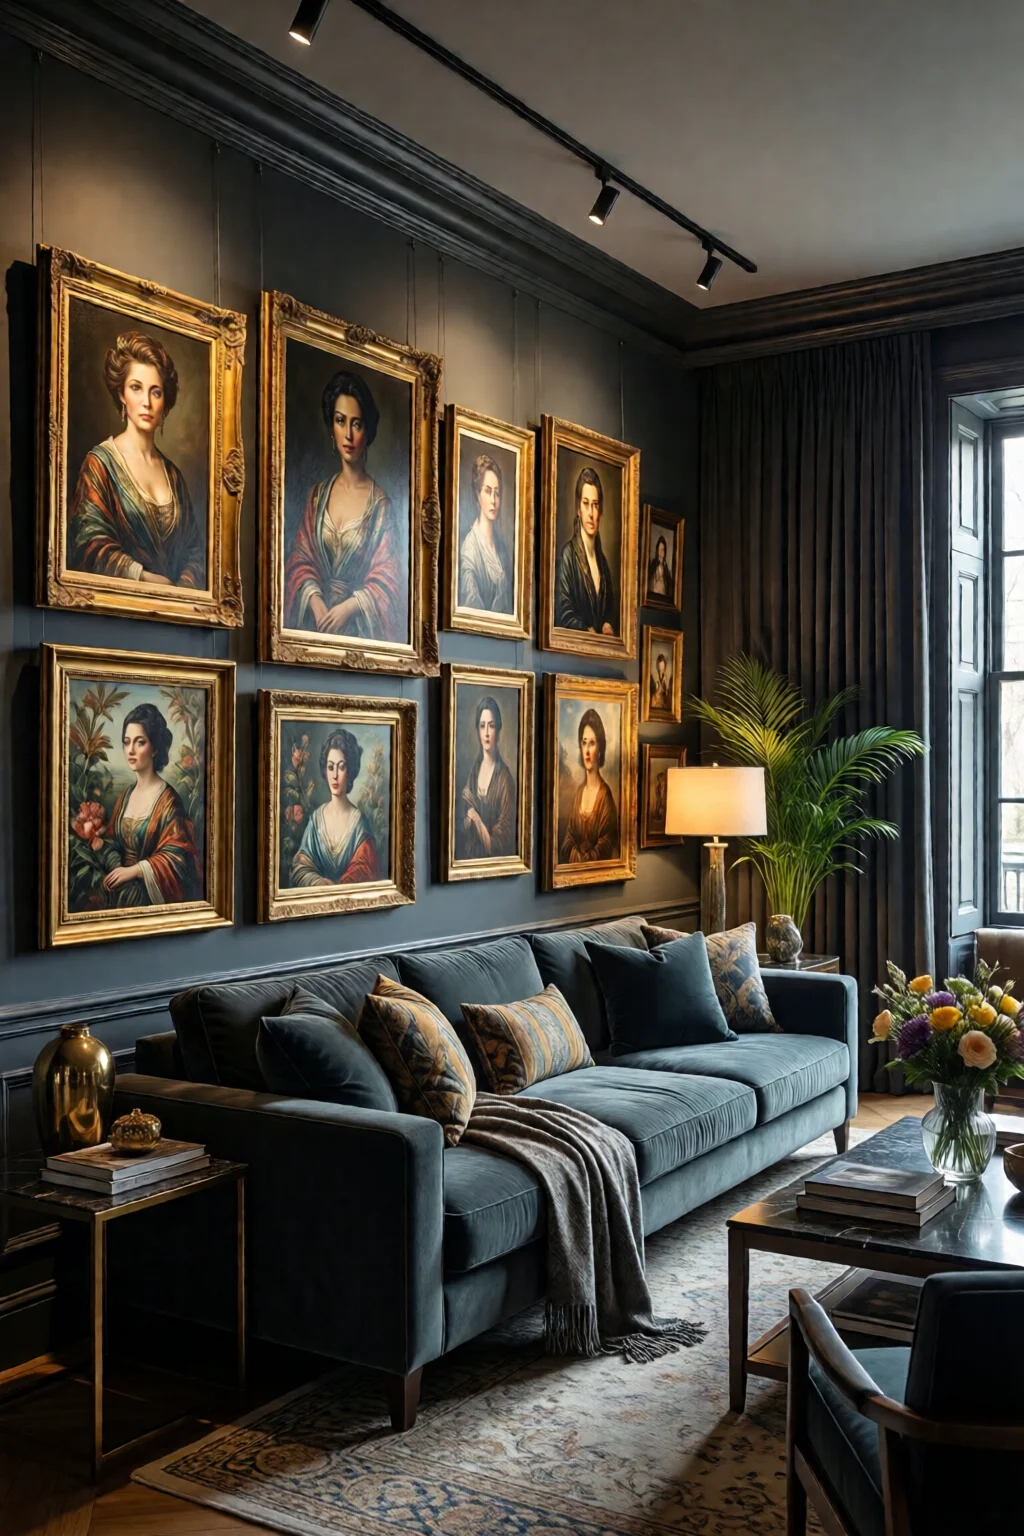
6. Color‑Coded Theme – Cohesive Hue Story
Pick a color from your sofa or rug and let it guide the entire gallery wall. For a navy sofa, select artwork, frames, and accents that incorporate shades of navy, teal, and ivory. This technique ties the room together without overwhelming it.
Steps:
- Identify the dominant color (e.g., navy #1A237E).
- Source three navy‑blue prints from Etsy ($20 each).
- Buy two ivory‑colored frames (West Elm ivory wood frame, $55 each).
- Add a teal accent piece, such as a Target teal ceramic wall art, $28.
- Hang using standard hooks; keep spacing consistent at 2 inches.
Cost breakdown: Prints $60 + ivory frames $110 + teal accent $28 + hardware $8 = $206.
Pros
- Creates a unified look without matching exactly.
- Easy to incorporate new pieces that fit the palette.
- Works for renters – just swap frames.
Cons
- Limited if you prefer eclectic style.
- Finding matching colors may take extra time.
7. Floating Shelf Gallery – Versatile & Change‑Ready
Install a shallow floating shelf (12–14 inches deep) and use it as a dynamic display surface. Swap framed prints, books, and small sculptures whenever the mood changes. This is a favorite in my own living room because it doubles as extra storage.
How to set up:
- Choose a shelf: IKEA LACK wall shelf, 35×10 inches, $19.
- Secure with two toggle bolts ($1 each).
- Place three 11×14 frames (Target, $12 each) and two small planters (World Market ceramic pots, $15 each).
- Arrange in a staggered line, leaving a 1‑inch gap between items.
Total cost: Shelf $19 + frames $36 + planters $30 + hardware $2 = $87.
Pros
- Highly adaptable – change layout in minutes.
- Provides extra surface for books or decor.
- Less wall damage – only two anchor points.
Cons
- Limited to lighter items (avoid heavy sculptures).
- Shelf may be visible; choose finish that blends.
8. Vintage Postcard & Map Collage – Travel‑Inspired Storytelling
If you love wanderlust, turn your wall into a map of memory. Use vintage postcards, old maps, and travel photos. This style adds narrative depth and works well with rustic or industrial living rooms.
Steps to craft:
- Gather 12–15 postcards (often free from online archives).
- Print a large 24×36 map (e.g., National Geographic, $45).
- Mount each postcard on a 4×6 mat board (Michaels, $0.30 each).
- Use 4×6 wooden frames (IKEA RIBBA, $8 each). You’ll need 12 frames = $96.
- Arrange the map centrally with postcards spiraling outward; keep 1‑inch spacing.
- Hang with picture hooks; for the map, use a wall anchor ($0.50).
Cost estimate: Map $45 + frames $96 + mats $3.60 + hardware $2 ≈ $146.60.
Pros
- Personal, conversation‑starting display.
- Low cost if you already have postcards.
- Easy to add new destinations over time.
Cons
- May look cluttered without careful spacing.
- Paper items can fade; consider UV‑protective glass.
Comparison Table – Top Picks for Every Budget
| Style | Key Pieces | Estimated Cost | Skill Level | Best For |
|---|---|---|---|---|
| Classic Symmetrical Grid | IKEA RIBBA 11×14 frames, Shutterfly prints | $116 | Beginner | Modern, Mid‑Century |
| Eclectic Salon | Pottery Barn large frame, West Elm woven hanging | $635 | Intermediate | Boho, Farmhouse |
| Monochrome B&W | Crate & Barrel black frames, Art.com prints | $480 | Beginner | Minimalist, Urban |
| Mixed Media Collage | Urban Outfitters canvas, floating shelf | $300 | Intermediate | Industrial, Rustic |
| Large Statement + Mini | World Market canvas, 5×7 frames | $416 | Beginner | Open‑Plan, Contemporary |
Putting It All Together – Practical Tips
Now that you’ve seen the options, here are a few universal guidelines to guarantee success:
- Start on the floor. Lay out every frame and object before you nail anything. This saves time and prevents unnecessary holes.
- Use a level. Even a tiny tilt looks sloppy on a gallery wall. A laser level (available for $20 at Home Depot) is a worthwhile investment.
- Mind the weight. Anything over 5 lb needs a stud or heavy‑duty anchor. I always locate studs with a stud‑finder before hanging large canvases.
- Keep a 2‑inch margin from the ceiling and adjacent furniture. This “breathing space” makes the wall feel intentional.
- Lighting matters. Add a directional floor lamp or install picture lights (LED picture light, $45) to highlight the gallery after dark.
Don’t forget to tie in other room elements. A well‑chosen throw pillow (see my throw pillow ideas for sofas styling) that echoes a color from your gallery can pull the whole look together. Likewise, living room curtain ideas and tips can frame the wall and enhance the visual weight of your arrangement.
Final Verdict
Whether you’re a first‑time renter on a $150 budget or a homeowner ready to invest $600 for a curated masterpiece, there’s a gallery wall solution that fits your lifestyle. The key is to start with a clear concept – grid, eclectic, monochrome, or mixed media – then follow a systematic plan: measure, select frames, layout on the floor, and finally hang with the right hardware. By treating your wall as a canvas for personal storytelling, you’ll turn an empty space into a living, breathing extension of your personality.
How far apart should frames be spaced on a gallery wall?
A 1‑to‑2‑inch gap works well for most layouts. Smaller frames (5×7) look best with a 1‑inch gap, while larger pieces (24×36) benefit from a 2‑inch separation to prevent visual crowding.
Can I hang a gallery wall without drilling into the wall?
Yes. For lightweight frames (under 3 lb) use Command picture strips. For heavier items, consider a hanging rail system that uses decorative hooks to distribute weight without multiple holes.
What height should I hang my gallery wall?
The center of the gallery should sit at eye level, roughly 57‑60 inches from the floor. If you have a high sofa back, you may raise the arrangement a few inches so it doesn’t get lost behind the furniture.
Is it okay to mix frame colors and finishes?
Absolutely, but limit the palette to three finishes (e.g., black, brass, and natural wood). This creates visual harmony while still allowing for an eclectic feel.
How do I protect my gallery wall from sunlight damage?
Use UV‑filtering glass (often $10‑$20 extra per frame) or apply a UV‑blocking film to the window. Position the wall at least a foot away from direct sun exposure, and rotate the artwork seasonally.
1 réflexion au sujet de « Gallery Wall Ideas For Living Room – Everything You Need to Know »