When I first renovated my own kitchen, the island became the unofficial family hub—homework, coffee, Sunday brunch, and even the occasional impromptu dance party. The secret? A well‑thought‑out island with comfortable seating that invites you to linger. In this guide you’ll learn how to turn a plain slab of counter into a stylish, functional centerpiece, complete with seating that fits your space, budget, and lifestyle.
In This Article
- What You Will Need (Before You Start)
- Step 1: Define Your Space and Layout
- Step 2: Choose the Right Island Size and Shape
- Step 3: Pick Seating That Matches Your Lifestyle
- Step 4: Select Materials and Finishes
- Step 5: Install Lighting and Electrical
- Step 6: Add Functional Extras (Storage, Appliances)
- Common Mistakes to Avoid
- Troubleshooting & Tips for Best Results
- Summary Conclusion
What You Will Need (Before You Start)
- Measuring tape – a 25‑ft steel tape for precise dimensions.
- Graph paper or a free design app (I love RoomSketcher) to draft floor plans.
- Budget worksheet – spreadsheet to track costs; typical island projects range from $1,500 to $7,200.
- Materials list – countertop (e.g., Cambria Quartz 2‑cm slab, $85/ft²), base cabinets (IKEA SEKTION series, $120 per cabinet), and seating (counter‑height stools).
- Tools – drill, level, circular saw (or hire a contractor), and a stud finder.
- Permits – check local codes if you’re adding plumbing or electrical.
Step 1: Define Your Space and Layout
Start by measuring the “work triangle” – the distance between the stove, sink, and refrigerator. Ideal total length is 13–26 ft; the island should not disrupt this flow. In my 12 × 15‑ft kitchen, the island sits 4 ft from the fridge and 3 ft from the sink, preserving a 6‑ft clearance on all sides. Use graph paper: draw a 1‑inch = 1‑ft scale, sketch the existing layout, then experiment with island placements.
Key questions:
- Will the island be a peninsula (against a wall) or a free‑standing island?
- Do you need extra prep space, or will the island serve mainly as a seating area?
Answering these early prevents costly re‑routing of cabinets later.
Step 2: Choose the Right Island Size and Shape
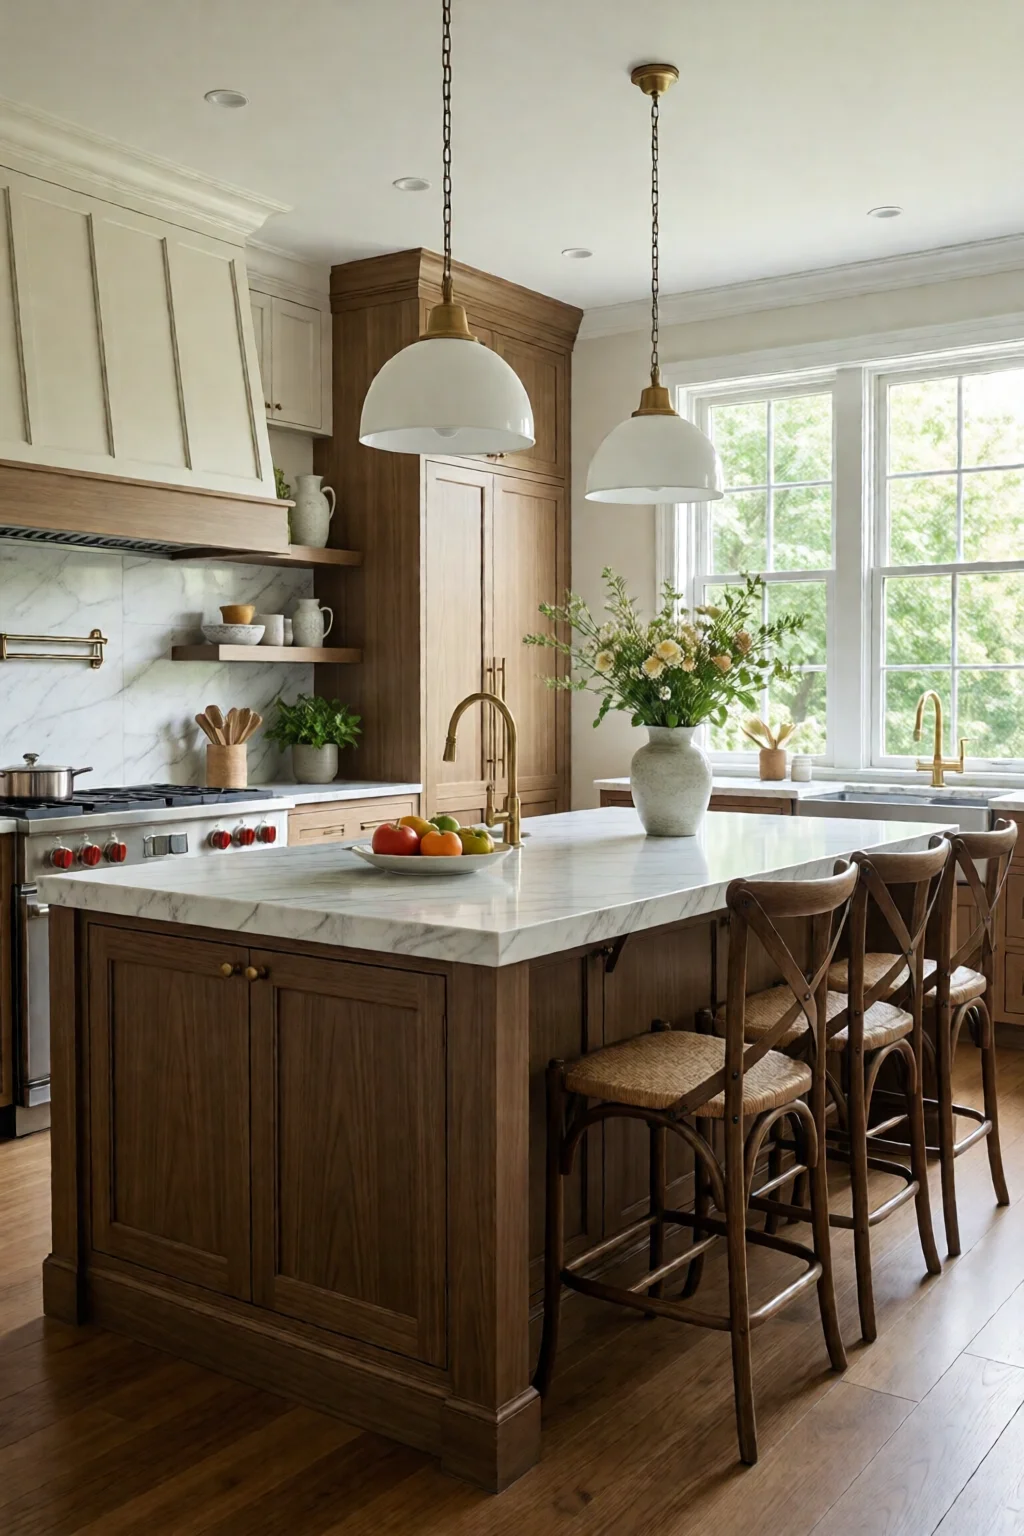
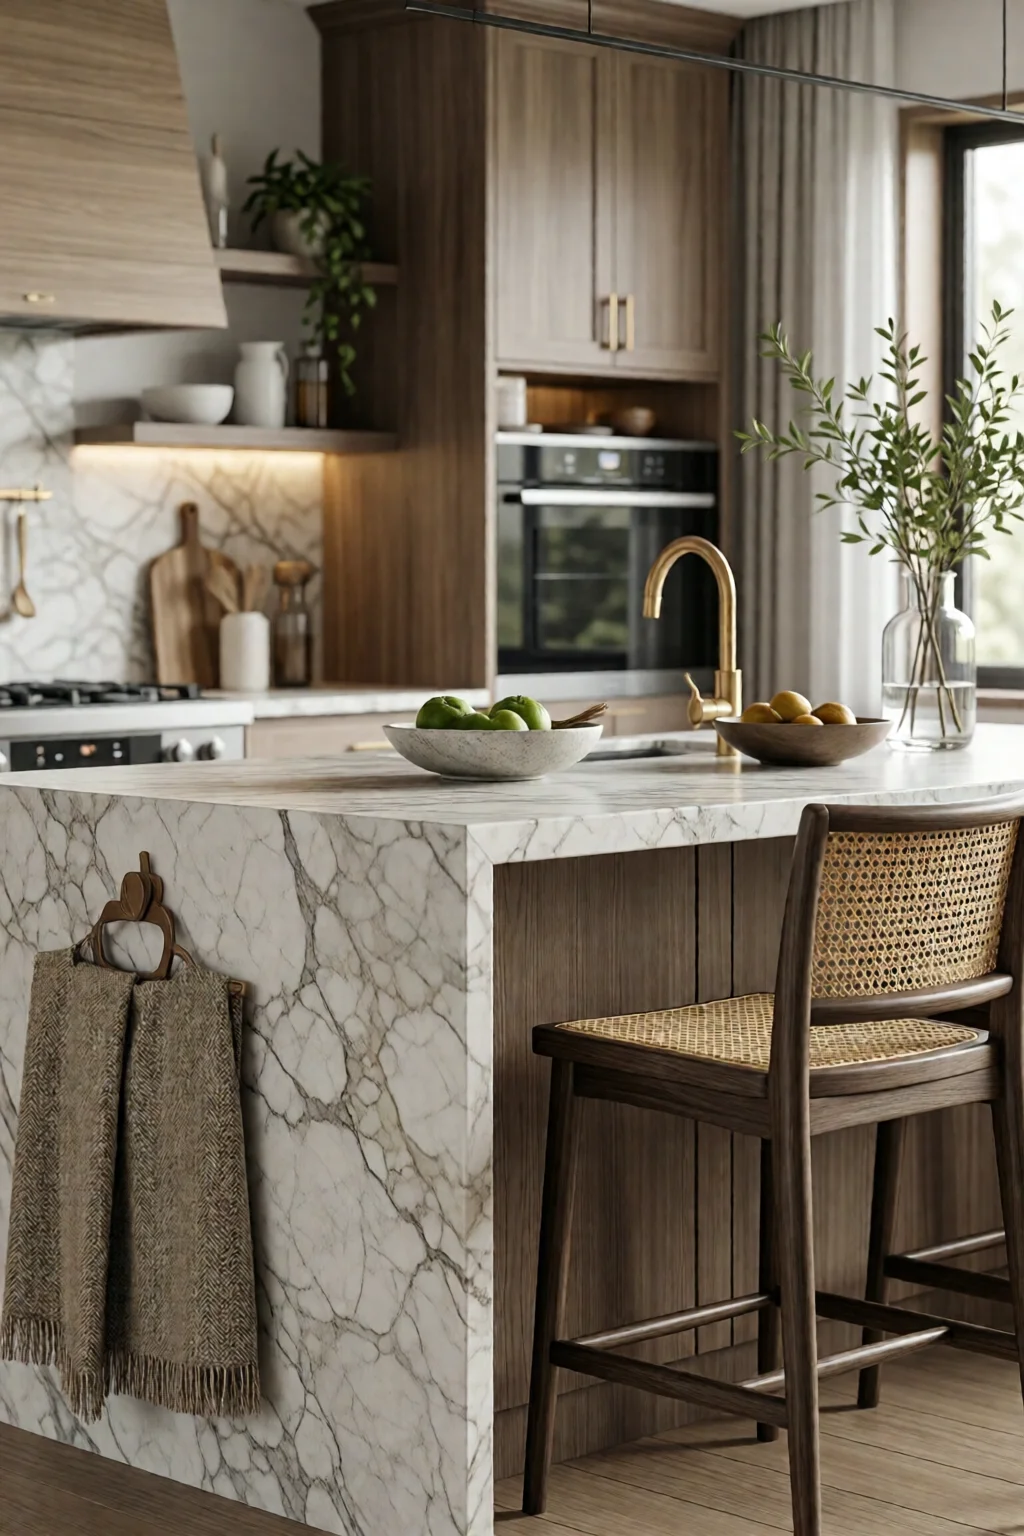
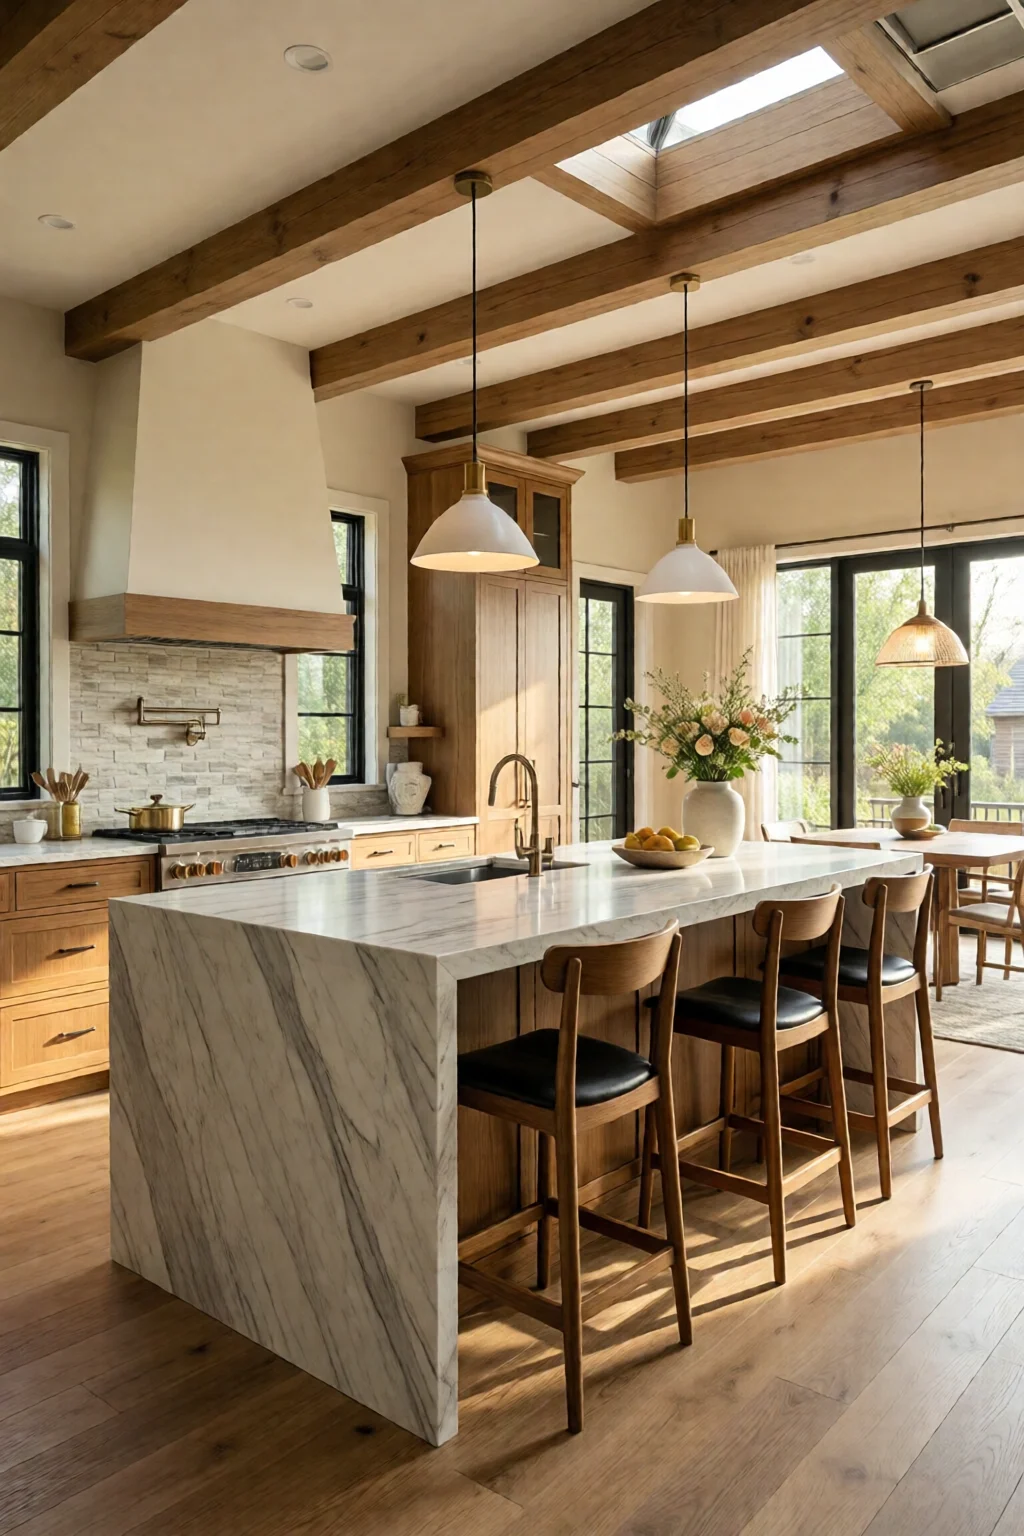
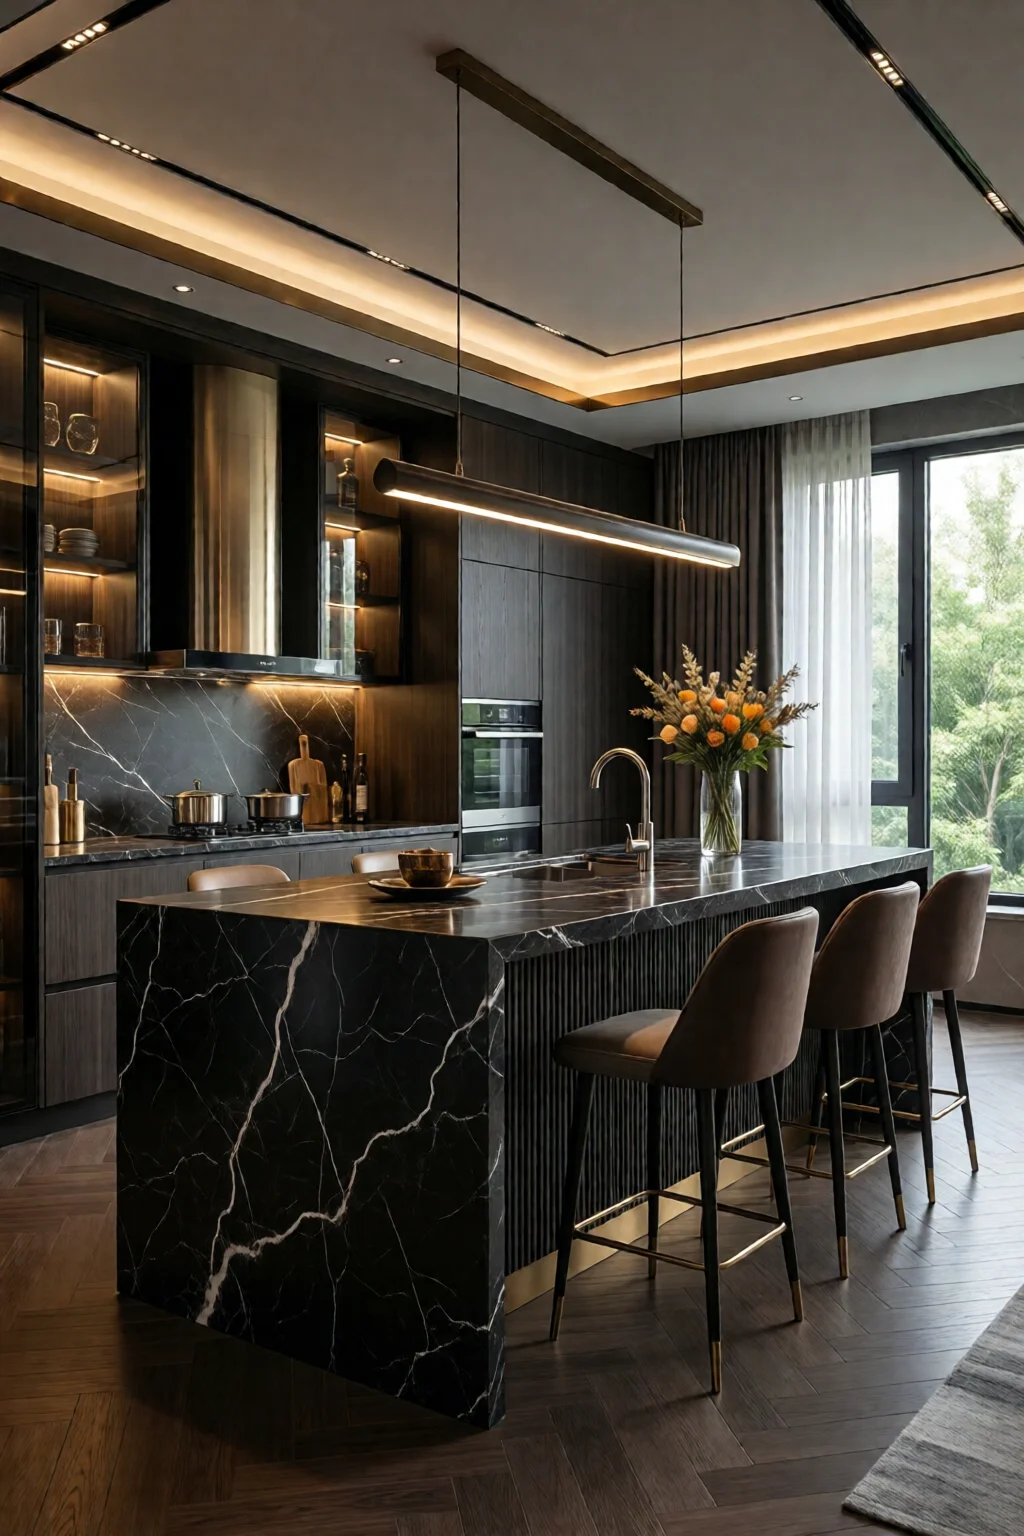
Standard island dimensions range from 4 × 8 ft to 5 × 10 ft. For a kitchen that seats four, aim for a 4‑ft width and at least 6‑ft length. My favorite configuration is a “L‑shaped” island: 4 ft wide on the main bar and a 2‑ft “return” that creates a cozy nook for two stools. This shape adds 12 sq ft of countertop without crowding the room.
When space is tight, consider a rounded corner (radius 6‑8 in) to improve traffic flow. Rounded islands reduce sharp edges and make it easier to navigate with carts.
Materials matter: a 2‑cm Cambria Quartz slab (price: $85/ft²) for a 4 × 8 ft island costs roughly $2,720 plus edge treatment. If you prefer warmth, a butcher block top (John Boos 2‑in thick, $55/ft²) adds $1,760 and can be refinished multiple times.
Step 3: Pick Seating That Matches Your Lifestyle
Seating is where the magic happens. Here are three proven options:
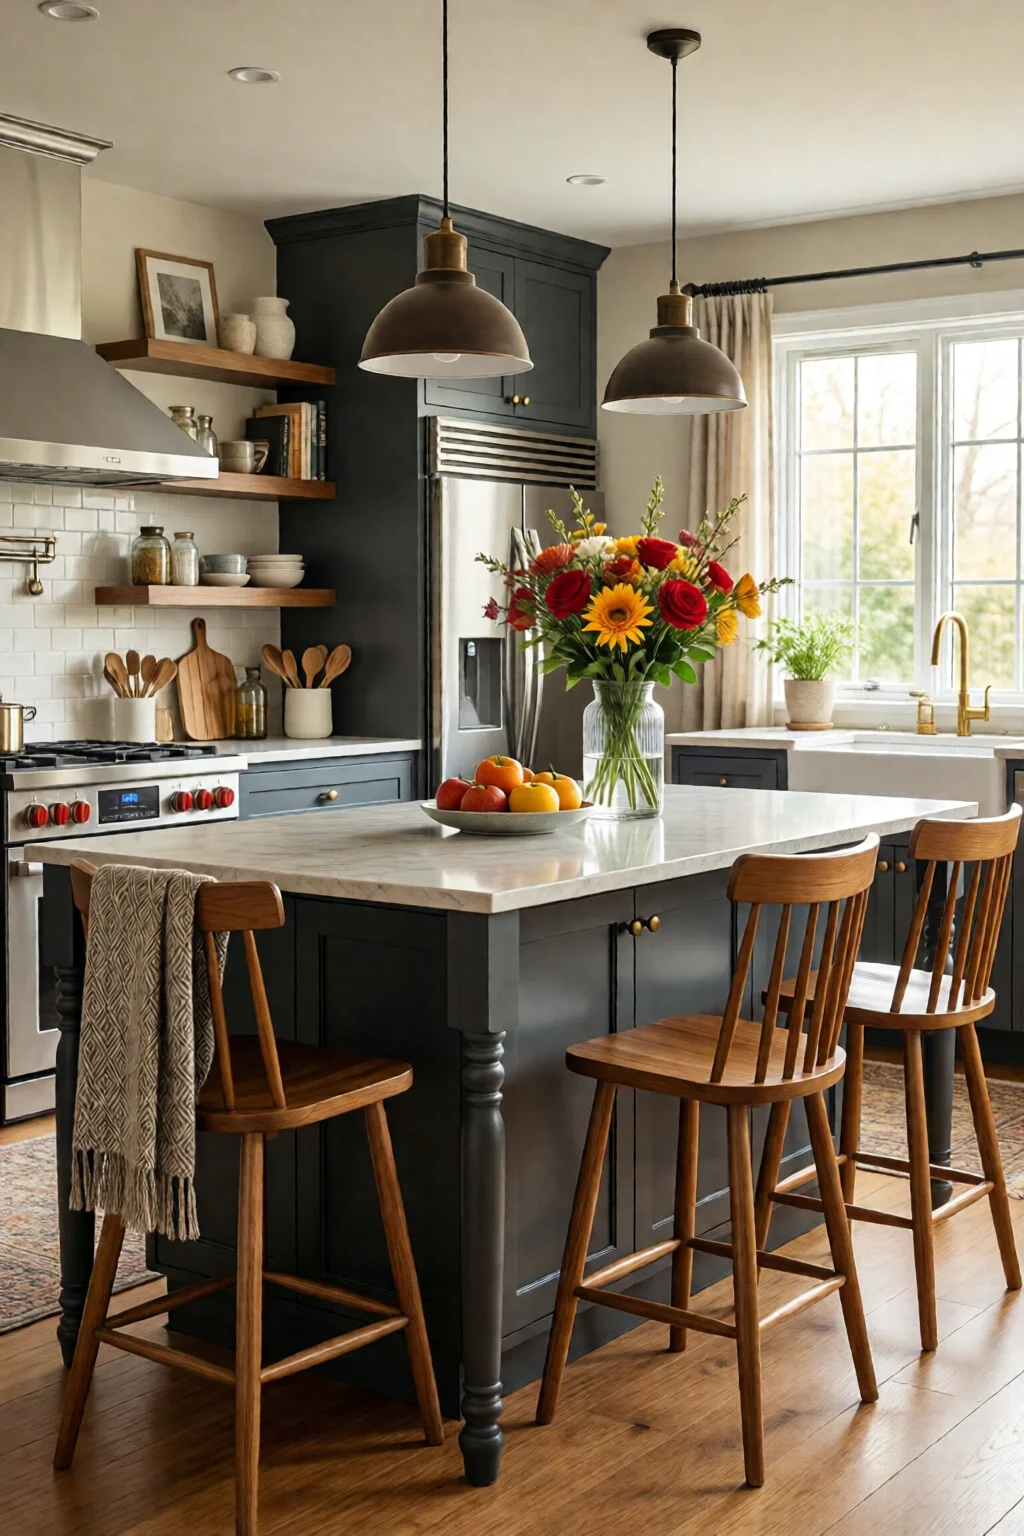
- Counter‑height bar stools – 24‑in seat height, ideal for quick meals. I recommend the West Elm Industrial Bar Stool at $149 each; they swivel, have a 12‑in seat depth, and support up to 250 lb.
- Bench seating – perfect for families. A custom IKEA EKEDALEN bench (including storage) runs $199 and fits under a 42‑in overhang.
- Mix‑and‑match chairs – for a casual vibe. Pair two Target Modern Wood Chairs ($79 each) with two stools.
Tip: Ensure the island’s overhang is at least 12‑in for stools and 15‑in for benches. This provides legroom without the need for a footrest. If you love a “café” feel, add a cushioned seat pad (e.g., Pottery Barn Indigo Cushion, $45) for extra comfort.
Step 4: Select Materials and Finishes
Durability and style go hand‑in‑hand. For high‑traffic islands, quartz outperforms marble (quartz is non‑porous, requires no sealing). If you crave a rustic look, a sealed reclaimed wood top (e.g., Reclaimed Wood Co. – $95/ft²) offers character and can be sanded down.
Cabinet fronts: I love the Shaker style from Home Depot’s Hampton Bay line. A 30‑in base cabinet costs $120, and a 36‑in tall cabinet $150. Pair with brushed nickel hardware ($12 per handle) for a modern touch.
Edge profiles: A beveled edge adds dimension without extra cost; a bullnose costs $10‑$15 more per foot but feels softer under elbows.
Step 5: Install Lighting and Electrical
Good lighting turns an island into a gathering spot. Aim for a minimum of 30 watts per square foot of countertop. I installed two LED under‑cabinet strips at $45 each, plus a pair of pendant lights (West Elm Globe Pendant, $129 each) hanging 30‑in above the bar. This combo provides task lighting and ambient glow.
Don’t forget a dedicated 20‑amp circuit for any appliances you plan to integrate (e.g., a small built‑in wine fridge at $699). Use GFCI outlets for safety; they cost about $12 per receptacle.
For wiring, pull a 12/2 NM cable from the nearest junction box; if you’re uncomfortable, hire a licensed electrician (average $70/hr).
Step 6: Add Functional Extras (Storage, Appliances)
Even if seating is your focus, an island should still serve a purpose:
- Pull‑out trash bins – IKEA RASKOG utility carts, $39 each, slide neatly under the countertop.
- Built‑in wine rack – a 12‑bottle rack from Crate & Barrel, $219, fits a 24‑in deep island.
- Cooktop or sink – if you have a 6‑ft island, a 30‑in drop‑in gas range ($1,200) or a single‑bowl undermount sink ($250) adds real utility.
Remember to leave a minimum 24‑in clearance between any appliances and the island edge to meet code.
Common Mistakes to Avoid
- Underestimating clearance. A 36‑in island in a 12‑ft wide room leaves only 18‑in on each side – far too tight. Always keep at least 42‑in of walking space.
- Choosing stools that are too tall. A 30‑in stool on a 36‑in counter forces guests to hunch. Match stool height to countertop thickness (24‑in stools for 36‑in counters).
- Ignoring traffic flow. Position the island opposite the main entry to avoid bottlenecks.
- Skimping on lighting. Poor lighting makes the island a dead zone; invest in layered lighting.
- Using flimsy materials. Cheap laminate may warp under heavy use. Opt for quartz or solid wood for longevity.
Troubleshooting & Tips for Best Results
Island feels wobbly? Check that the base cabinets are level. Insert shims (1‑in wood pieces) under the cabinet frames until a spirit level reads 0.0° on all sides.
Stools wobble on uneven floor? Use adjustable‑height stool bases (e.g., Target Adjustable Bar Stool, $59) that let you fine‑tune each leg.
Counter scratches easily? Apply a daily quartz sealant ($12 per bottle) and use cutting boards; the sealant extends life by up to 30 %.
For a cohesive look, coordinate the island’s hardware finish with your kitchen lighting ideas modern and bright fixtures. Brushed brass handles pair nicely with warm pendant lights, while matte black hardware complements industrial stools.
Finally, add a pop of color with a back splash. A 24‑in × 12‑in tile strip (e.g., Metro White Subway Tile, $2.50 per tile) behind the island creates visual interest without overwhelming the space.
Summary Conclusion
Designing kitchen island ideas with seating isn’t just about adding a countertop; it’s about creating a multifunctional hub that reflects how you live. By measuring accurately, choosing the right size and shape, selecting comfortable seating, and pairing durable materials with proper lighting, you’ll end up with an island that invites conversation, supports daily tasks, and adds resale value. Remember to keep clearances generous, match stool height to your countertop, and layer lighting for both function and ambience. With a modest budget of $3,000–$5,000 and a weekend of focused work (or a professional crew), your new island can become the heart of your home.
How much does a basic kitchen island with seating cost?
A straightforward island using prefabricated cabinets, a laminate countertop, and standard bar stools can run between $1,500 and $3,000. Upgrading to quartz, custom cabinets, and high‑end stools pushes the total to $5,000–$7,200.
What is the ideal height for island seating?
For a 36‑inch countertop, choose stools with a 24‑inch seat height. If your island is 42 in tall (common for bar‑height islands), opt for 30‑inch stools. Aim for a 10‑12 in clearance between seat and countertop.
Can I add a sink to a seating island?
Yes, but ensure the island remains at least 42 in wide to accommodate both a sink and seating. A single‑bowl undermount sink (30 in diameter) typically requires a 48‑in island width, leaving a 12‑in overhang for stools.
Do I need a permit for electrical work on the island?
Most jurisdictions require a permit for adding new circuits or outlets, especially if you’re installing appliances like a wine cooler or built‑in microwave. Check with your local building department before beginning.
What are some space‑saving seating options?
Fold‑down bench seats, wall‑mounted “swing‑away” stools, or a narrow “bar‑height” counter with a single row of stools are all excellent for tight kitchens. A 2‑ft deep return can host a bench without increasing the island’s footprint.
5 réflexions au sujet de “Kitchen Island Ideas With Seating That Actually Work”