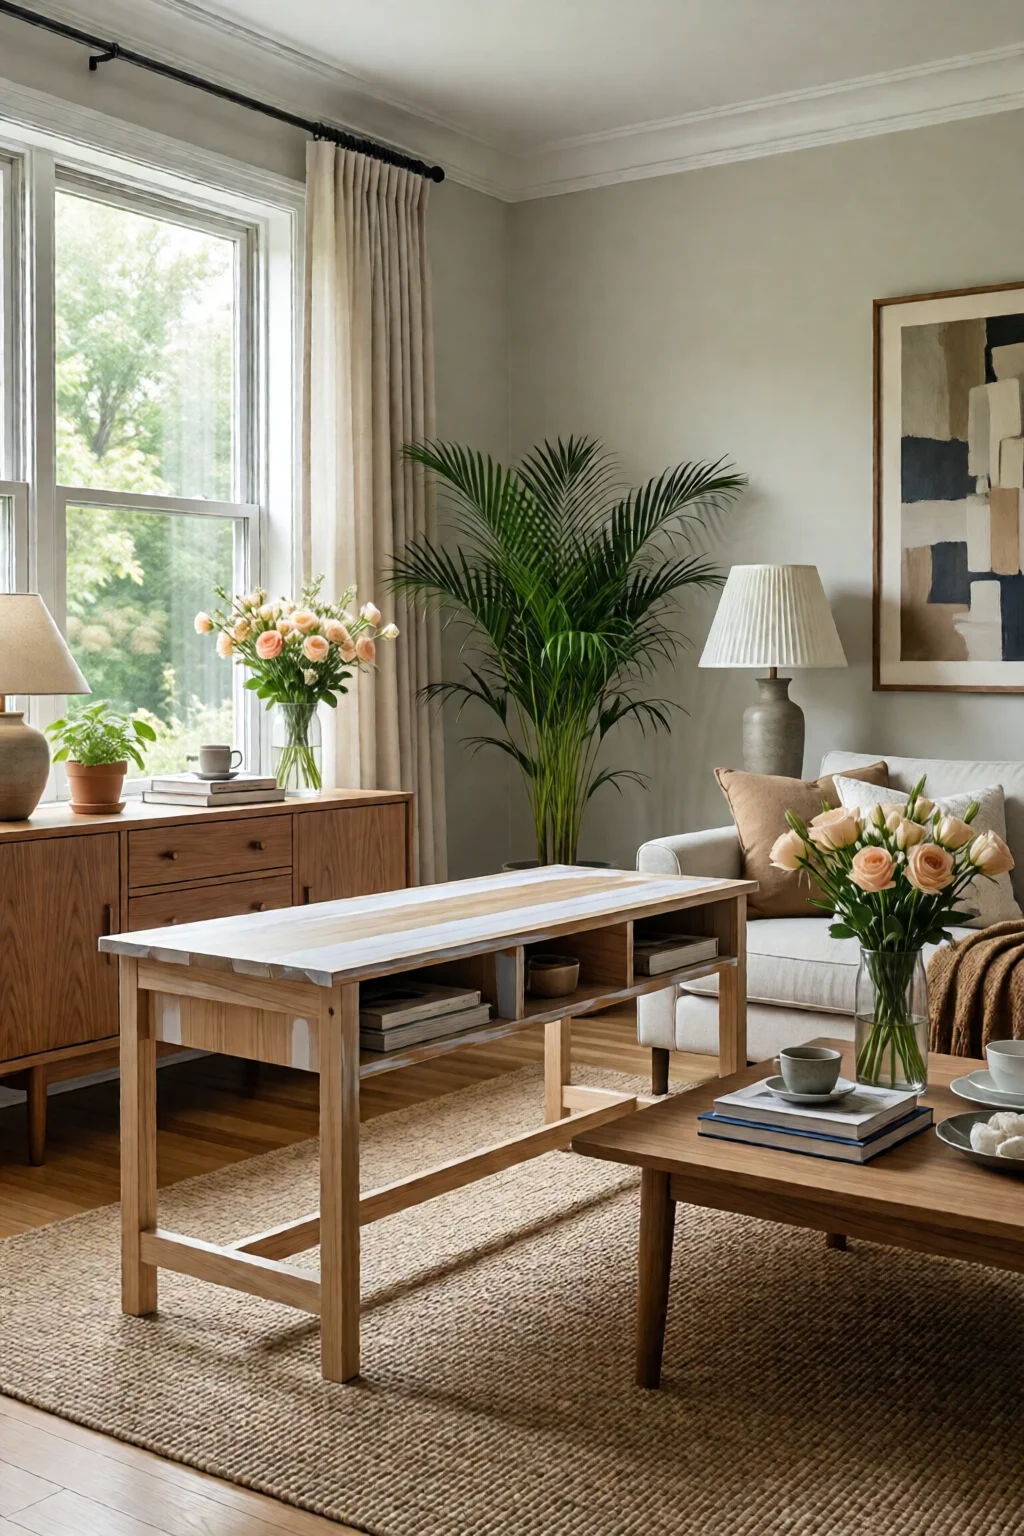
Last summer I rescued a tired, walnut nightstand from my parents’ attic. With a few cans of paint, a little sandpaper, and a splash of confidence, it transformed from a relic into a statement piece that now anchors my home office. If you’ve ever stared at a dated dresser or a bland coffee table and thought, “I could give that a fresh look,” you’re in the right place. This guide walks you through everything you need to know to pull off stunning DIY furniture makeover painting ideas that look professionally done, stay durable, and don’t break the bank.
In This Article
- What You Will Need (Before You Start)
- Step 1: Assess the Piece and Plan Your Design
- Step 2: Choose the Right Paint Finish
- Step 3: Sand, Clean, and Prime
- Step 4: Paint – Techniques for a Flawless Finish
- Step 5: Add Decorative Finishes
- Common Mistakes to Avoid
- Troubleshooting & Tips for Best Results
- Summary – Your Path to a Fresh Furniture Look
What You Will Need (Before You Start)
Gathering the right tools and materials is half the battle. Here’s my go‑to kit, complete with brand recommendations and price ranges so you can budget accurately.
- Surface preparation: 120‑grit and 220‑grit sandpaper (3‑pack, 12 × 12 in., 3M Pro Grade, $9.99).
- Cleaning supplies: TSP powder (30 oz., Method, $6.49) and a lint‑free rag.
- Primer: KILZ Original Interior/Exterior Primer, 1 qt., $14.97. If you’re working with laminate, look for KILZ Adhesion Primer ($16.99).
- Paint: For a smooth, furniture‑grade finish, I swear by Benjamin Moore Advance – 1 qt. in “Holly Street” (soft gray) at $45. For a budget‑friendly option, Rust‑Oleum Painter’s Touch 2X Ultra Cover 1 gal. at $32 works well on wood and metal.
- Topcoat (optional but recommended): Minwax Polycrylic Protective Finish, 1 qt., $12.99 for added durability on high‑traffic pieces.
- Application tools: 2‑in. high‑density foam roller (CRL, $7.98), a 2‑in. angled sash brush ($5.99), and a small detail brush for stenciling ($4.50).
- Protective gear: Nitrile gloves ($8 for a box of 100) and a respirator mask with a P100 filter ($19.99).
- Measuring & layout: Painter’s tape (1 in. x 60 ft., $3.99) and a soft cloth for wiping excess.
Time estimate: 2–4 hours for prep, 1–2 hours per coat, plus drying time (4 hrs for primer, 2 hrs for paint).
Step 1: Assess the Piece and Plan Your Design
Start by inspecting the furniture for damage, loose hardware, or warped panels. In my experience, a quick tightening of screws saves you from wobbling later. Sketch a simple layout: decide whether you’ll paint the entire piece, create a two‑tone effect, or add a decorative stencil. Use a ruler to measure the surface area; for a standard 30‑in. wide dresser, you’ll need roughly 0.5 qt. of paint per coat.
When choosing colors, consider the room’s palette. A muted “Holly Street” works well in a mid‑century modern living room, while a bold “Saffron” from Farrow & Ball can become a focal point in a minimalist space.
Step 2: Choose the Right Paint Finish
Furniture paint finishes fall into three categories: matte, satin, and semi‑gloss. Matte hides imperfections but can be harder to clean. Satin offers a soft sheen and is the most forgiving for daily use. Semi‑gloss provides the highest durability and is ideal for kitchen islands or bathroom vanities.
For a high‑traffic coffee table, I recommend a satin finish of Benjamin Moore Advance – it dries to a hard, furniture‑grade surface that resists scratches. If you want a vintage chalk‑paint look, consider Anthropologie’s Chalky Finish (1 qt., $28) and follow with a clear wax.
Step 3: Sand, Clean, and Prime
Lightly sand the entire surface with 120‑grit paper to remove old finish and create a “tooth.” Wipe away dust with a damp cloth, then a clean rag with a TSP solution. Let it dry completely—about 30 minutes.
Apply a thin, even coat of KILZ primer using the foam roller for large surfaces and the angled brush for edges. For laminate, the KILZ Adhesion Primer ensures the paint bonds properly. One coat is sufficient; let it cure for 4 hours before sanding lightly with 220‑grit to smooth any brush marks.
Step 4: Paint – Techniques for a Flawless Finish
Brush vs. roller vs. spray: I favor a foam roller for flat panels because it leaves a uniform texture without brush strokes. Use the angled brush for corners and intricate details. If you have a HVLP spray gun, you can achieve a showroom finish in half the time, but keep the area well‑ventilated.
Apply the first coat thinly—about 1/8 in. wet film thickness. Over‑loading leads to drips and uneven drying. Let it dry 2 hours, then lightly sand with 220‑grit again. Apply a second coat, and if you’re after a deeper color, a third coat may be necessary.
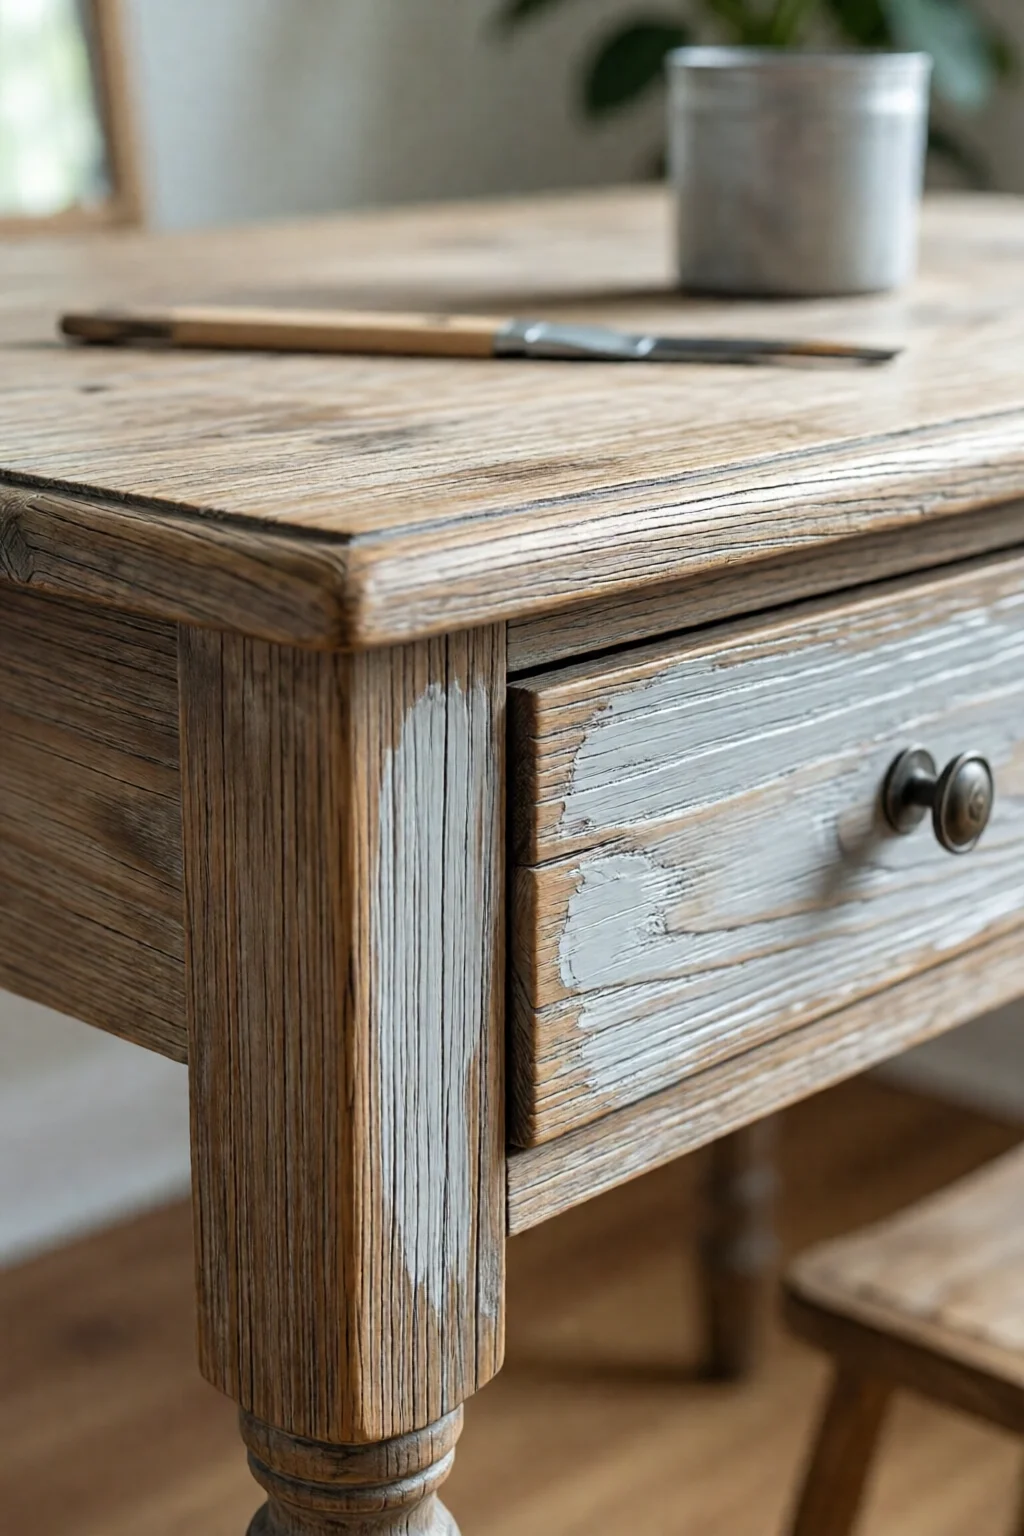
Tip: For a distressed look, sand the edges after the final coat while the paint is still slightly tacky. This reveals the underlying wood and adds character.
Step 5: Add Decorative Finishes
Now the fun part: stenciling, color blocking, or a chalk‑paint wash.
- Stenciling: Secure a geometric stencil with painter’s tape. Using a small foam brush, dab a contrasting color (e.g., “Oxford Blue” from Sherwin‑Williams, $38 qt.) over the stencil. Peel away while still wet for clean lines.
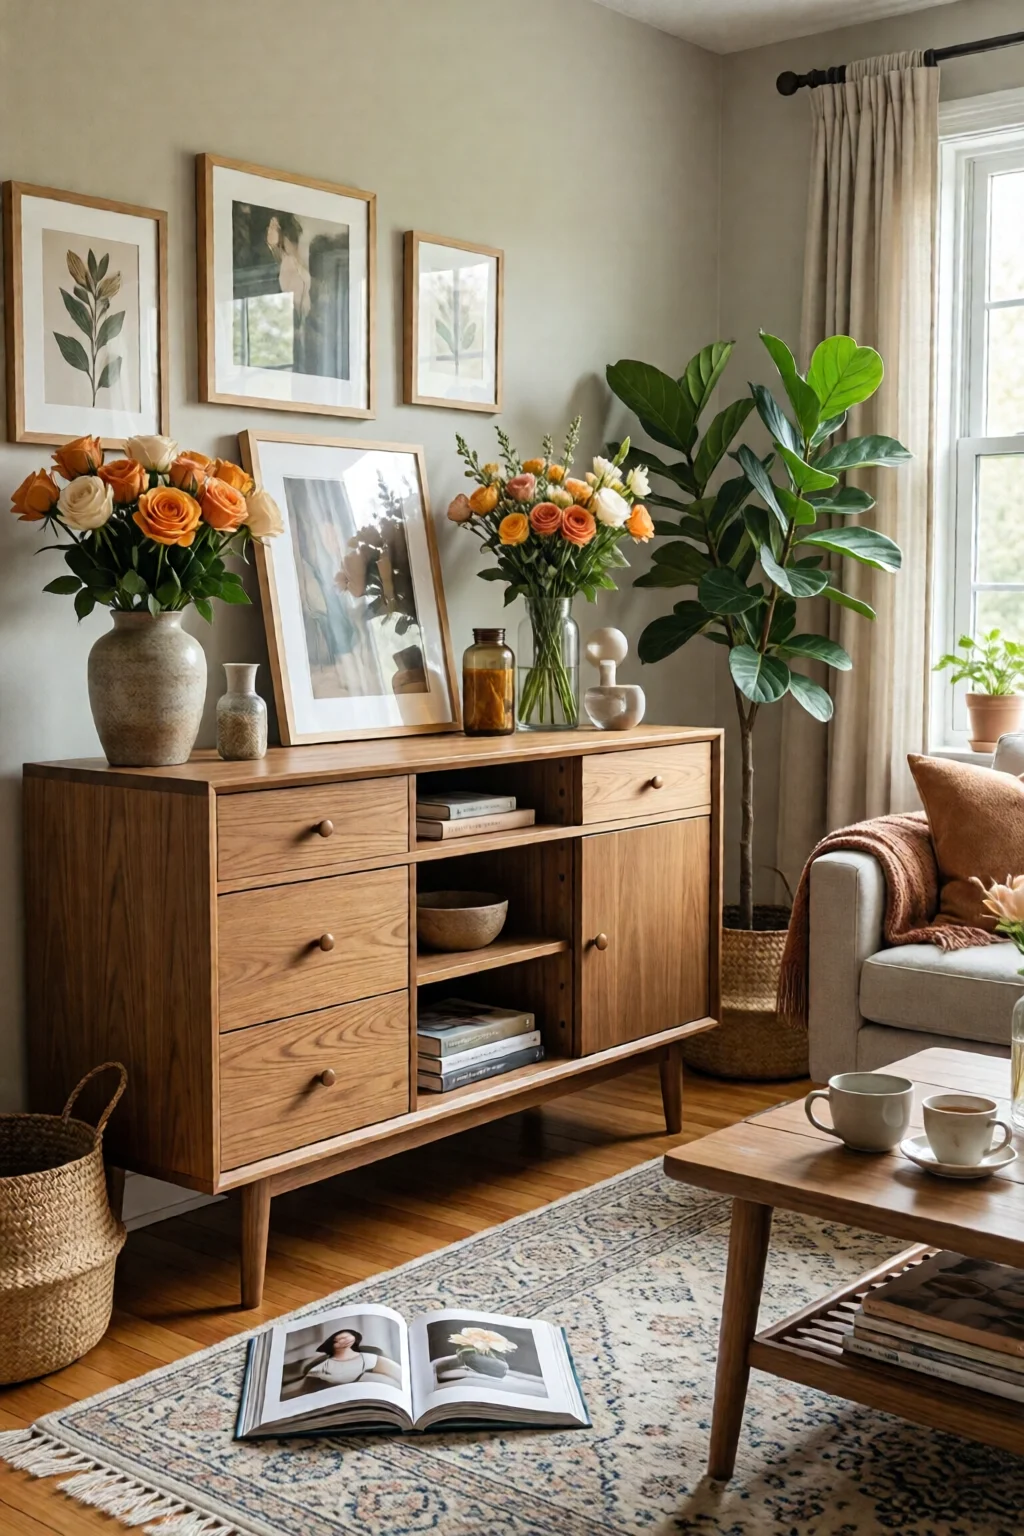
- Two‑tone color blocking: Mask off half of the piece with tape, paint the exposed side, let dry, then flip and repeat. This technique works beautifully on a sideboard paired with mid century modern living room ideas.
- Chalk‑paint wash: Mix 1 part white chalk paint with 2 parts water for a translucent glaze. Brush over a dark base to achieve a soft, antiqued look. Seal with Minwax Polycrylic for durability.
Allow all decorative elements to cure for at least 24 hours before handling.
Common Mistakes to Avoid
Even seasoned DIYers slip up. Here are the pitfalls I see most often and how to dodge them:
- Skipping primer: Paint will peel on laminate or glossy finishes without proper adhesion.
- Using the wrong sandpaper grit: Too coarse (e.g., 80‑grit) damages wood grain; too fine (e.g., 320‑grit) leaves a slick surface that primer can’t grip.
- Applying thick coats: Leads to runs and extended drying times, increasing the risk of dust settling.
- Neglecting ventilation: Paint fumes can be harmful. Open windows, use a fan, and wear a respirator.
- Forgetting to protect hardware: Tape off knobs and drawer pulls, or remove them entirely to avoid accidental paint splatter.
Troubleshooting & Tips for Best Results
Paint bubbles: Often caused by moisture trapped under the paint. Ensure the piece is completely dry before the next coat; use a dehumidifier in humid climates.
Uneven color: If one area looks lighter, it may have been sanded more aggressively. Lightly sand the darker spots and feather out with a damp brush before reapplying paint.
Peeling after weeks: This signals poor adhesion—usually from insufficient priming or cleaning. In that case, strip the paint, re‑prime, and use a high‑adhesion primer like Zinsser Bulls‑Eye 1‑2‑3.
Pro tip: Add a tiny amount of water (no more than 5 %) to oil‑based paint to improve flow on intricate carvings. Always test on a hidden area first.
When you finish, re‑attach hardware, and consider a quick dusting with a microfiber cloth. Your newly painted piece is now ready to shine alongside your fireplace decor ideas for living room or any other focal point.
Summary – Your Path to a Fresh Furniture Look
With the right prep, paint, and patience, DIY furniture makeover painting ideas can elevate any room without a hefty price tag. From sanding and priming to applying decorative finishes, each step builds on the last, ensuring a durable, beautiful result. Remember to choose the appropriate finish, protect hardware, and give each coat ample drying time. In my experience, the satisfaction of turning a tired piece into a conversation starter is worth every minute spent.
Now that you have a complete roadmap, pick a piece, gather your supplies, and let your creativity flow. Happy painting!
What type of paint is best for a laminate table?
Use a high‑adhesion primer such as KILZ Adhesion Primer, followed by an oil‑based enamel or a latex acrylic paint like Benjamin Moore Advance. This combination ensures the paint bonds to the slick surface and remains durable.
How long should I wait between coats?
Typically 2–3 hours for latex paints and 4–6 hours for oil‑based paints, depending on humidity and temperature. Always follow the manufacturer’s drying time recommendations for the best adhesion.
Can I use spray paint for a furniture makeover?
Yes, an HVLP spray gun or aerosol spray paint works well for smooth finishes. Ensure the area is well‑ventilated, apply thin coats, and mask off hardware to avoid overspray.
Do I need a topcoat after painting?
A clear protective topcoat such as Minwax Polycrylic adds durability, especially for high‑traffic pieces like coffee tables or dressers. It’s optional for low‑use items but highly recommended for longevity.
How can I achieve a distressed look?
After the final paint coat, let it dry to a tacky state, then sand edges, corners, and high‑wear areas with fine‑grit sandpaper. This reveals underlying layers and creates a vintage, worn appearance.