Turn blank walls into conversation starters with DIY wall art ideas easy and creative enough for any skill level.
In This Article
- 1. Minimalist Canvas Prints – Paint, Tape, and a Little Patience
- 2. Rustic Pallet Boards – From Farmhouse to Modern Loft
- 3. Fabric Collage Panels – Soft Texture Without Sewing
- 4. Washi Tape Murals – No Paint, No Mess
- 5. Mixed‑Media Shadow Boxes – 3‑D Art in a Frame
- Pro Tips from Our Experience
- Comparison of DIY Wall Art Methods
- Where to Use These Ideas in Your Home
- FAQ
- Conclusion – Your Next Wall Awaits
When a room feels flat, the missing piece is often a piece of art that reflects your personality without draining your wallet. I’ve spent the last decade layering paint, stitching fabric, and salvaging pallets, and I can assure you that a striking wall doesn’t have to be a pricey gallery purchase. Below you’ll find step‑by‑step projects, budget breakdowns, and the exact tools you need to create gallery‑worthy pieces in an afternoon.
From minimalist geometric prints to textured fabric collages, these projects are designed for weekends, not weeks. Grab a coffee, roll up your sleeves, and let’s dive into the most effective DIY wall art ideas easy and creative for every room in your home.
1. Minimalist Canvas Prints – Paint, Tape, and a Little Patience
Materials & Cost Breakdown
- Pre‑stretched canvas (16×20 in) – Michaels, $12.99
- Acrylic paint set (12 colors) – Loft, $18.50
- Painter’s tape (2 in. wide) – Target, $4.99 for 60 ft.
- Level and ruler – already on hand (or $7.99 at Home Depot)
Total cost: roughly $44. In my experience, investing in a decent acrylic set saves you time because the colors stay vibrant for years.
Step‑by‑Step Process (45 minutes)
- Measure the canvas and decide on your geometry – I love a 30° diagonal split. Mark lightly with a pencil.
- Apply painter’s tape along the lines. Press firmly to prevent bleed.
- Using a 2‑inch roller, paint each section a contrasting color. Let dry 15 minutes.
- Remove tape slowly to reveal crisp edges. Touch up any gaps with a fine brush.
- Seal with a clear acrylic varnish ($6.99, 8 oz) for durability.
Customization Ideas
Swap paint for metallic spray (Rust‑Oleum 250 ml, $8.99) for a luxe finish, or add a second canvas layer with a subtle pattern using a stencil.

2. Rustic Pallet Boards – From Farmhouse to Modern Loft
Choosing the Right Pallet
Not all pallets are created equal. Look for heat‑treated (HT) stamps; they’re safe for indoor use. A standard 4 × 8 ft pallet costs $15–$25 on Lowes or can be sourced for free from local hardware stores.
Tools & Materials
- Hand saw or circular saw – Ryobi 18V, $69
- Sandpaper (80, 120, 220 grit) – $5.99 a pack
- Stain or paint – Behr Premium 1 qt, $12.95
- Picture hanging hardware – Command Strips, $7.99 for 12
Build Process (2–3 hours)
- Disassemble the pallet carefully; keep the slats intact.
- Sand each board, starting with 80 grit and finishing with 220 for a smooth surface.
- Apply your chosen stain or paint. For a weathered look, use a dry‑brush technique with a lighter shade.
- Arrange the boards on the floor in a grid or staggered pattern. Typical arrangement: 3 × 4 boards, each 12×12 in.
- Attach hanging hardware to the back of each board (two D‑rings per board for heavy pieces).
- Mount on the wall, using a level to keep rows straight.
One mistake I see often is skipping the final 220‑grit sand. The result feels rough and the paint doesn’t adhere evenly.
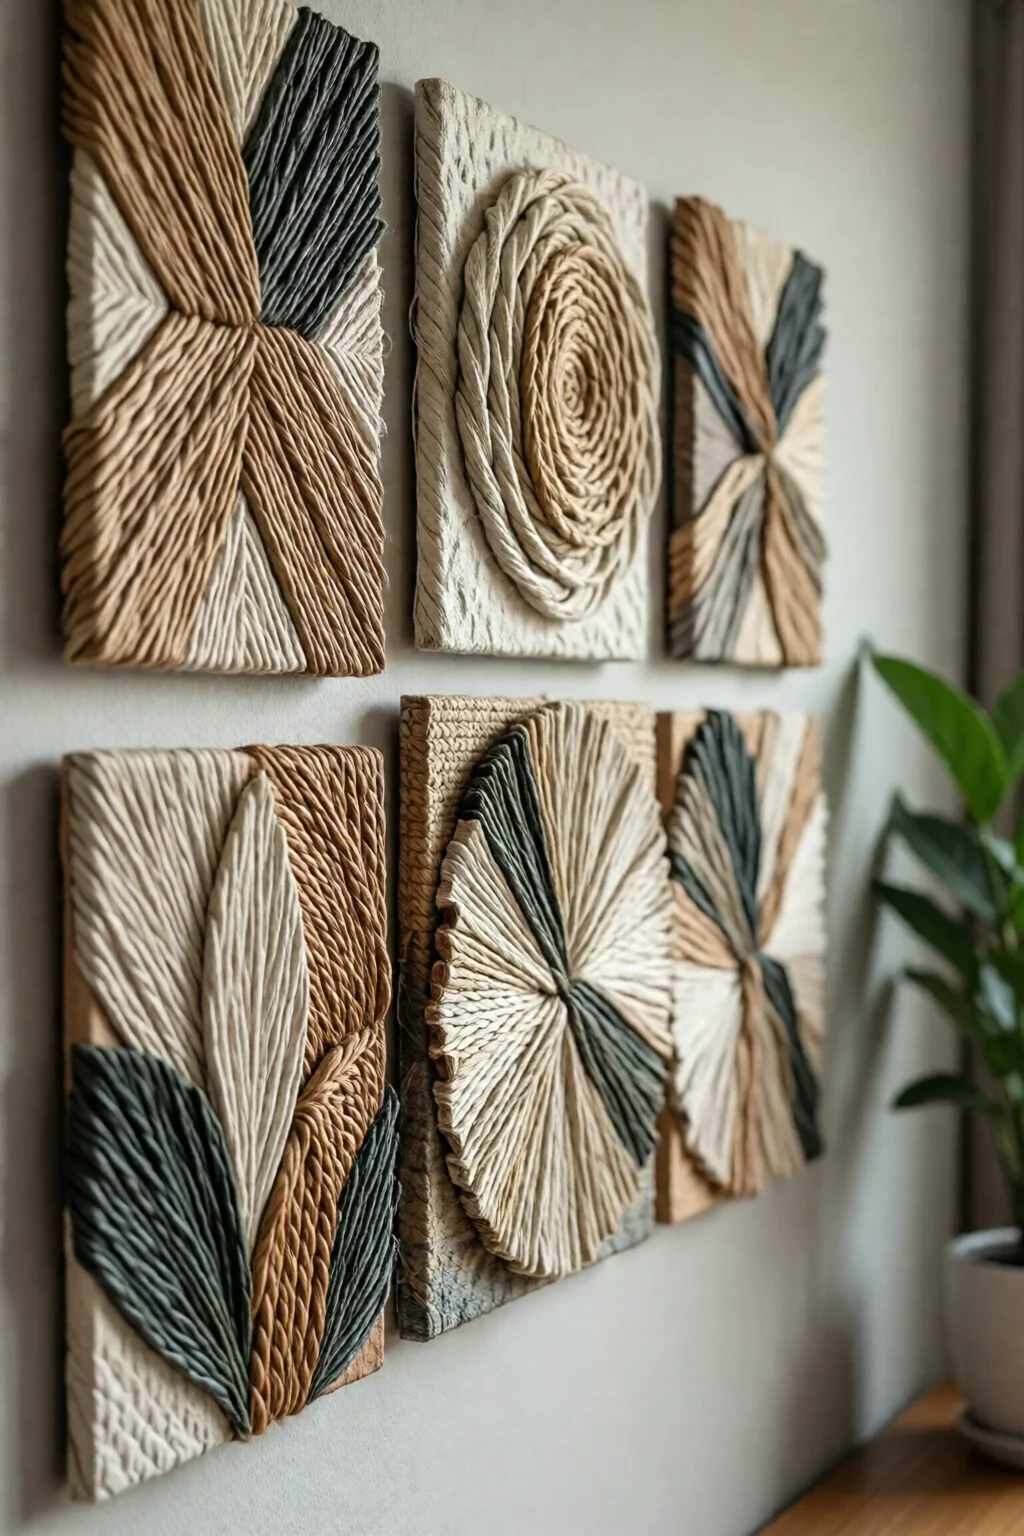
3. Fabric Collage Panels – Soft Texture Without Sewing
What You Need
- Foam board (12×12 in) – Staples, $2.49 each
- Fabric scraps (cotton, linen, or silk) – $0–$15 (often found in thrift stores)
- Spray adhesive – Tack‑It, $9.99, 12 oz
- Mod Podge matte finish – $7.99, 16 oz
- Framing clips or thin wooden moulding – $3.50 per foot
Assembly (30 minutes)
- Lay the foam board flat and arrange fabric pieces without glue; aim for a balanced color distribution.
- Lightly spray adhesive on the back of each fabric piece and press onto the board. Overlap edges for a seamless look.
- Seal the entire surface with a thin coat of Mod Podge; this protects against dust.
- Attach framing clips or a simple 1‑in. wooden moulding for a finished edge.
Design Tips
Use a monochrome palette for a sophisticated vibe, or go bold with a mix of geometric prints. I’ve found that adding a single metallic strip (e.g., a 1‑in. gold leaf tape, $4.99) across the middle adds a surprising focal point.
4. Washi Tape Murals – No Paint, No Mess
Supplies List
- High‑quality washi tape – Moonpig Designer, $6.95 per 30‑roll pack
- Painter’s tape for masking large sections – $4.99
- Ruler and pencil – on hand
- Clear acrylic sealer (optional) – $6.99
Creating a Geometric Pattern (20 minutes)
- Choose a wall segment (e.g., 6 × 8 ft). Lightly mark a grid using a pencil and ruler.
- Start from one corner and lay down washi tape strips, overlapping slightly for a layered effect.
- Mix patterns: polka dots, stripes, and chevron. Keep a color ratio of 60% base, 30% accent, 10% highlight for visual balance.
- If you want durability, spray a light coat of clear acrylic sealer after the tape sets.
Because washi tape peels cleanly, you can redesign the mural in a weekend. I’ve re‑taped a dining‑room wall three times in two years without damaging the paint.
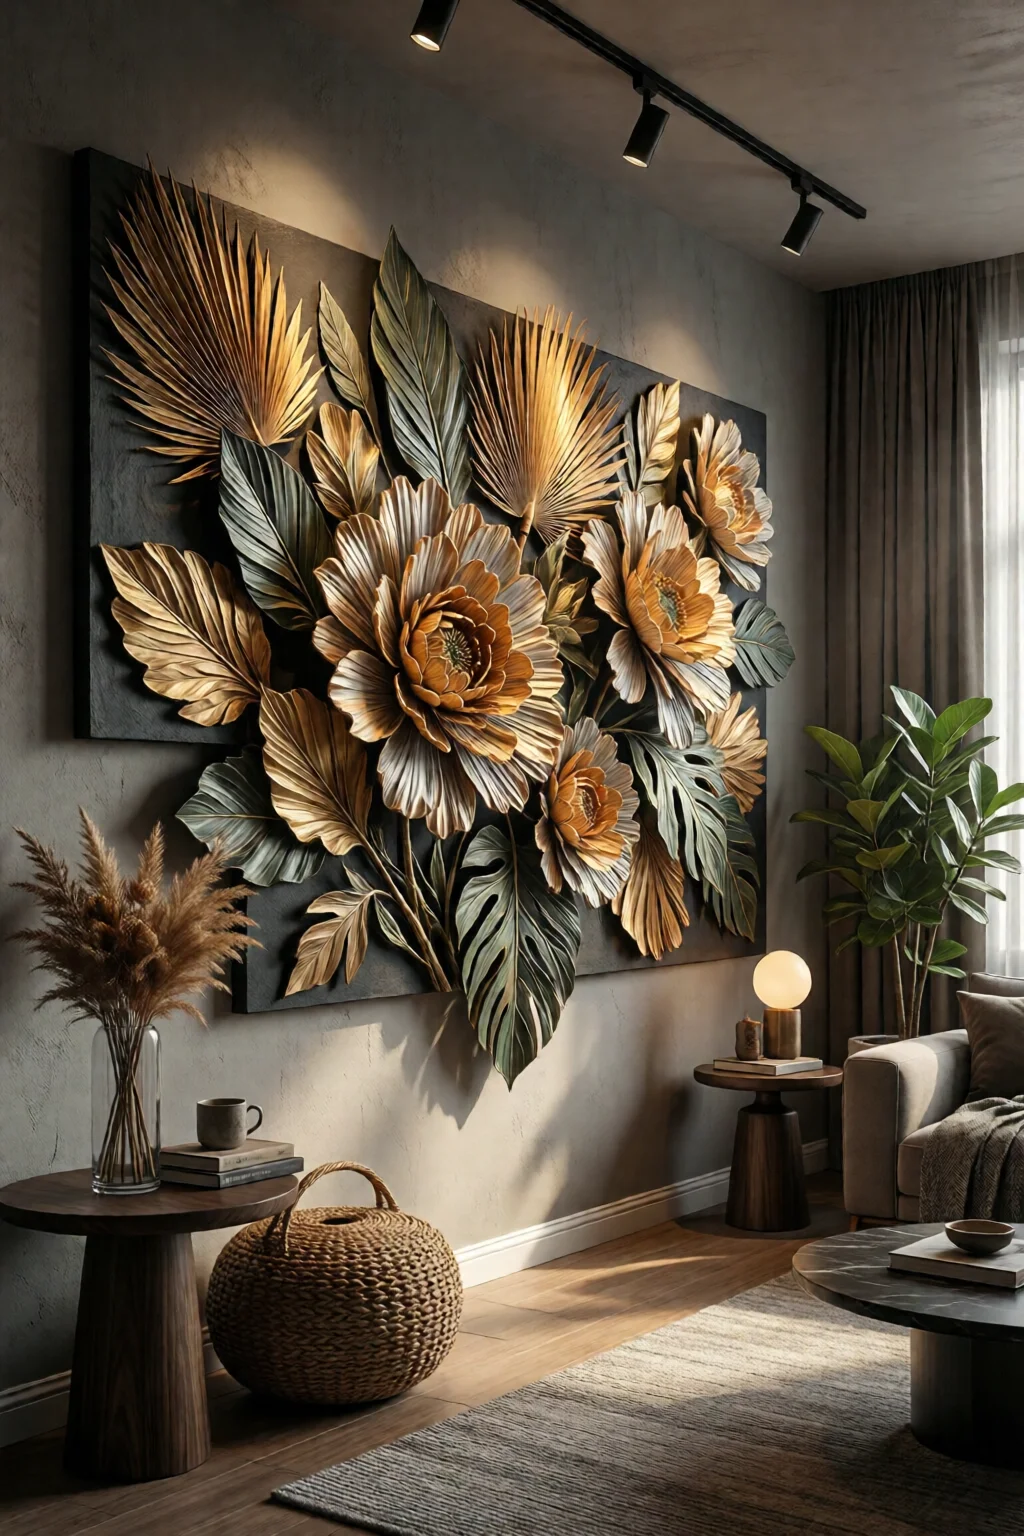
5. Mixed‑Media Shadow Boxes – 3‑D Art in a Frame
Key Components
- Shadow box (12×12×3 in) – IKEA LACK, $12.99
- Miniature objects (vintage keys, dried flowers, small books) – $0–$20
- Hot‑glue gun and sticks – $8.99
- LED strip lights (battery‑operated) – $9.95
- Background paper or fabric – $3.49 per roll
Build Steps (45 minutes)
- Cover the back of the box with your chosen background material; secure with glue.
- Arrange objects on a flat surface, experimenting with depth. Keep the tallest item no more than 2 in. from the front to maintain visibility.
- Glue each piece in place. Use small amounts of hot glue to avoid visible lumps.
- Attach LED strip lights around the interior perimeter; they add depth and highlight details.
- Seal the shadow box and hang using a picture hook rated for the weight (usually 2 lb for this size).
Pro tip: Use a clear acrylic sheet as the front instead of glass to reduce weight and breakage risk.
Pro Tips from Our Experience
- Plan with paper first. Sketch the layout on graph paper; a 1‑inch square can represent a foot on the wall. This prevents costly mistakes.
- Invest in quality tools. A $70 Ryobi cordless drill saves hours of frustration compared to a cheap model that stalls.
- Use a level every time. Even a 0.5° tilt is noticeable on large pieces. A simple laser level ($24.99) ensures perfect alignment.
- Protect your floors. Lay down drop cloths or painter’s plastic; a single slip can ruin a fresh paint job.
- Mix textures. Pair a smooth canvas with a rough pallet for visual contrast; the eye is drawn to the difference.
Comparison of DIY Wall Art Methods
| Method | Cost (Avg.) | Time Required | Skill Level | Durability |
|---|---|---|---|---|
| Minimalist Canvas Prints | $44 | 45 min | Beginner | 5–7 years (with sealant) |
| Rustic Pallet Boards | $65 | 2–3 hrs | Intermediate | 10+ years (outdoor‑grade stain) |
| Fabric Collage Panels | $30 | 30 min | Beginner | 3–4 years (dust exposure) |
| Washi Tape Murals | $12 | 20 min | Beginner | 1–2 years (depends on tape quality) |
| Mixed‑Media Shadow Boxes | $45 | 45 min | Intermediate | 5 years (LED battery replaceable) |
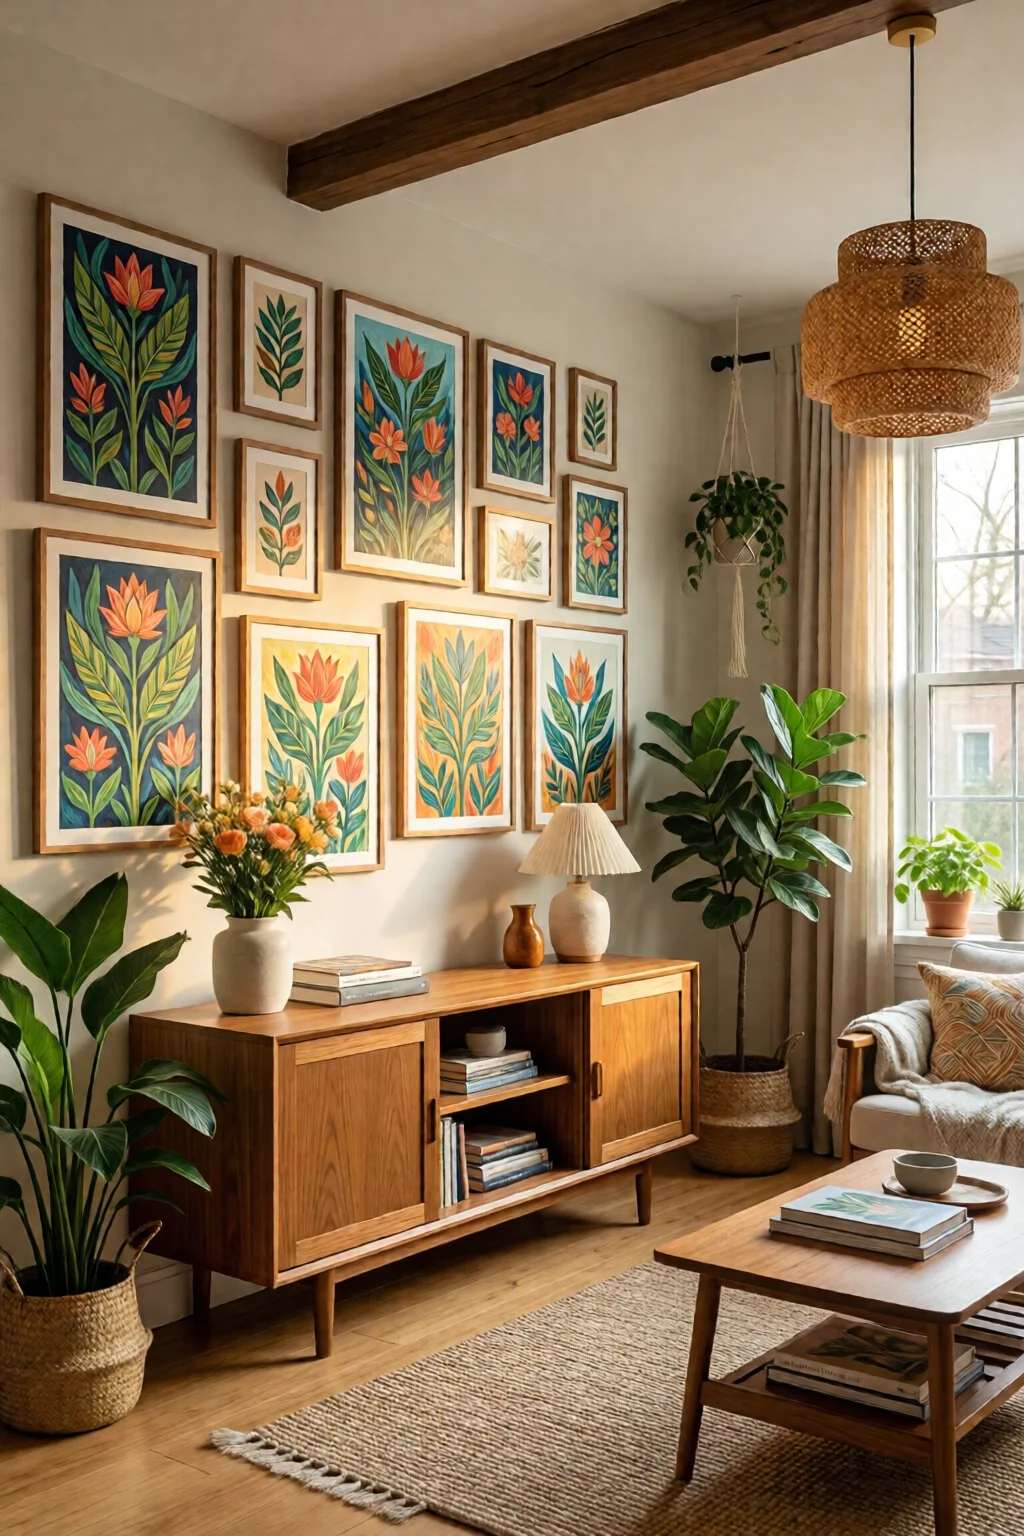
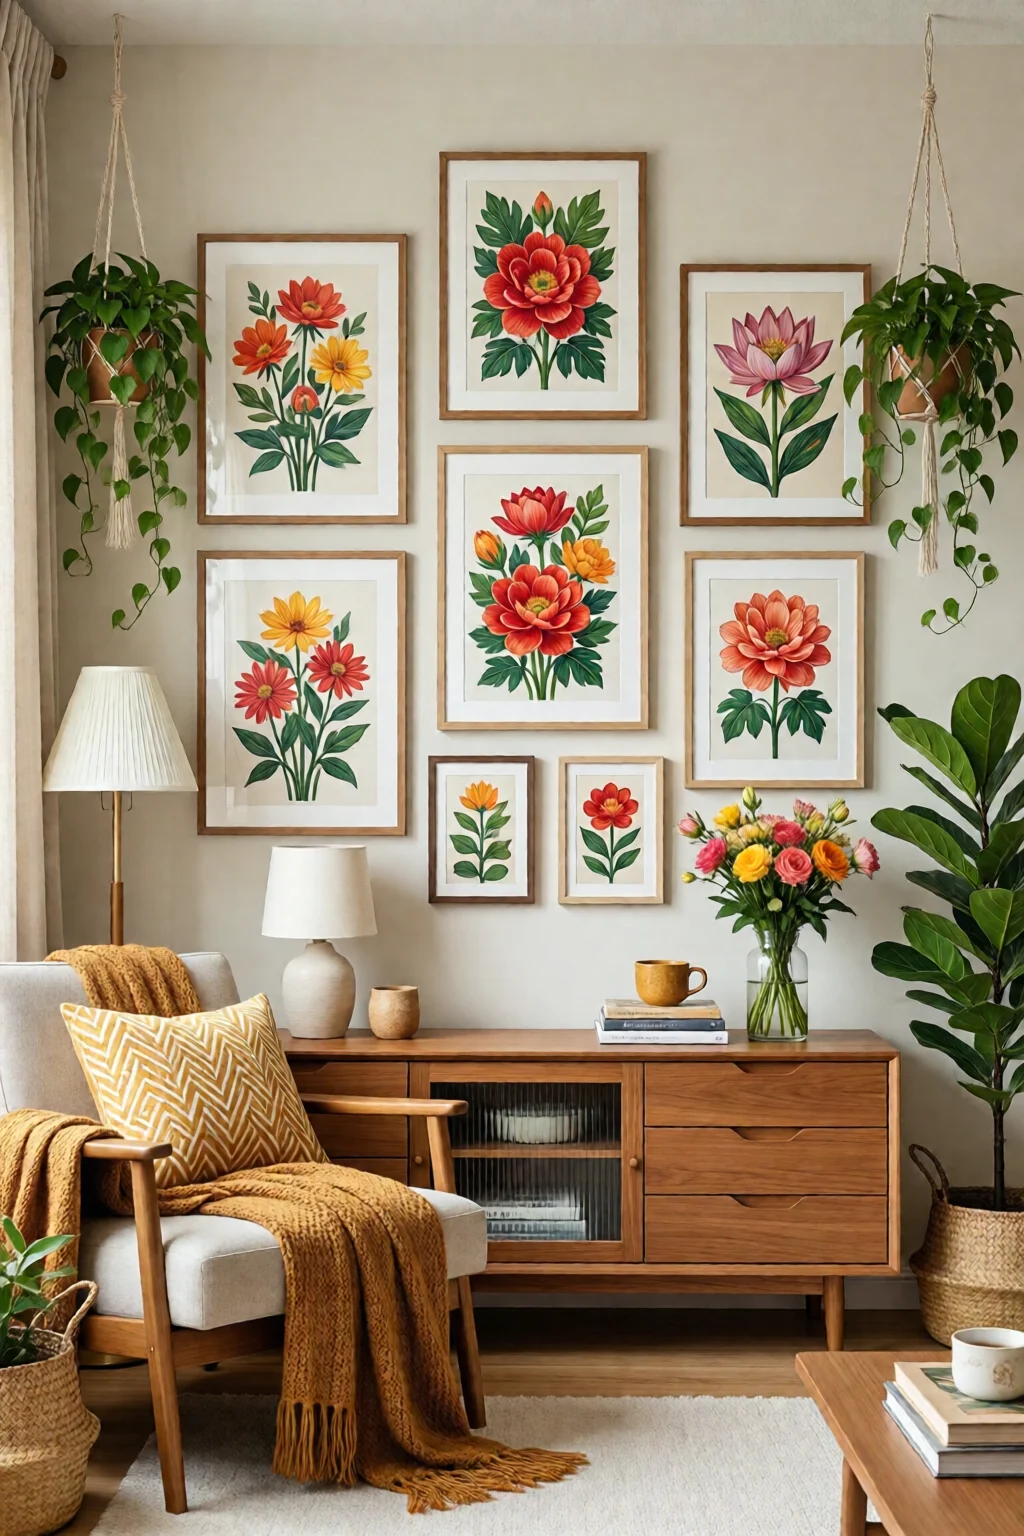
Where to Use These Ideas in Your Home
Each project shines in different spaces. A bold canvas print works wonders over a sofa in a mid century modern living room. Pallet boards add texture to a entryway where you want an instant focal point. Fabric collages soften a bathroom vanity area—see bathroom vanity ideas modern and rustic for inspiration. Washi tape murals are perfect for a staircase wall because they’re lightweight and changeable. Shadow boxes create storytelling niches in a hallway or above a home organization ideas room by room setup.
FAQ
How long does DIY wall art typically last?
When sealed properly, canvas prints can last 5–7 years, pallet boards 10+ years, and washi tape murals 1–2 years before the adhesive weakens.
Do I need special tools for these projects?
A basic toolkit (hammer, screwdriver, level) covers most projects. For pallet boards, a circular saw speeds up cutting; otherwise a hand saw works fine.
Can I rent or borrow any of the more expensive equipment?
Many home‑improvement stores like Home Depot offer tool rentals for saws and sanders at $15‑$25 per day, which is cost‑effective for one‑off projects.
What’s the best way to hang heavy pallet art safely?
Use heavy‑duty picture hooks rated for at least double the weight of your piece, and anchor them into studs or use toggle bolts for drywall.
How can I make my DIY wall art look professional?
Focus on clean edges, consistent spacing, and proper lighting. A simple LED strip or directional spot light can elevate even the simplest design.
Conclusion – Your Next Wall Awaits
DIY wall art ideas easy and creative are all about matching the right technique to your space, budget, and time. Whether you opt for a crisp canvas geometry, a reclaimed pallet statement, or a playful washi tape mural, the tools and steps above will guide you from concept to finished masterpiece. Pick a project, gather the supplies, and start turning those blank walls into personal galleries today.